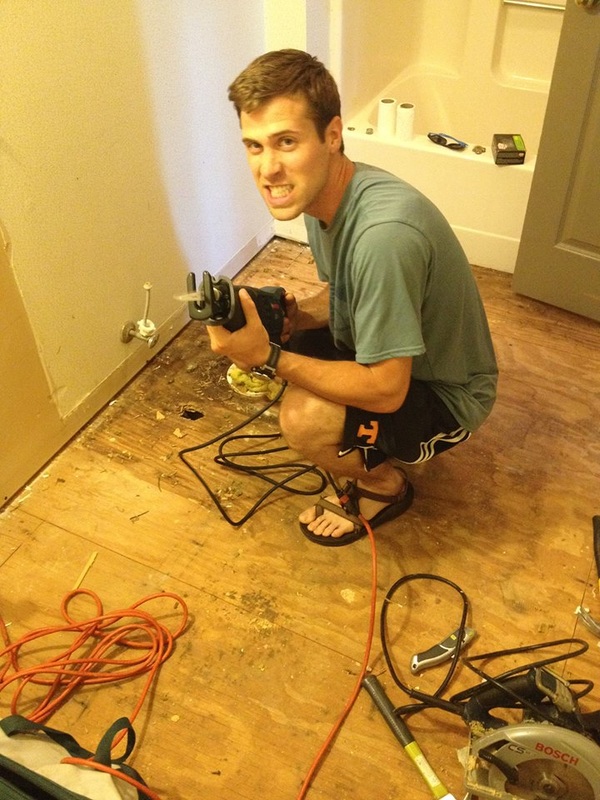
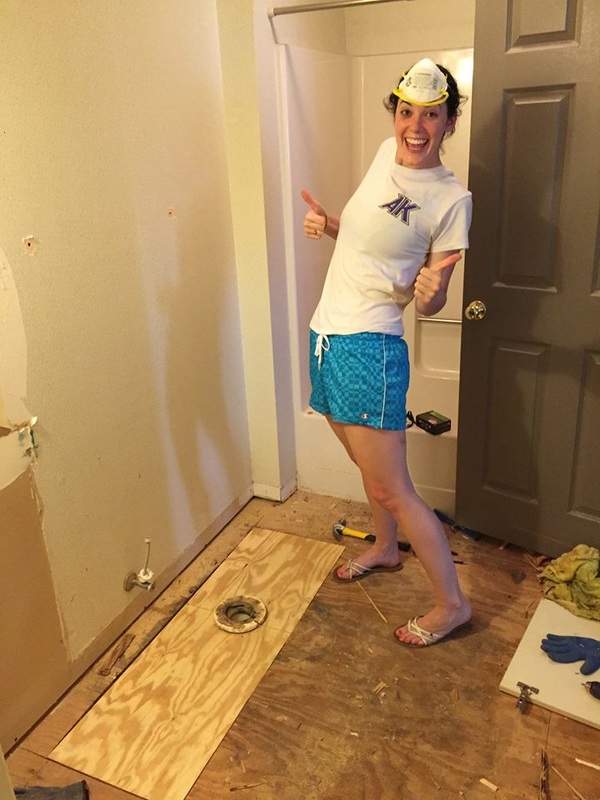
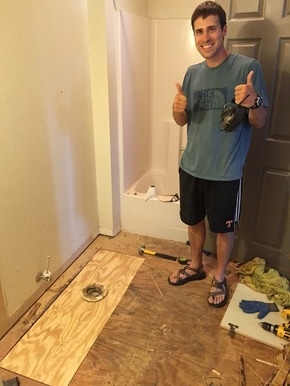
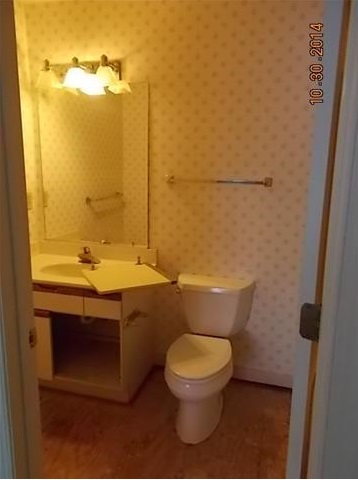
 Backstory: A little old man lived in my big, not-so-old house, and slept in the little first floor bedroom and bathed in the little first floor bath. Did I mention that this little old man had carpet in his little first floor bath? Having lived with three brothers my entire childhood (and shared a bath with one of them), I can tell you that men have a hard time hitting their target (the toilet) I'd say about 50% of the time. Mix that with flooring that sucks up moisture and a leaky toilet, you get a very gross little first floor bath and a rotten subfloor (mostly due to the leaky toilet). New Story: Brian and I spent the weekend trying to replace the rotted subfloor surrounding the toilet in preparation to lay tile in my little first floor bath. And by Brian and I, I really mean just Brian. Moving on. I should preface this post with the fact that we really had no idea what we are doing and just kind of winged it. In the end, happy dances went on! Our first plan of action was to remove the entire sheet of plywood were the rot was, however after realizing that the tongue and groove plywood was much more difficult to remove as a whole sheet, we scrapped that idea and cut a section about 16 inches by 4 feet. This section was located around the toilet flange. As we learned this weekend, the toilet flange is not removable (it is glued into the plumbing below the toilet), and it sits on top of the plywood subfloor. This is what made the project relatively difficult. We debated for a while to cut the flange off and then attach a new one once the new subfloor was laid, but ultimately Brian cut the plywood out from around the flange, leaving it in tact. 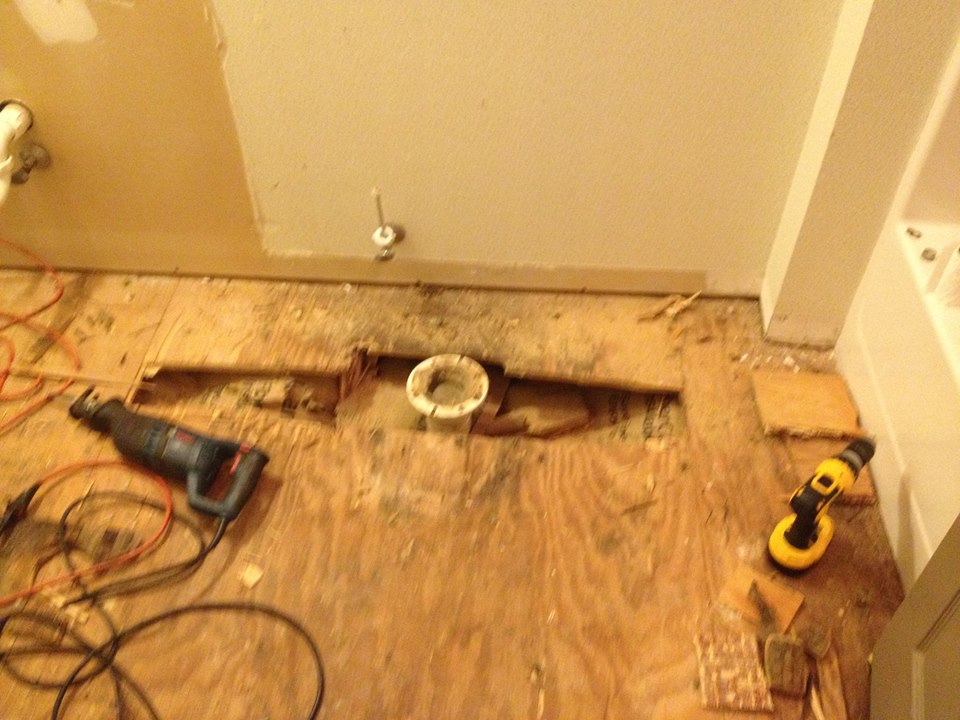 Flange sticking out of the plywood. 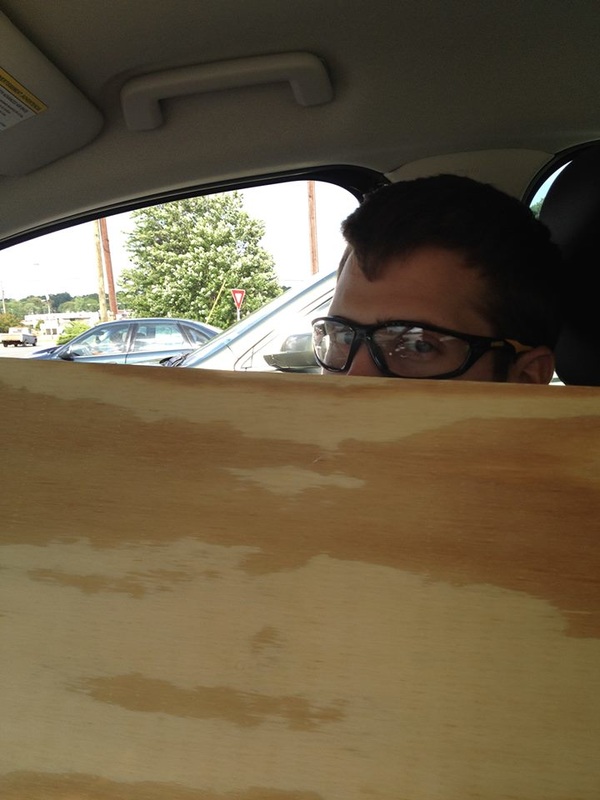 When you drive a hybrid and not a pickup to Lowe's.  We made a trip to Lowe's to stock up on materials, and ended up finding a scrap piece of 3/4" plywood for $8, as well as a few tile samples for the floor. This is where I started going to work - measuring. See, you really can use math in real life! I measured out the center of the flange, and then used the rotted piece of plywood Brian saved from around the flange to draw a circle (for the flange to fit through) in the plywood. Brian then cut the 4 ft plywood in half through the center of the circle, and I cut the space for the flange to fit! We surrounded the flange with the now two pieces of plywood, and then nailed them down. Voila! It fit! HAPPY DANCE!
0 Comments
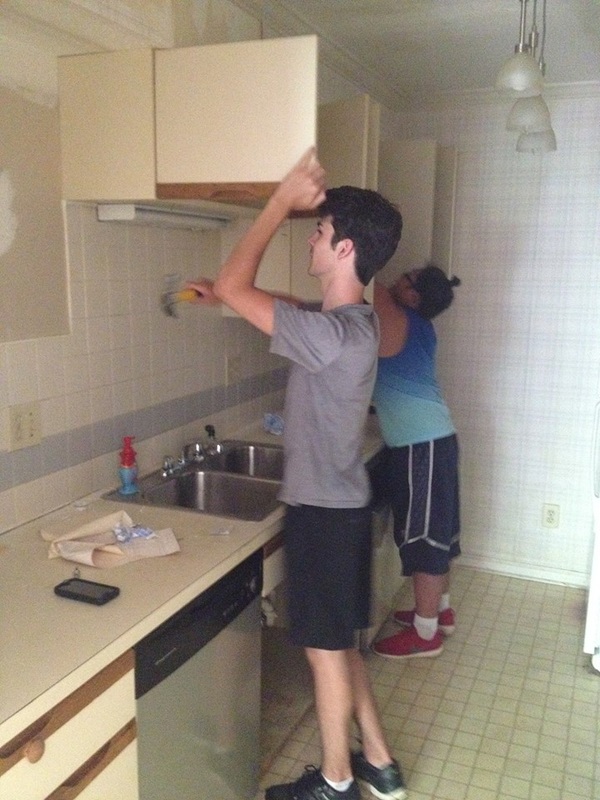
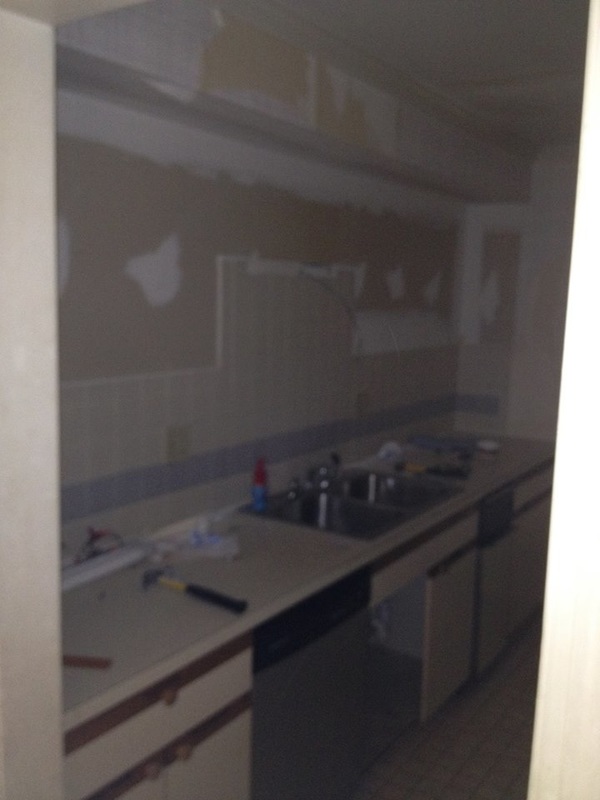
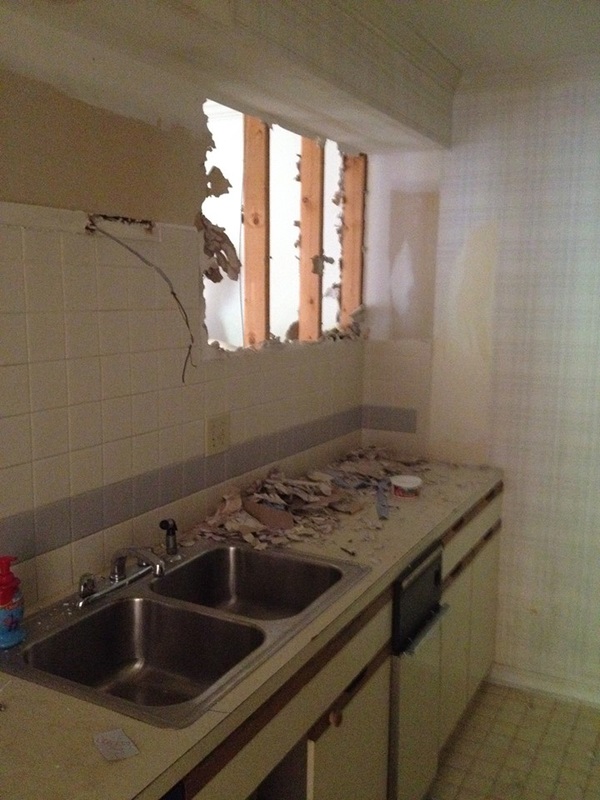
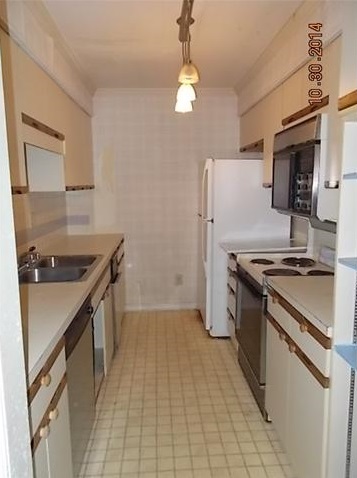
The evening after purchasing my new home, Brian brought over a bottle of champagne, flowers, and a hammer (he always knows how to steal my heart). We immediately popped open the champagne (which - word to the wise, do not drink unless you have glasses) and got to hammering. It took me a minute to feel comfortable enough to actually hit the wall, but once I got started it was hard to stop! The plan is to open up the space between the kitchen and the living room. The current galley kitchen feels claustrophobic and small, and the hope is that by opening up the shared wall between the kitchen and living room, it will give the illusion of more space.  Kitchen Before After we made a small dent in the place, we called it a night and went home. The next day, a few of my students were at school (B.T.W - it's summer vacation already, why are they still hanging around at school?!) and were bored, so they followed me back to my place and I put them to work with the promise that they would get to destroy stuff. They ended up being very handy and helped take down my first layer of melamine cabinets. The boys then went to town destroying my wall.
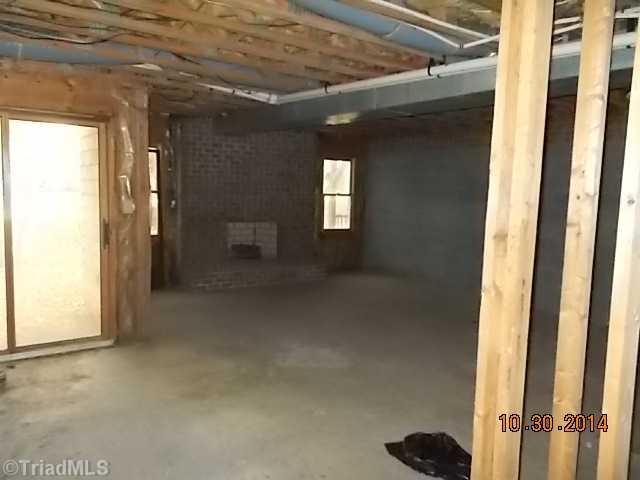
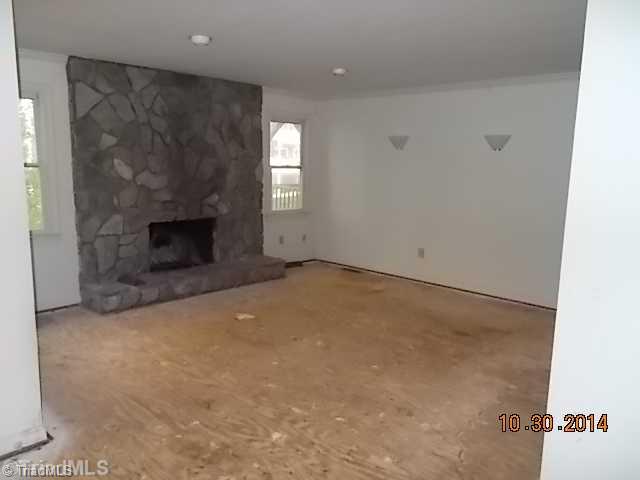
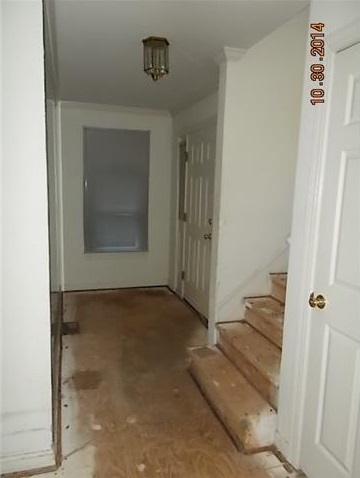
I would only let the guys bust through certain portions of the wall because I was terrified of any plumbing that might be contained in the wall. When Brian got off work, we continued where my students left off, and tore through the rest of the wall. We did end up finding one pipe, however we are still unsure about its purpose or use (the current theory is a vent pipe). 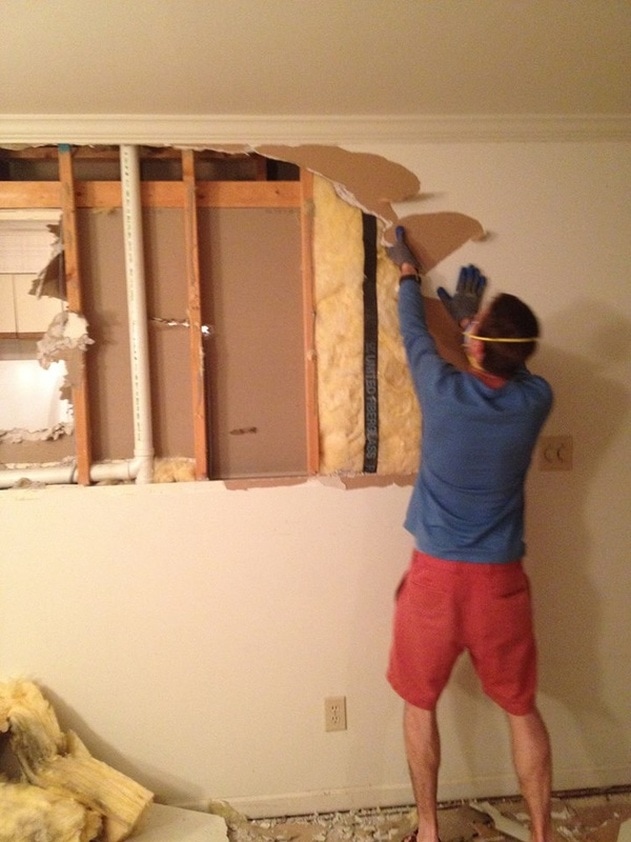 We have pretty much left the wall here, and the next step is to take down the joists. I was already given the OK by an engineer that the wall is non-load bearing (whew!), so hopefully we will demo the rest sooner than later! 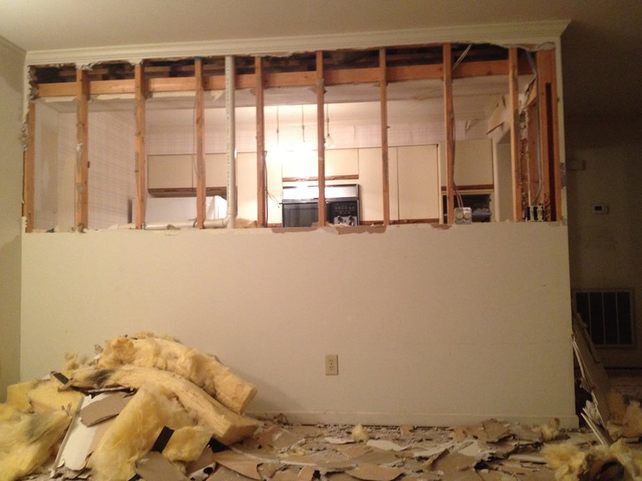 Go away, wall!! Last Thursday, I finally purchased my very first house in North Carolina. So very exciting! After what seemed like a thousand little hiccups in the buying process, everything worked out in my favor and I now own a 1700 square foot, three-story townhouse. The house is HUGE (especially in comparison to my current apartment), has three bedrooms, three full bathrooms, three fireplaces (even one in the master bedroom), and a completely unfinished walk-out basement. What the house doesn't have are floors. Or a kitchen from the last two decades. Or paint. Or a front door that opens easily. Or bathroom vanities that come up past my mid-thigh. Or a lot of things.... all of which make this house exactly what I like because I can mold it into exactly what I want. Of course, apparently what I want are the expensive things from the Home Depot (cough, $5/square foot hardwood floors), which, if you haven't figured out yet, I realistically cannot afford. If you can believe this or not, teachers are still broke in the state of North Carolina. All of this leads me to my new blog - Twenty-Something's Design. The blog is for friends and family who want to follow me on my house renovation journey, laugh at all of my mistakes along the way, and smile at the (hopefully) amazing transformation of my home (on a dime). With lots of tips from my mom and contractor dad, help from friends and students (yes, I said students are helping me), and maybe even a few visits from my brothers (hint - hint), I have a feeling this summer is going to be a lot of fun. I hope you stick around for the ride. :)
 Unfinished Basement |

about meHi! I'm Lauren! I'm a twenty-something teacher and homeowner in North Carolina. I love math, decorating, and getting down and dirty learning new things about home renovation and repair. Categories
All
Archives
December 2018
|
 RSS Feed
