|
I have decided that routers are about the coolest tool you can have in your workroom, and a must if you are planning on building any sort of woodworking project. This past week, one of my wonderful coworkers lent me her husband's router so that I could build matching cabinet faces for my Craig's List pantry. Having never used a router before or have any idea how one works, I watched this YouTube video to get started. I took two important bits of info away from the video. First, I needed to play around with the router to see what works and what doesn't. Second, I needed a router table in order to make some important cuts for my cabinet. The Problem: The router isn't even mine, let alone having to purchase a $100 router table?! Heck no! Instead, I took an idea from the video and created my own router table from my brand new workbench. First, we found an area on the table where a 1.5" hole wouldn't be a huge issue (the back corner). Next, Brian drilled a circular hole using a 1.5" drill bit in the area we wanted. Since the router is attached to the table from the underside, we also needed to drill four additional holes for quarter-inch bolts, which attach to the router (keeping it in place). We made sure to countersink the bolts so they wouldn't get in the way when we ran our wood pieces over them. The entire project cost $2 (for the nuts and bolts) - much nicer than the $100 mentioned in the video!! 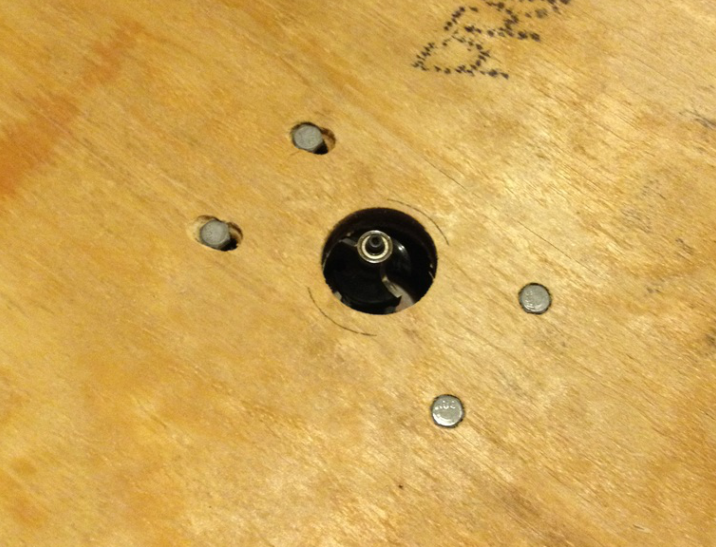 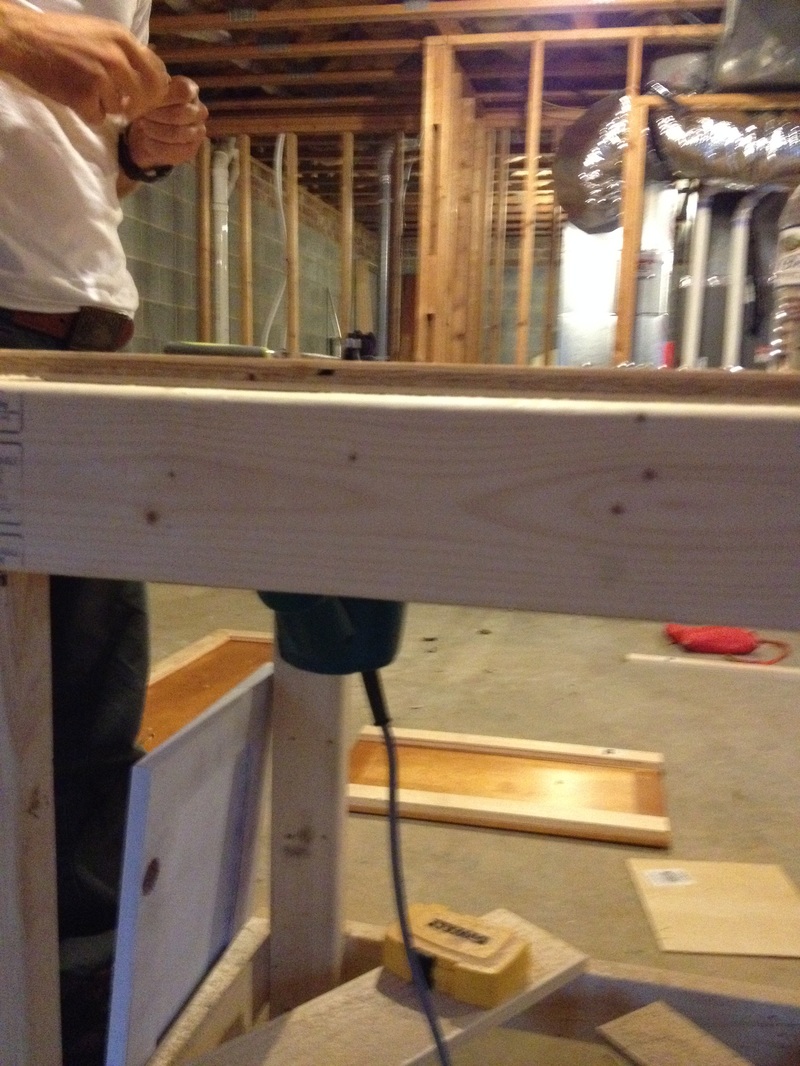 As for the "fence" mentioned in the video, I found a scrap 2X4 and simply clamped it to the table where we needed it. I chose not to drill a hole through it so we could run the shop vac, but it worked fine without it! 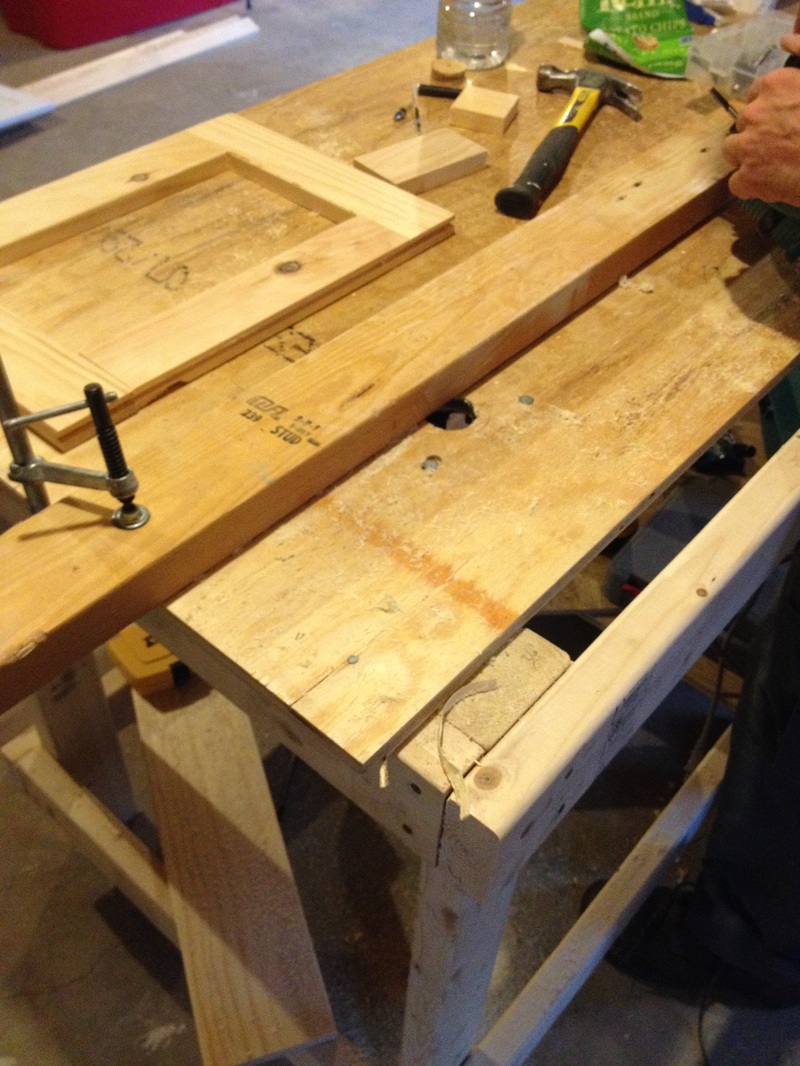
3 Comments
Leave a Reply. |

about meHi! I'm Lauren! I'm a twenty-something teacher and homeowner in North Carolina. I love math, decorating, and getting down and dirty learning new things about home renovation and repair. Categories
All
Archives
December 2018
|
 RSS Feed
