|
Great news! The master bathroom is getting a floor! Right now there is a big rush to get the entire upstairs as ready as possible for carpet to be installed, which includes any flooring that will be adjacent to the carpet. Although the master bath is nowhere near being ready, we had to push forward with the floor anyways. This summer, I bought a lot of extra LVT (luxury vinyl tile) from Lowe's, which is what I installed in both guest baths. I loved the stuff so much, I figured I could also install it in the master bath as well. However, after long nights of scouring Pinterest, I wasn't so sure the LVT was the way to go. Master baths should be elegant and luxurious, and if I was going to invest some money, the master bath is probably a good place to put it. Yet, with the current rush on the carpet, we had very little time to think about the master bath's floor, pick out tile, put down concrete board, and grout - on top of everything else we have to get done before the carpet installation. So, Brian and I made the executive decision on Friday night to cut each LVT (originally 12" x 24") into 4" x 12" and run a herringbone pattern in the bathroom (to give it that elegance I was looking for). Without further ado, here is the initial dry-fit of the tile: 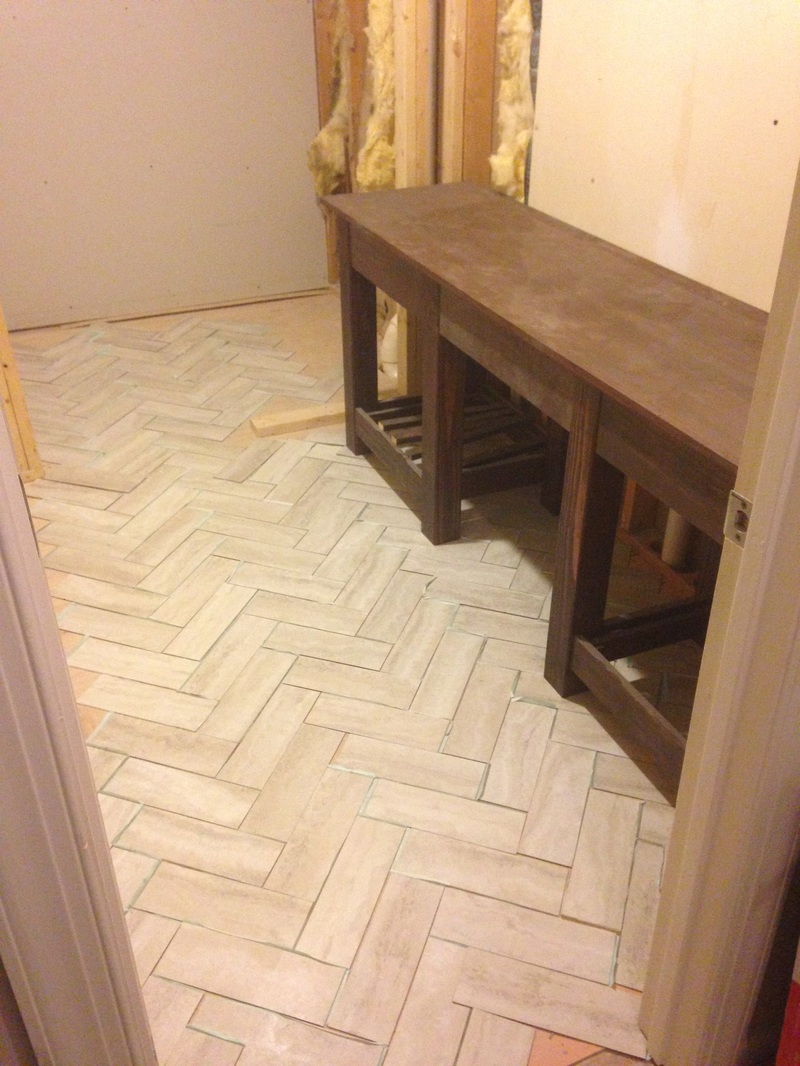 What was supposed to be a relatively short weekend project turned into the longest project I've tackled on my own so far. Cutting the tile alone took nearly 4 hours. I dry-fit them, did some more research, and then decided to run the herringbone longways (to make it look more like a pathway to the closet area). Below are two pictures of this week's progress (which also took hours and hours). 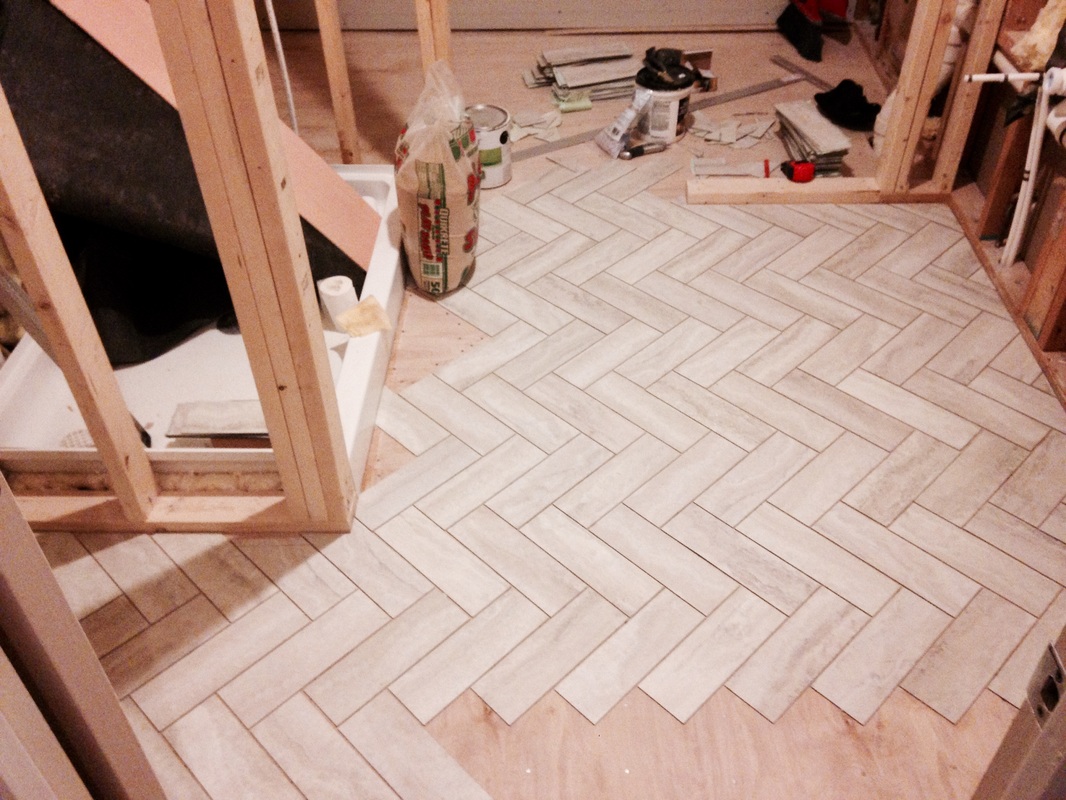 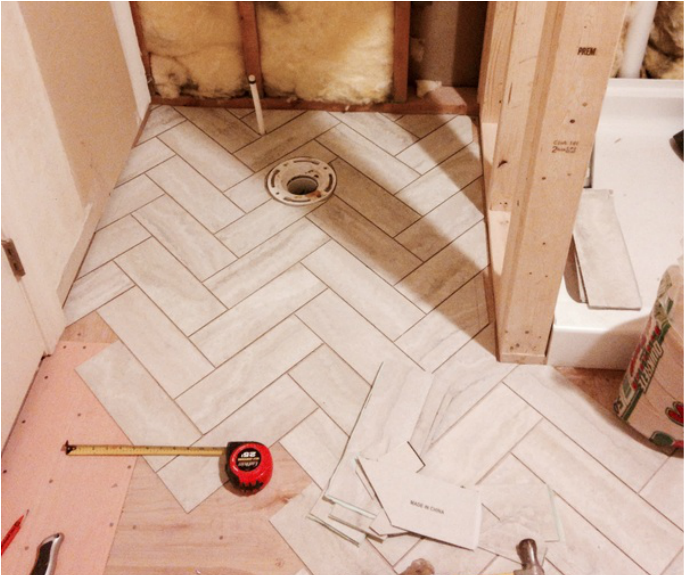 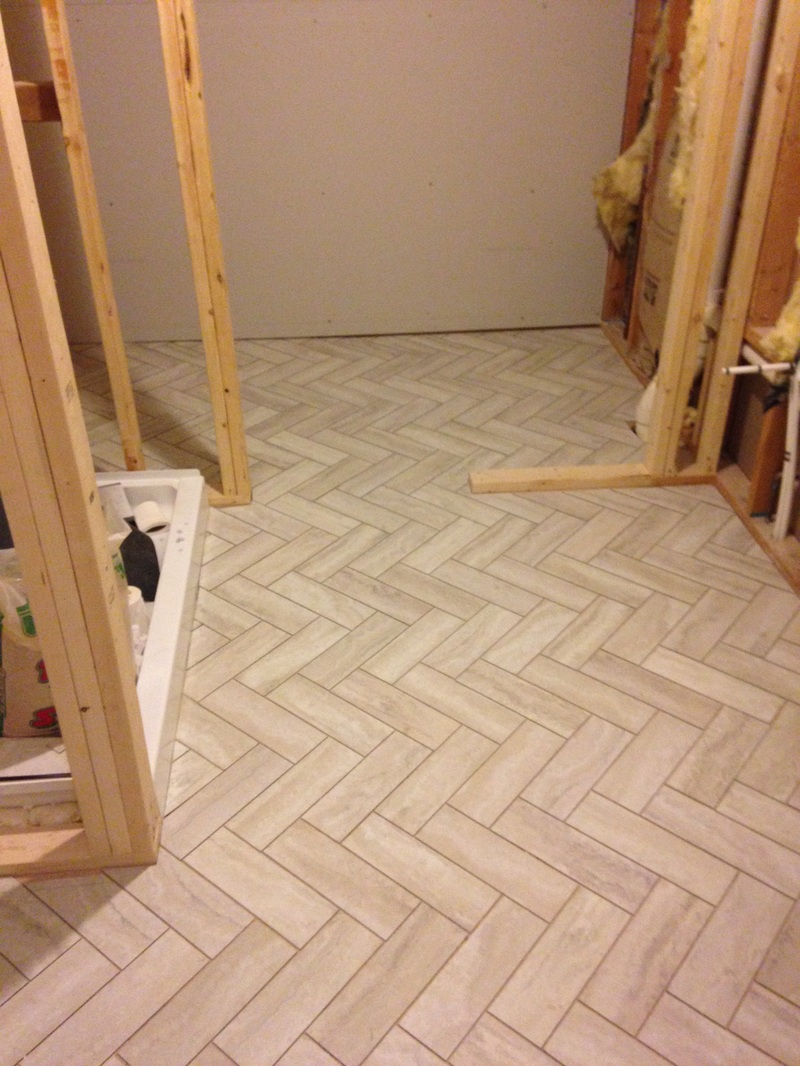 Last tile laid! Now I just need to grout!
0 Comments
Leave a Reply. |

about meHi! I'm Lauren! I'm a twenty-something teacher and homeowner in North Carolina. I love math, decorating, and getting down and dirty learning new things about home renovation and repair. Categories
All
Archives
December 2018
|
 RSS Feed
