|
Update 1: Curved stairs. I left the last post explaining how I am creating the curved - or as I was corrected the other day, angled - stairs. Now, since these treads are only 0.75" thick, I needed to double up the fronts to make them appear as thick as the other boards. It was pretty simple. I just ripped a 1.5" wide piece of 0.75" thick wood, glued, clamped, and finished nailed it to the angled tread. I then sanded and routered the edges to make them appear just like the other treads. 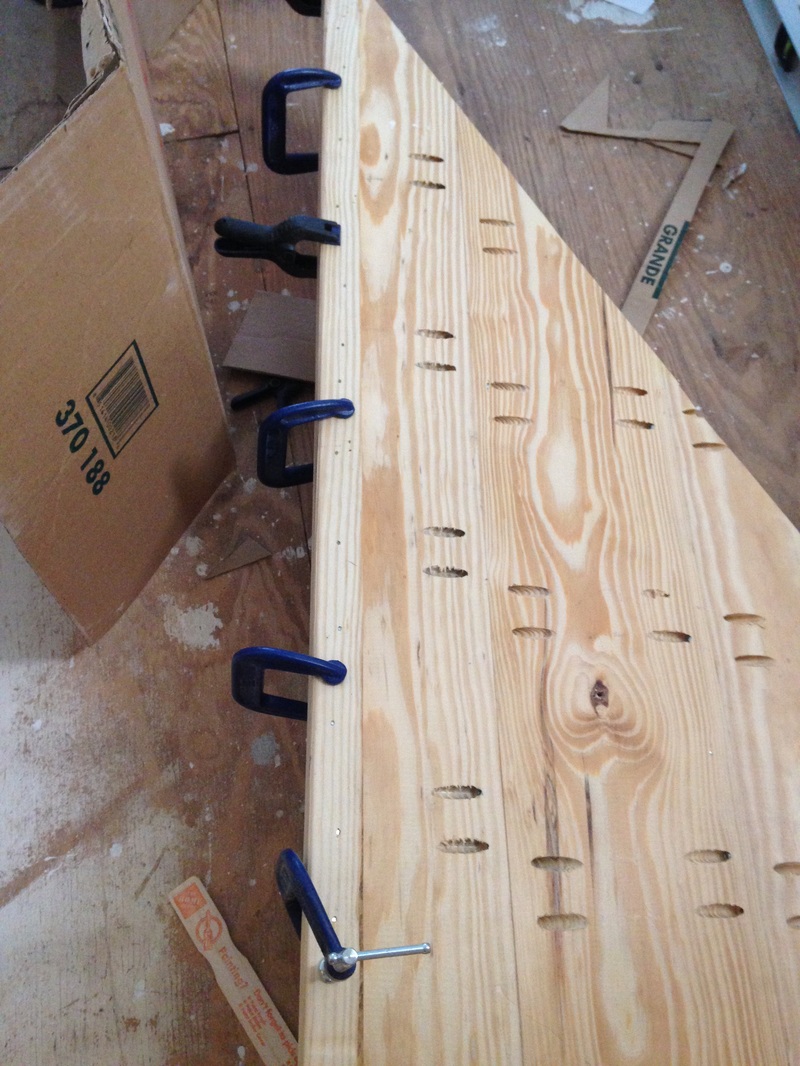 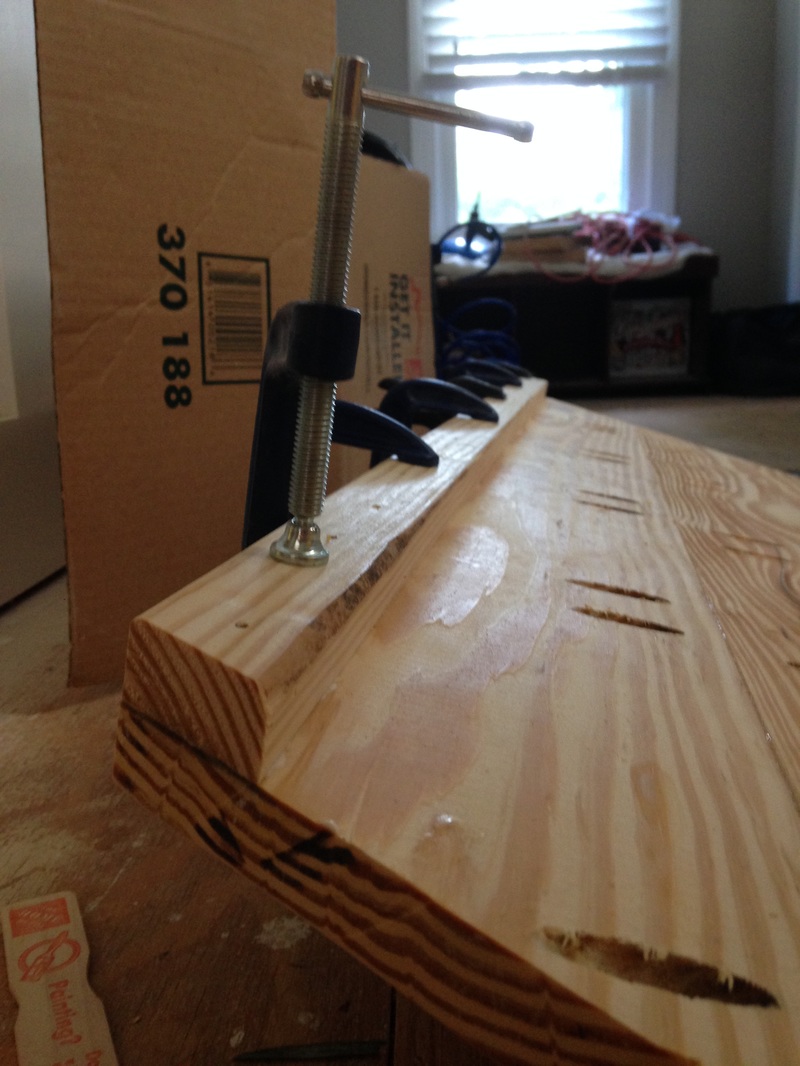 Below, you can see how skinny the angled boards are compared to the straight treads.  Gluing and clamping the new bottom lips on. 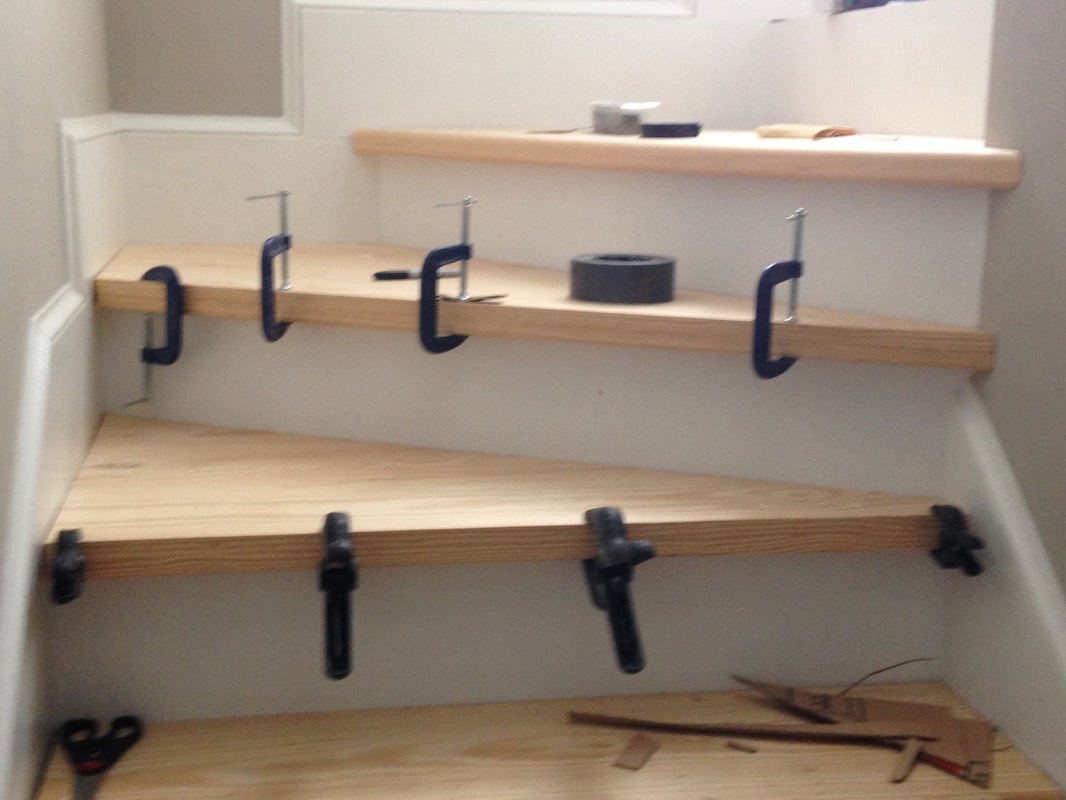 Can you even tell which ones are the 1.5" thick treads and which ones are the "pretend" 1.5" thick treads? :) 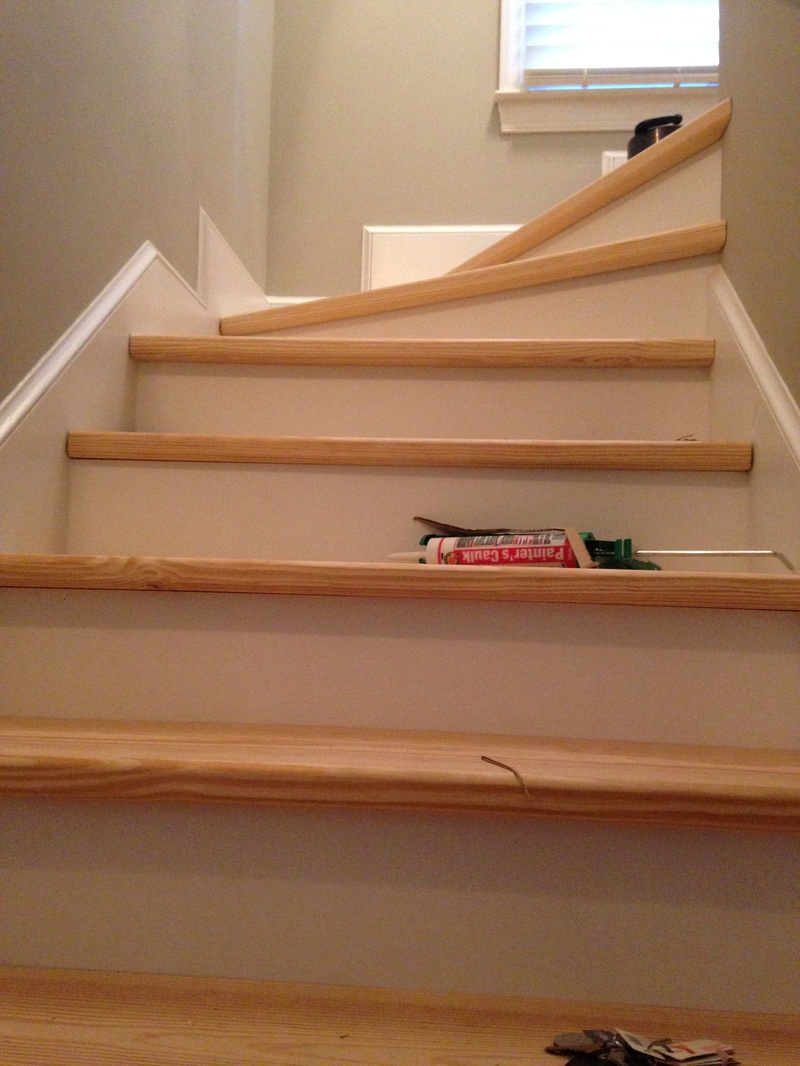 After staring at my beautiful work for a long time, one thing started to bother me. The third angled tread kind of.... stuck out... a bit along the wall. See below. 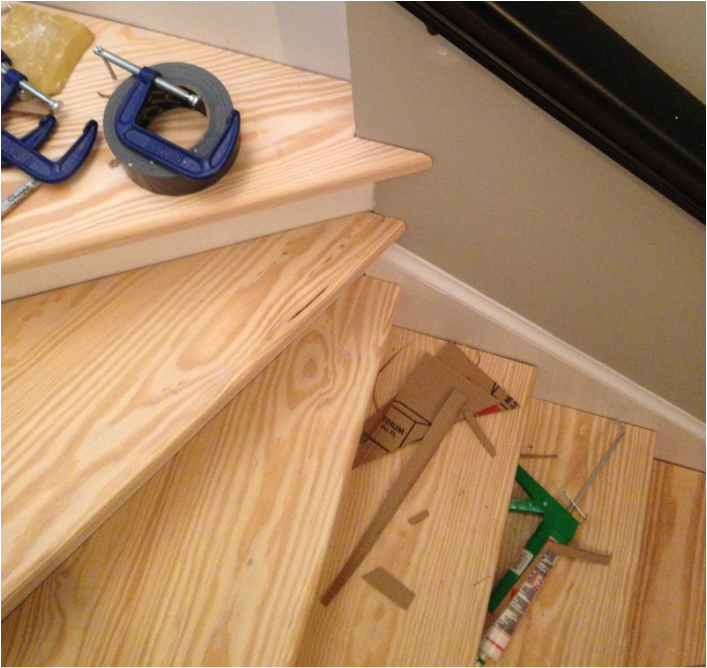 I decided to lop of about a half-inch of the end, router it a bit, and then place it back. I'm much happier with this look than the previous, but it makes me want to adjust the tread right below it as well to give those stairs a more cohesive look. 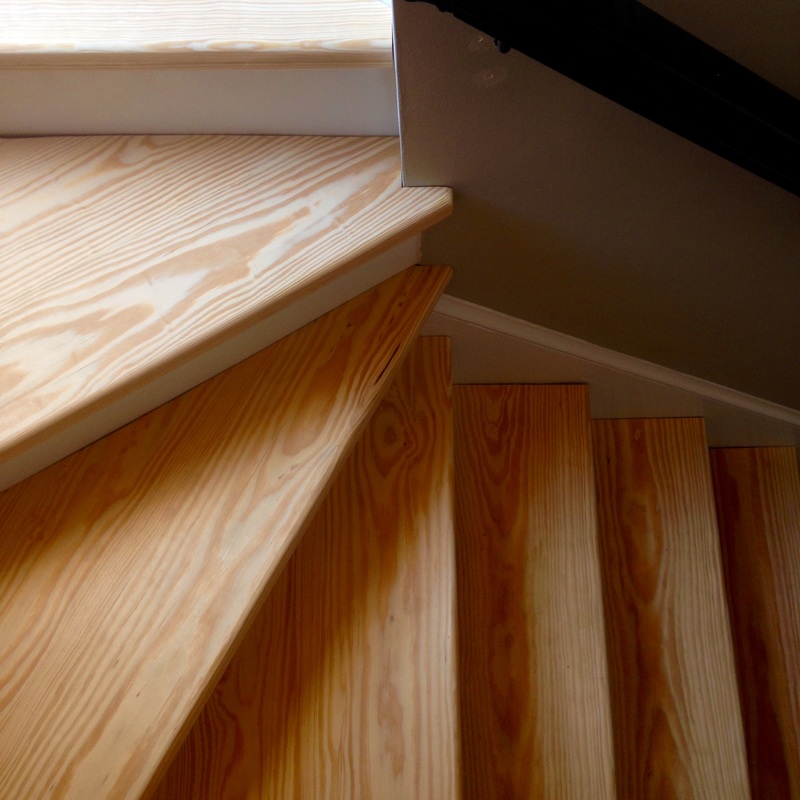 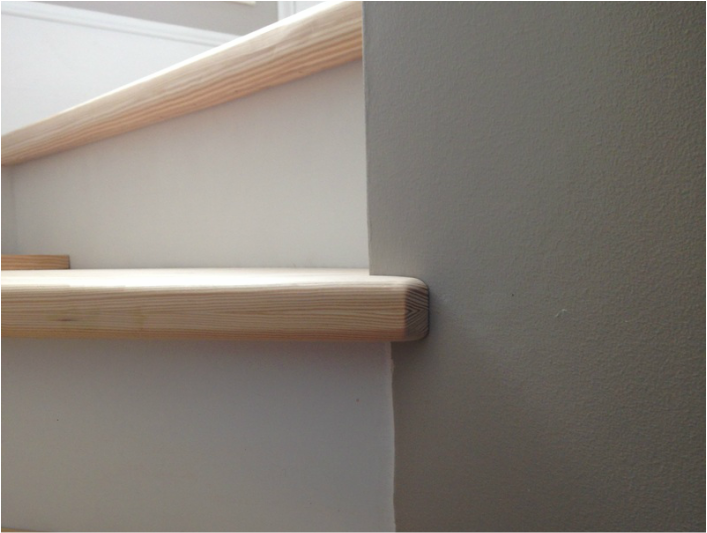 Update 2: Semi-Reveal. These posts have been a little long winded, so I figured I'd recap what the stairs used to look like compared to what they look like now. 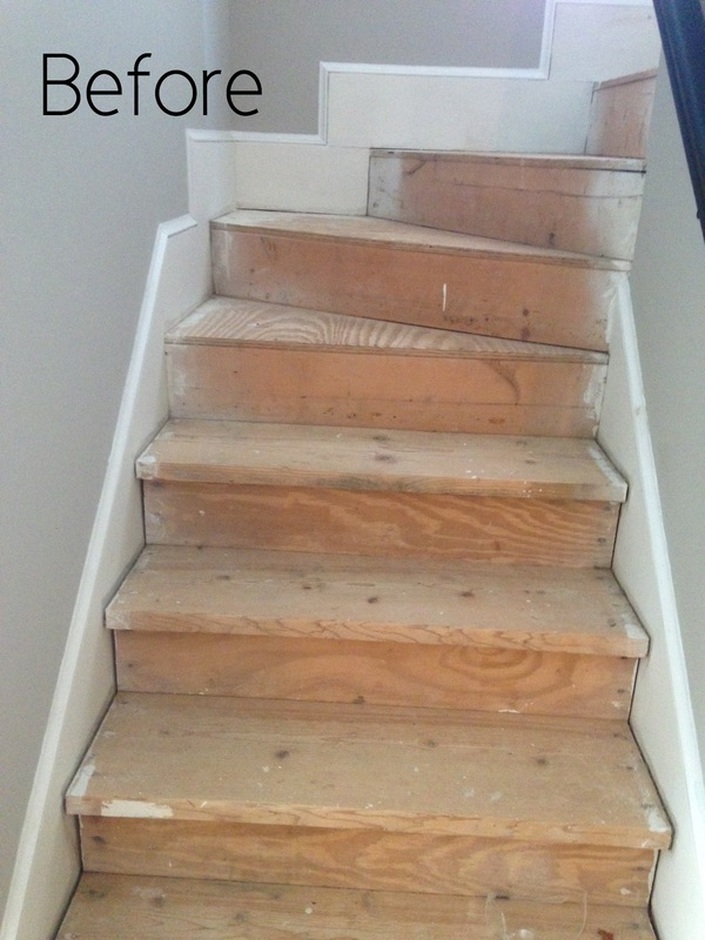 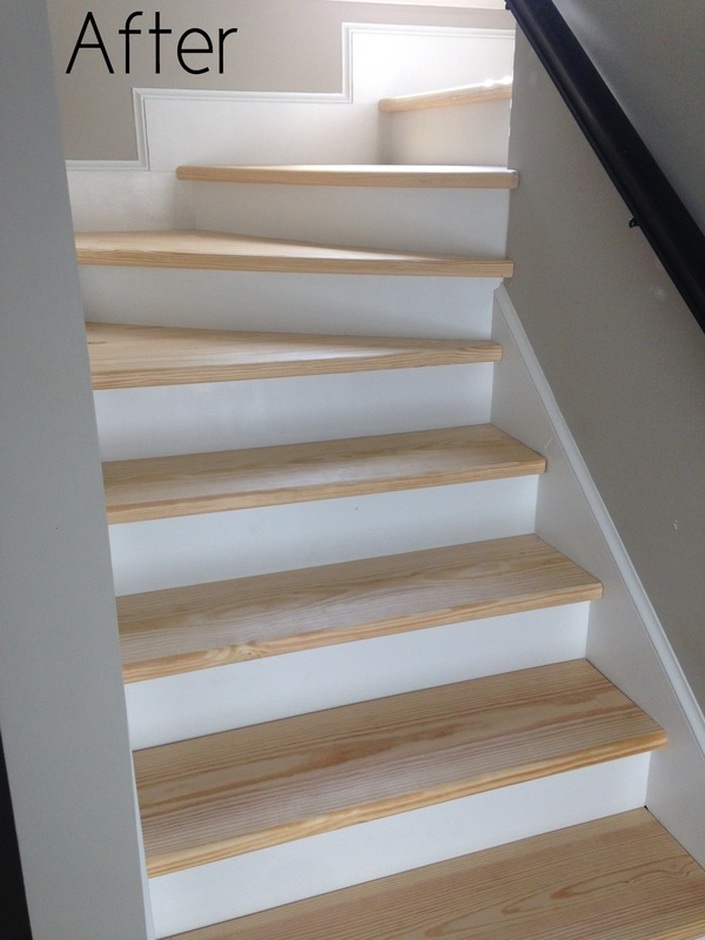 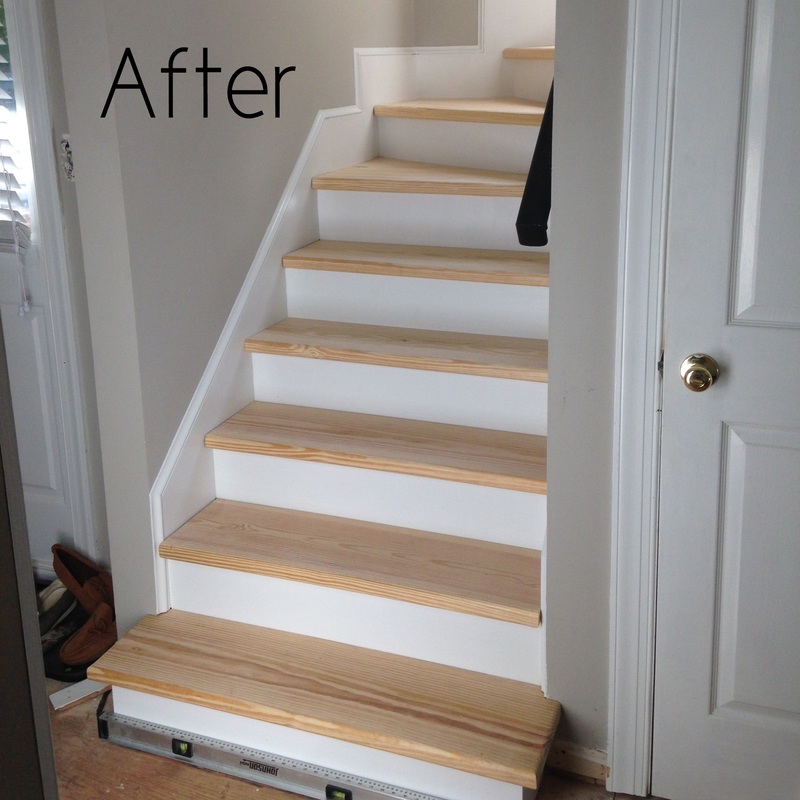 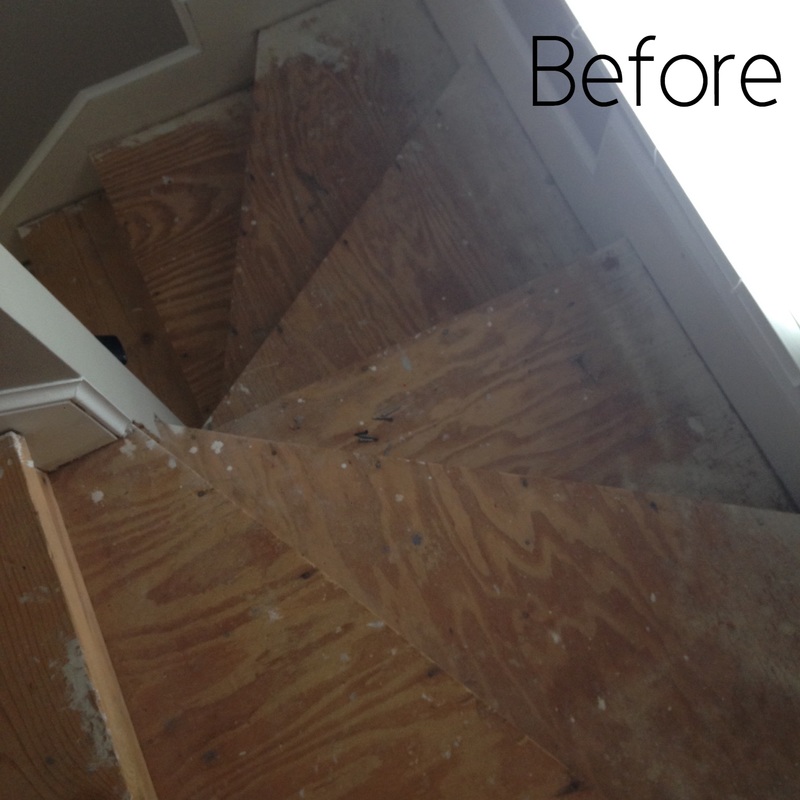 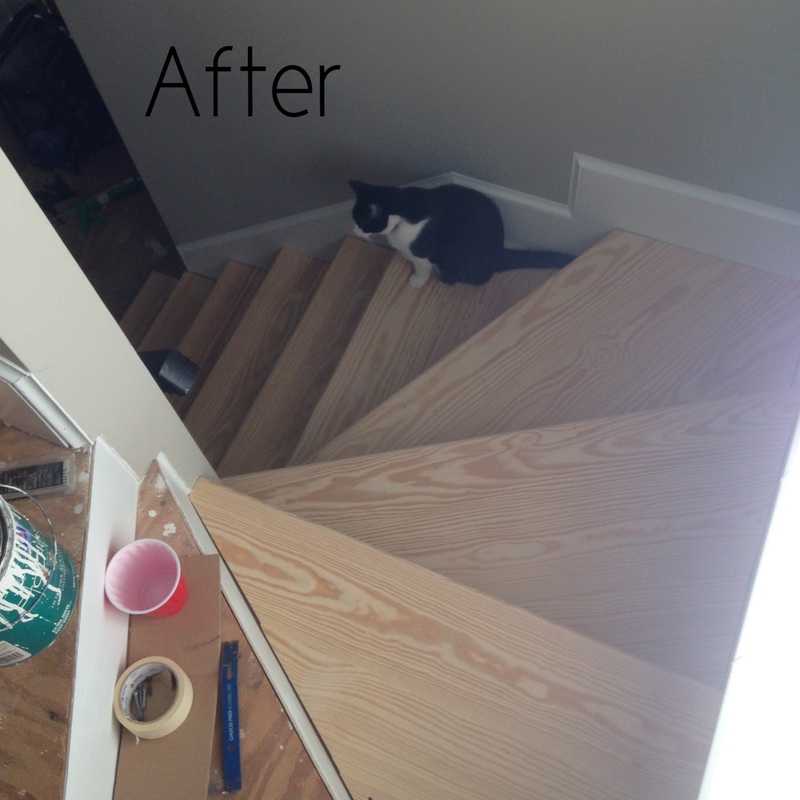 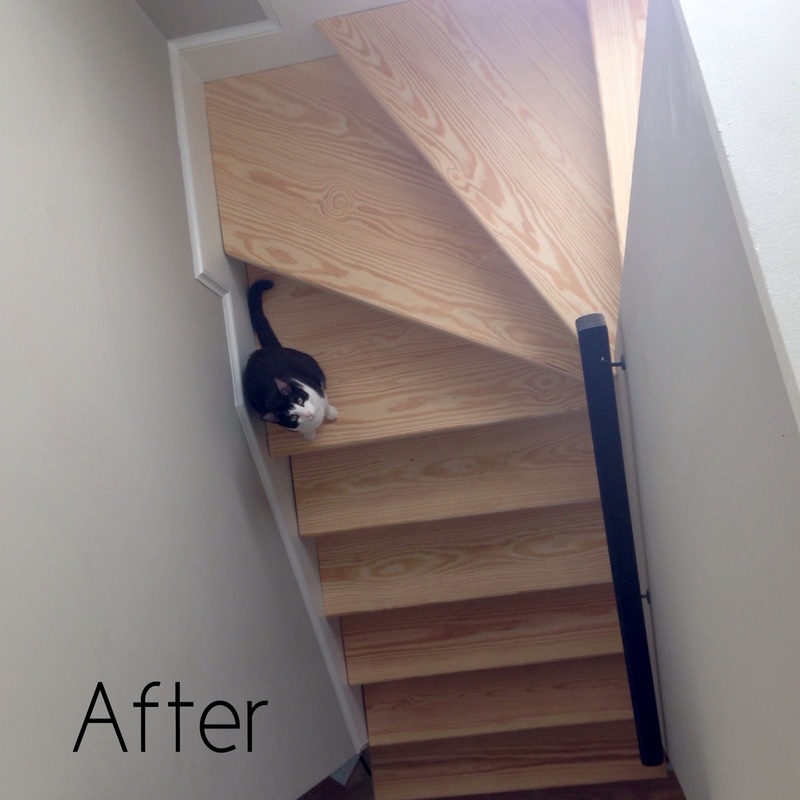
2 Comments
Mary
7/23/2016 11:04:25 pm
Nice job Lauren!
lauren benson
8/5/2016 09:08:44 pm
Laur you are amazing!!! The stairway looks great, but I hate to even ask.....Do you have a working kitchen yet? Back to school next week? Leave a Reply. |

about meHi! I'm Lauren! I'm a twenty-something teacher and homeowner in North Carolina. I love math, decorating, and getting down and dirty learning new things about home renovation and repair. Categories
All
Archives
December 2018
|
 RSS Feed
