|
Great news! The master bathroom is getting a floor! Right now there is a big rush to get the entire upstairs as ready as possible for carpet to be installed, which includes any flooring that will be adjacent to the carpet. Although the master bath is nowhere near being ready, we had to push forward with the floor anyways. This summer, I bought a lot of extra LVT (luxury vinyl tile) from Lowe's, which is what I installed in both guest baths. I loved the stuff so much, I figured I could also install it in the master bath as well. However, after long nights of scouring Pinterest, I wasn't so sure the LVT was the way to go. Master baths should be elegant and luxurious, and if I was going to invest some money, the master bath is probably a good place to put it. Yet, with the current rush on the carpet, we had very little time to think about the master bath's floor, pick out tile, put down concrete board, and grout - on top of everything else we have to get done before the carpet installation. So, Brian and I made the executive decision on Friday night to cut each LVT (originally 12" x 24") into 4" x 12" and run a herringbone pattern in the bathroom (to give it that elegance I was looking for). Without further ado, here is the initial dry-fit of the tile: 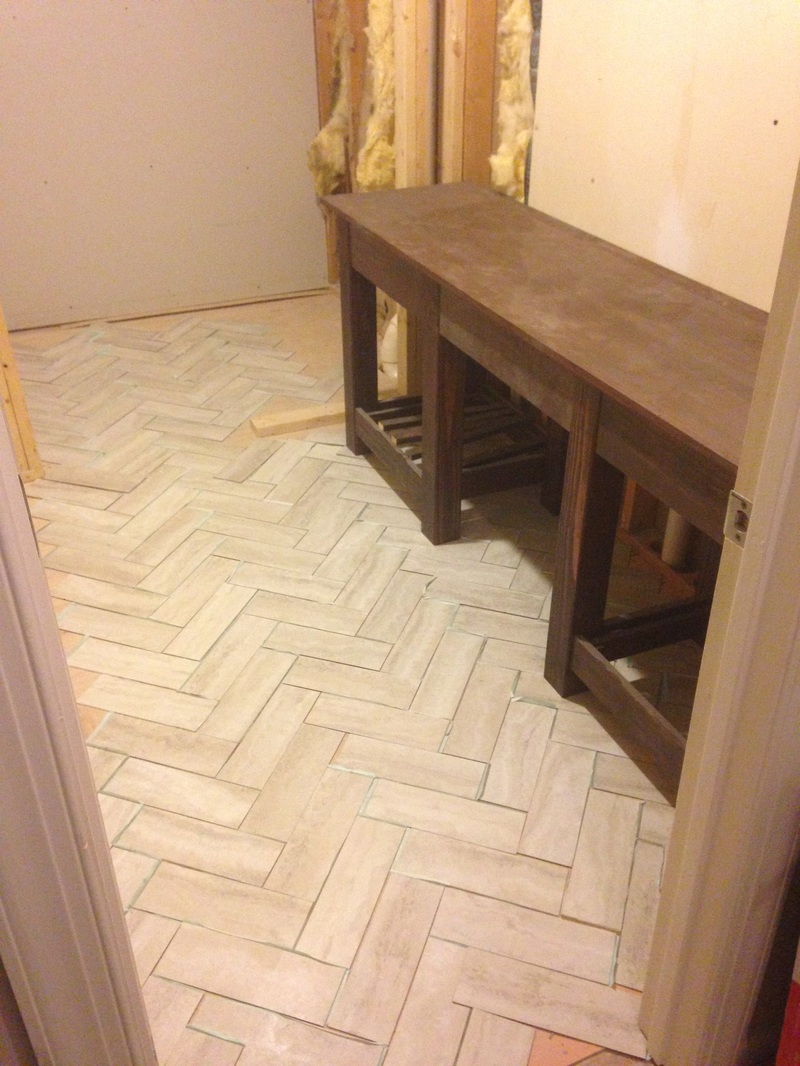 What was supposed to be a relatively short weekend project turned into the longest project I've tackled on my own so far. Cutting the tile alone took nearly 4 hours. I dry-fit them, did some more research, and then decided to run the herringbone longways (to make it look more like a pathway to the closet area). Below are two pictures of this week's progress (which also took hours and hours). 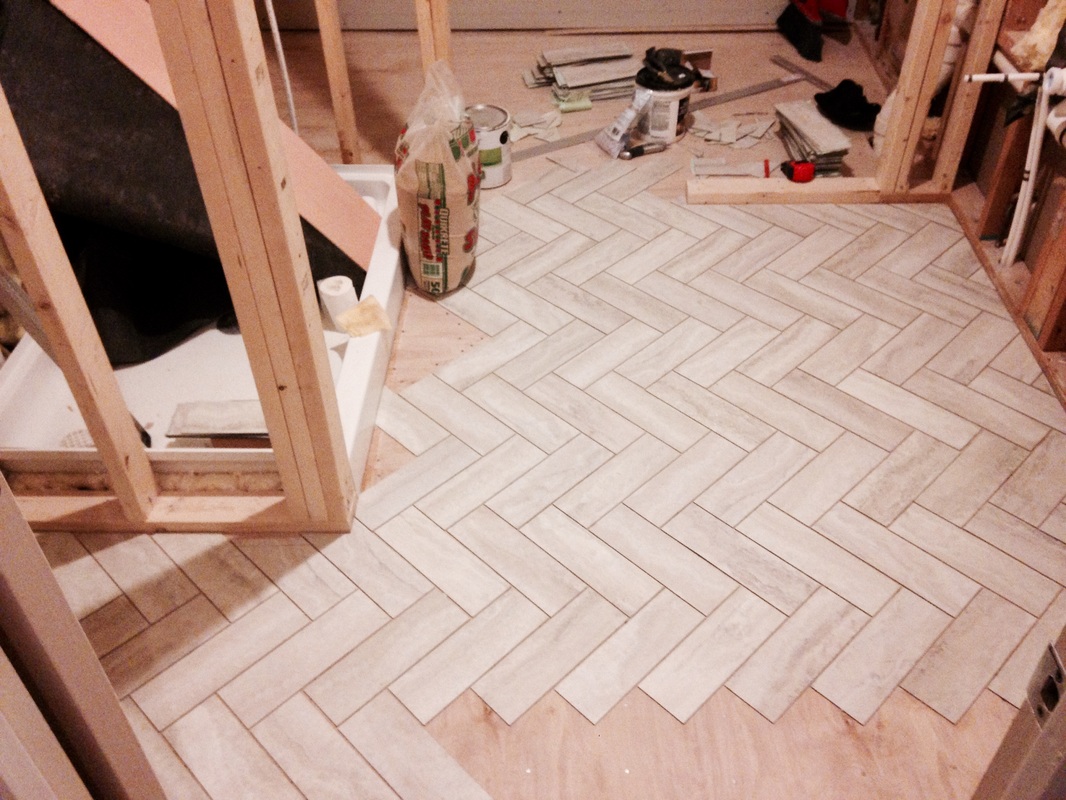 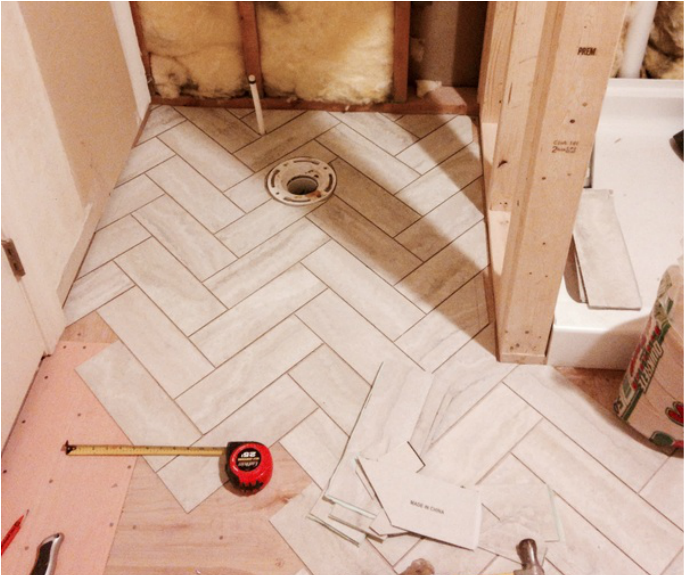 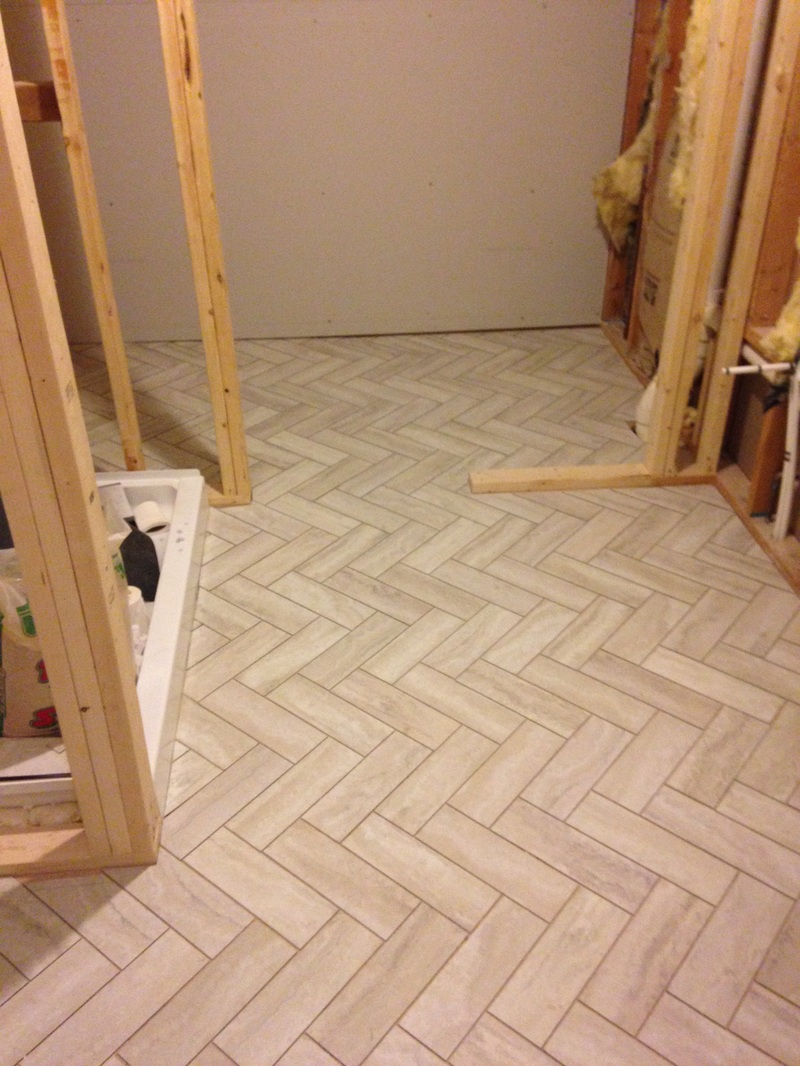 Last tile laid! Now I just need to grout!
0 Comments
Brian and I are working really hard to finish the upstairs (painting, bathrooms, etc) so that the carpet can be installed by March 1. This may be a long shot, but here's hoping. So some weekend updates - while I now know why it is so important to wear a mask when spray painting (I suddenly feel like an 80 year old man with emphysema), I am happy to report that we have almost completed two major projects (that could and should have been completed a long, long time ago). First, we finished oil priming the master bedroom and tested out our handy new Homeright Finishing Spray Painter with our first coat of latex paint. Brian says he has found a new love (and that we should have been spraying the walls since the beginning). While I agree with him, I also think I'm going to take my mom's advice and buy some heavy duty masks for the next round. Pictures to come. Next, we are in the process of finishing up the second guest bathroom. I wanted to add some pizazz to this bathroom that the one of the first floor lacks, so I used this inspiration picture from Pinterest to help: 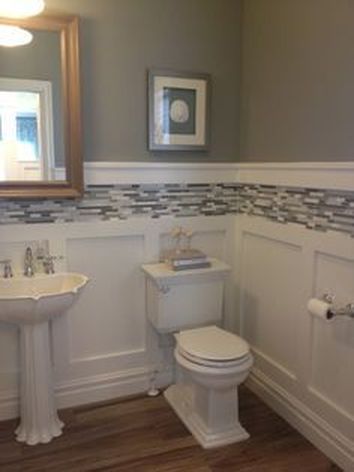 Although my floors aren't wood, I don't have a pedestal sink, and my walls sure as hell won't be this dark, I enjoyed the wainscoting and the tile backsplash. I thought they added elegance and some spice to an otherwise boring bathroom. We started with the wainscoting, and used the same technique that we did in the entry. The difference - we went with pine this time instead of MDF. 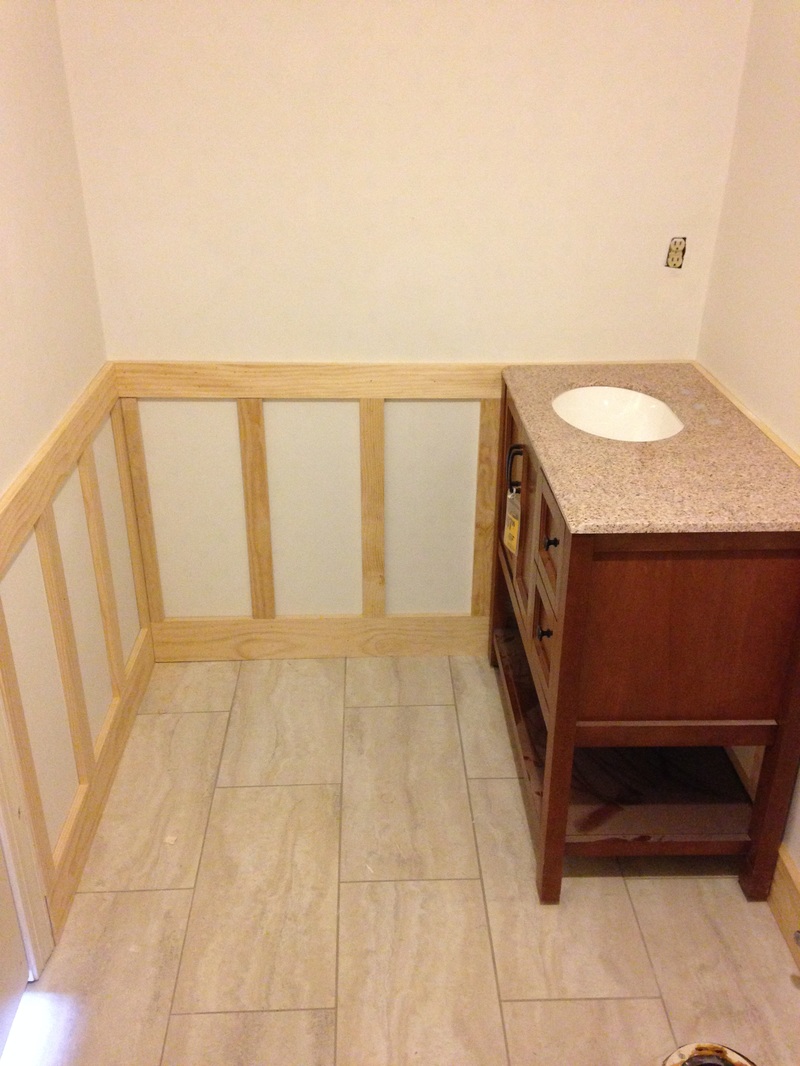 Then it was time to pick out a paint color. I suppose I didn't really care about the color, as long as it was light and bright (the bathroom has no windows, and it's attached to the dark blue room). Brian had a gallon of light blue semi-gloss laying around, so we went ahead and tried it out. 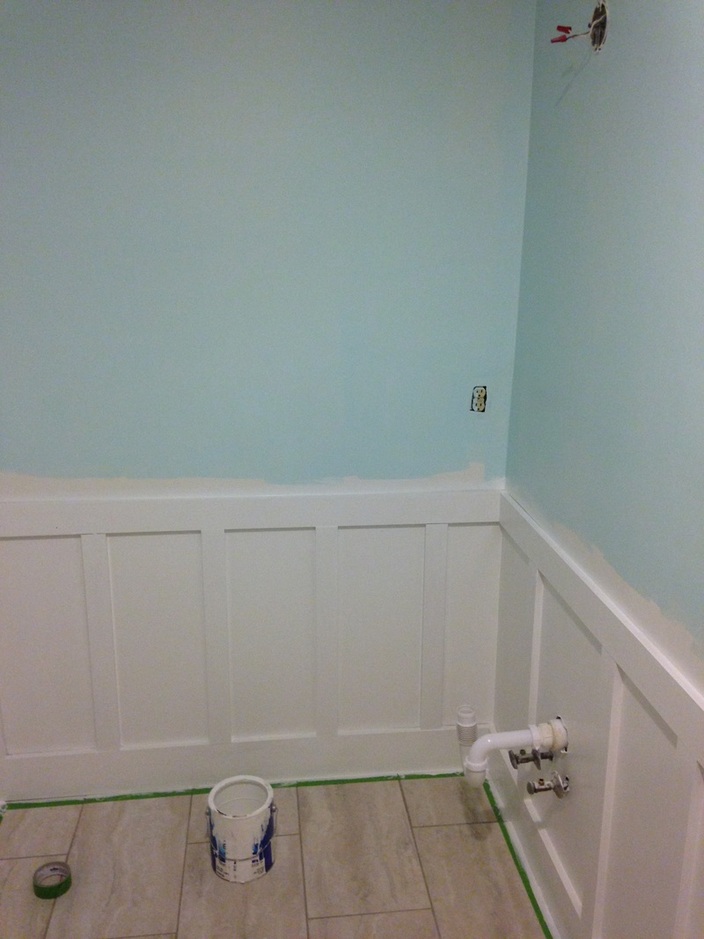 Needless to say, it got painted over the next day with some Sherwin Williams Sea Salt. 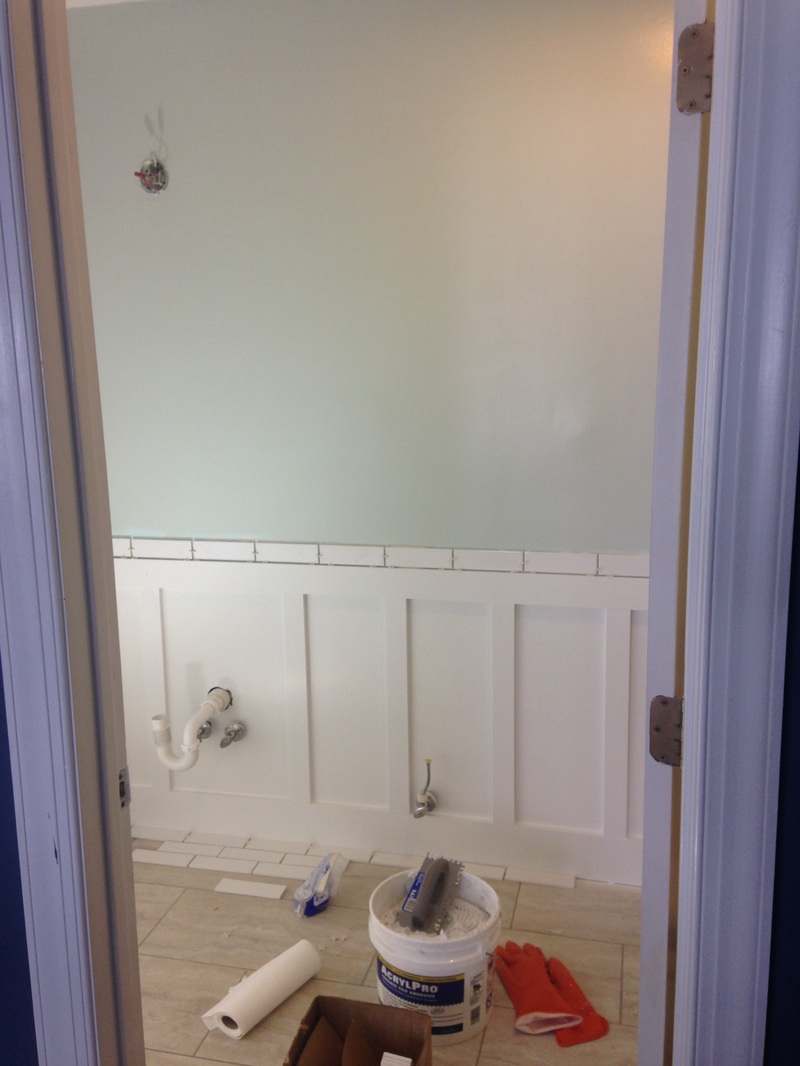 You can see in the above photograph that we are also testing out that tile backsplash I enjoyed so much from the inspiration photo. While my budget doesn't allow me to spend $10 a square foot on mosaic tile, it did allow me to buy 14 square feet of elongated subway tile (a whopping $15 total). Apparently I bought about twice as much as I needed because after installing we still had almost a full case left over! 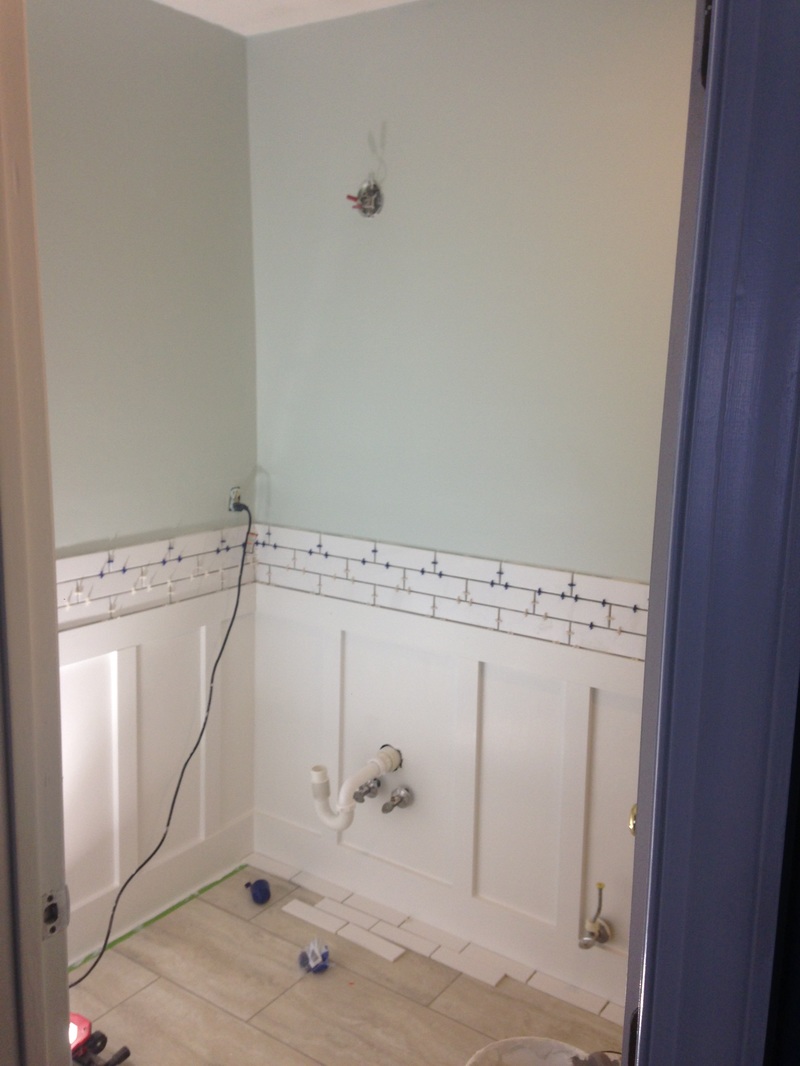 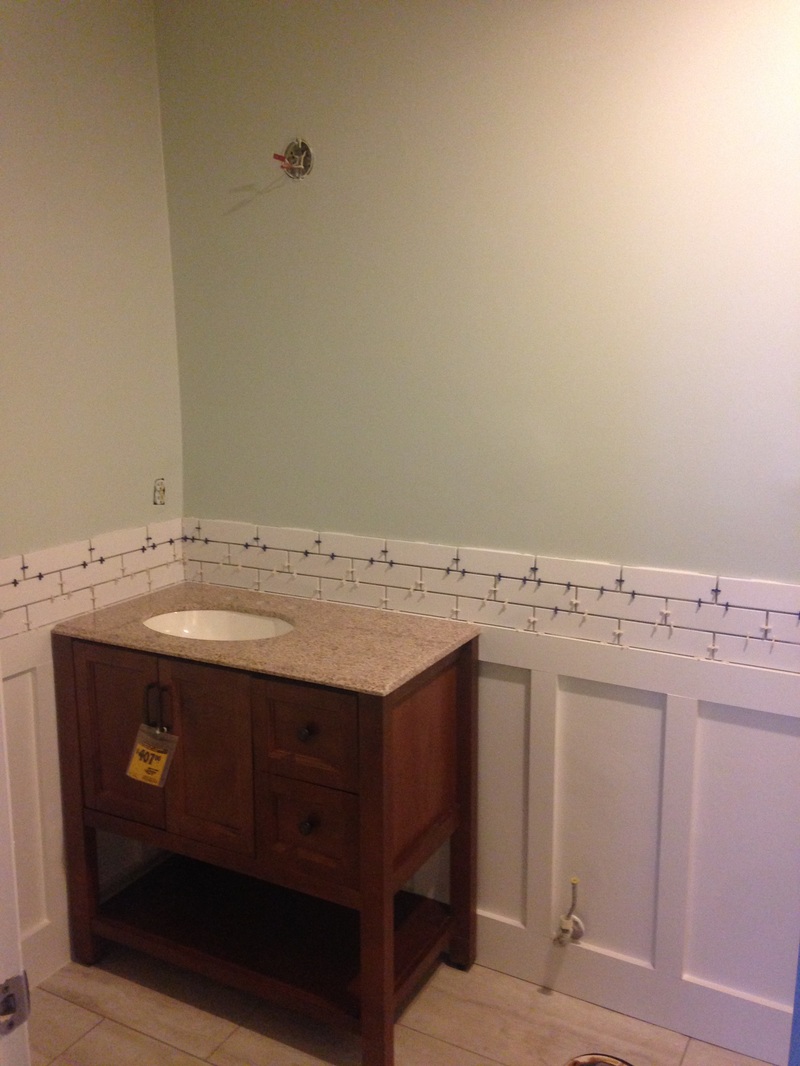 Don't worry, my frugal friends! I didn't spend $407 on that vanity! Between the one I bought in-store and the exact same one I found on Craig's List (both now in the guest bathrooms), I spent a whopping $400 on the two of them. Nice. 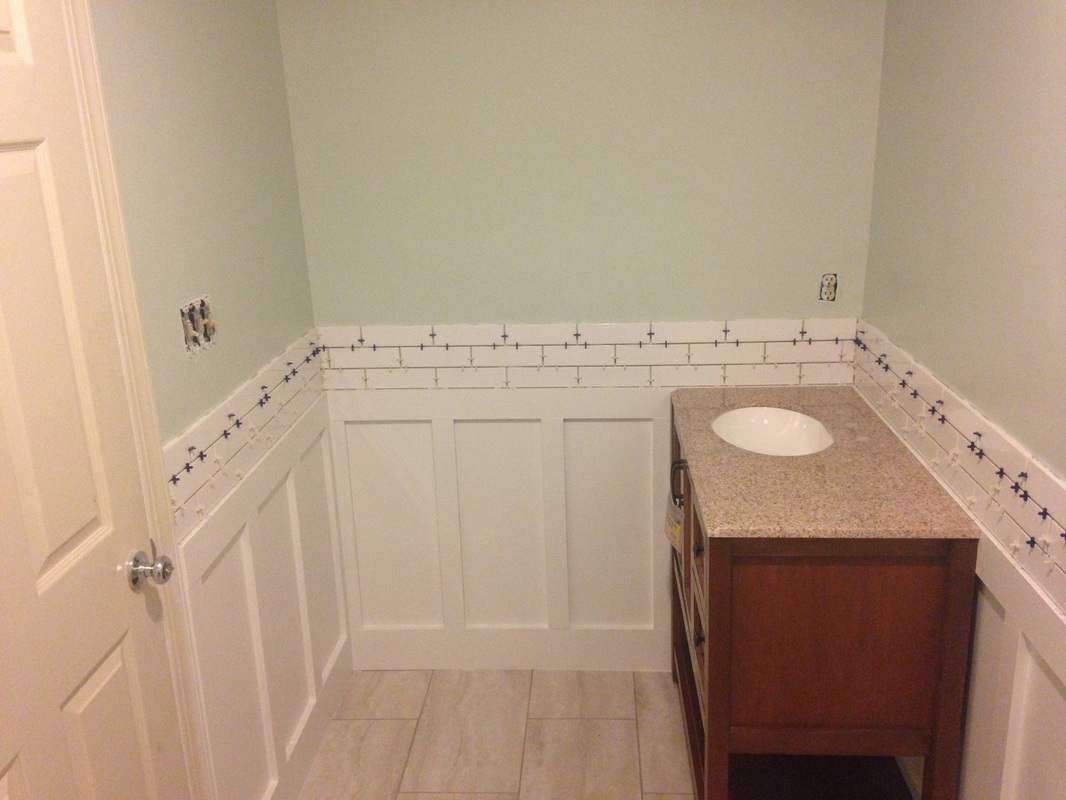 Now all that is left is to:
So apparently I never wrote a post about how we framed up the master bathroom. Well, to recap, this summer we ripped down the ceiling in the kitchen when we tore down the kitchen wall. When we removed the ceiling, it exposed the plumbing to the master bathroom. Not like this mattered one way or the other, except that I wanted to gut the bathroom - so this was the time to do it. Pressure was on because we really, really wanted to finish the kitchen, but that could not be complete until the master bath was replumbed. 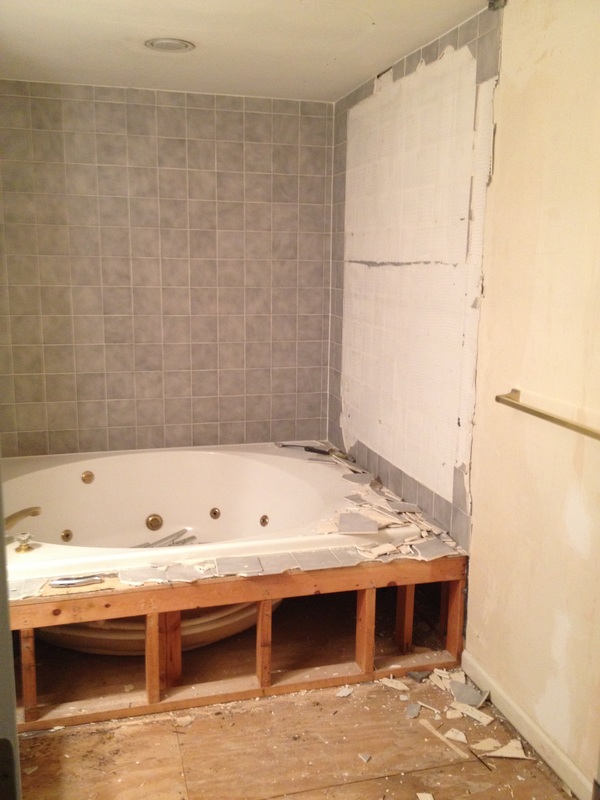 First on the list was to remove the old garden tub. Thanks to my awesome students, that was easily accomplished. Check! Next, we had to figure out some sort of layout. I went back and forth on this for a while, but finally decided to move the toilet across from where it was originally (and now behind the door), install a double vanity, have a smaller stand-up shower, and a relatively large closet (where the tub used to be). 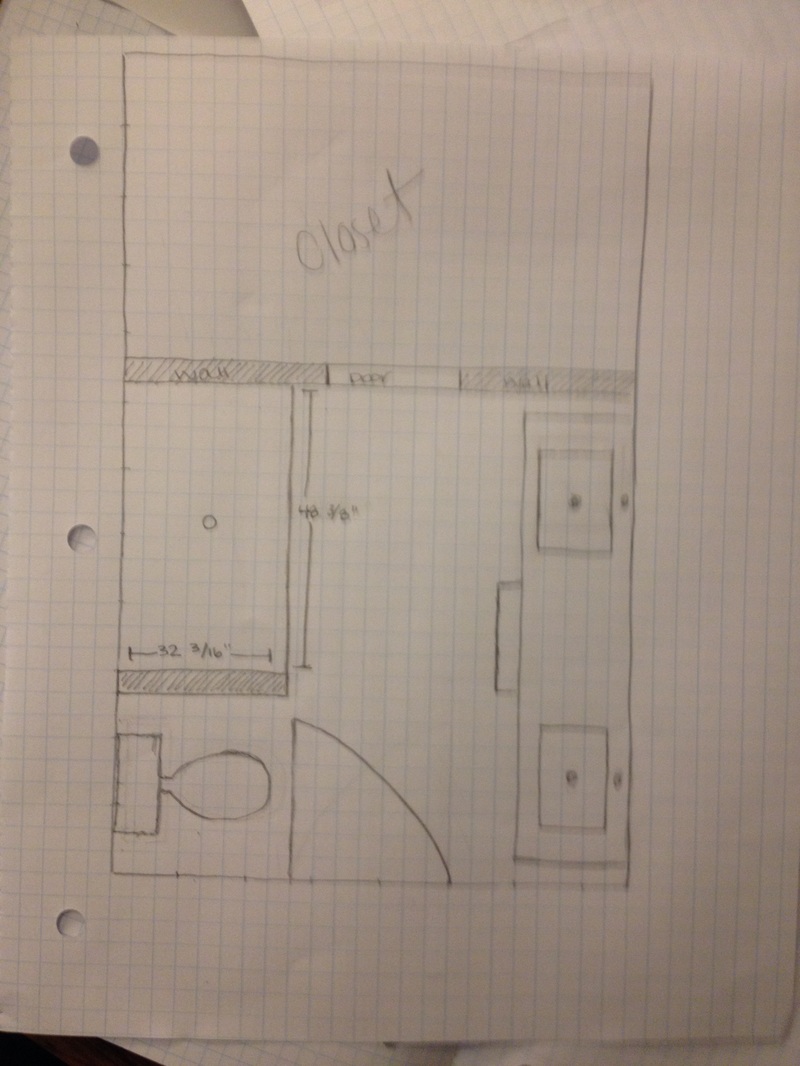 My dad was really the one who convinced me to go with a double vanity. He said, poignantly, it was better for resale. On a plus side, it could actually work in this space. The downside - the toilet is behind the door when it opens. Hopefully, however, no one is opening the door on you when you are using the golden throne! Since we gutted the bath, it was time to put it all back together. We now had my makeshift frame, so Brian and I put Terry to work to help us get the framing done. I was skeptical about putting the closet in the bathroom, however I'm really happy we decided to because it helped support the ceiling in the space. For real - framing up that wall alone raised the ceiling by about 2 inches! Yikes! 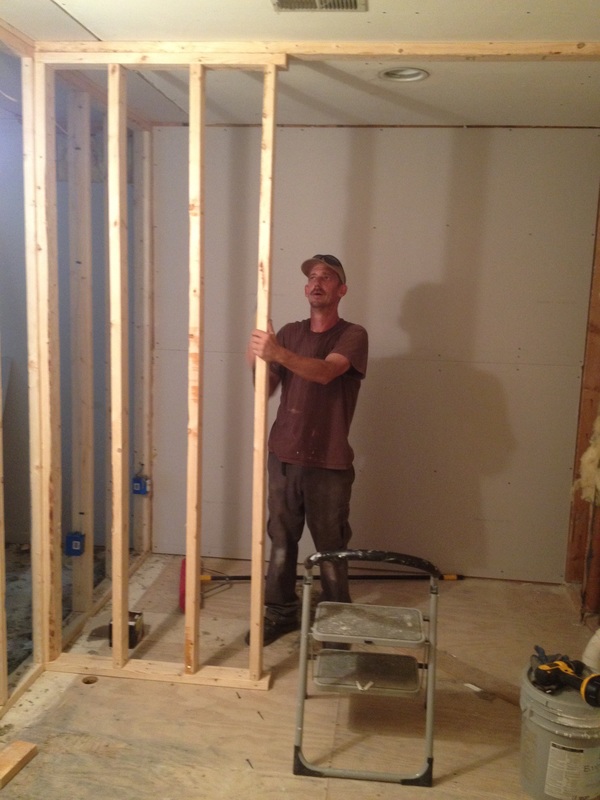 We were originally going to go with a pocket door (I bought the kit and framed the walls accordingly), however after some chats with my pops and his insistence on the walls being perfectly level (or else it is the worst experience in the world), I've decided that a barn door might work better. 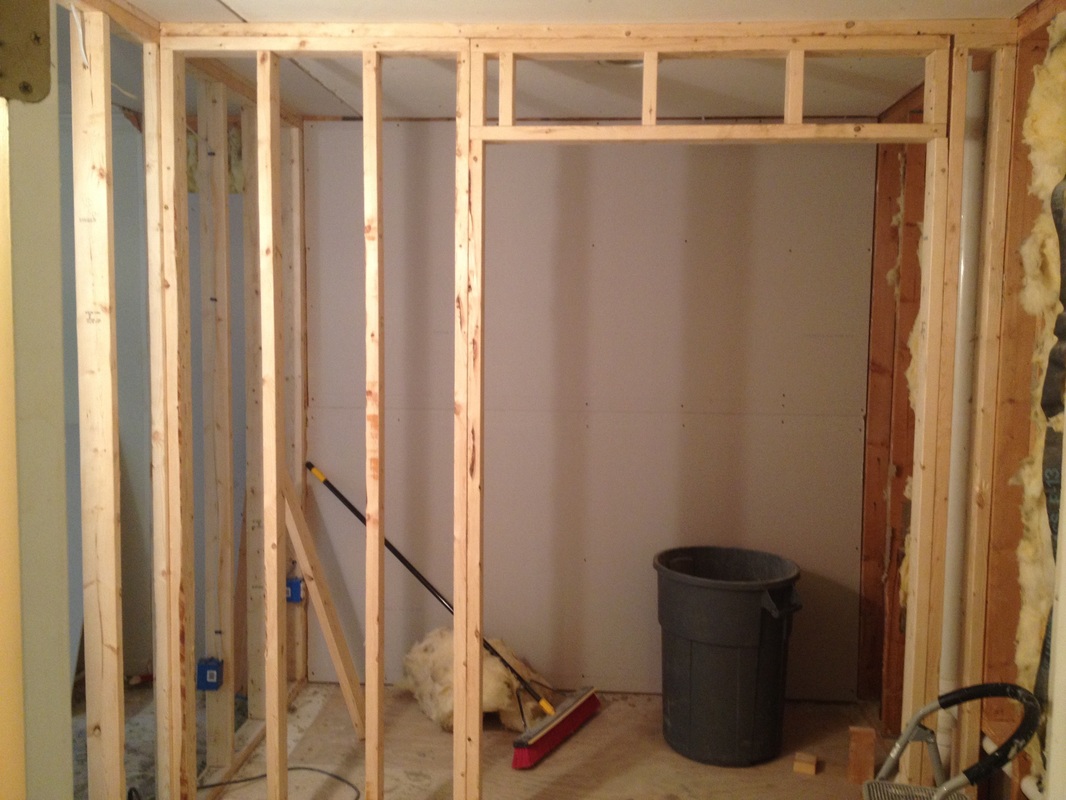 The bathroom stayed like this for about 2 months until the shower pan came in the mail. Tim-the-plumber then came in and replumbed the entire space. He moved the toilet from one side of the room to the other, and plumbed the right wall for my double sinks. (Tim also "forced" me to make my DIY double vanity so that he could get the measurements right.) Once he was satisfied that nothing would leak, Brian and I continued framing in the shower. 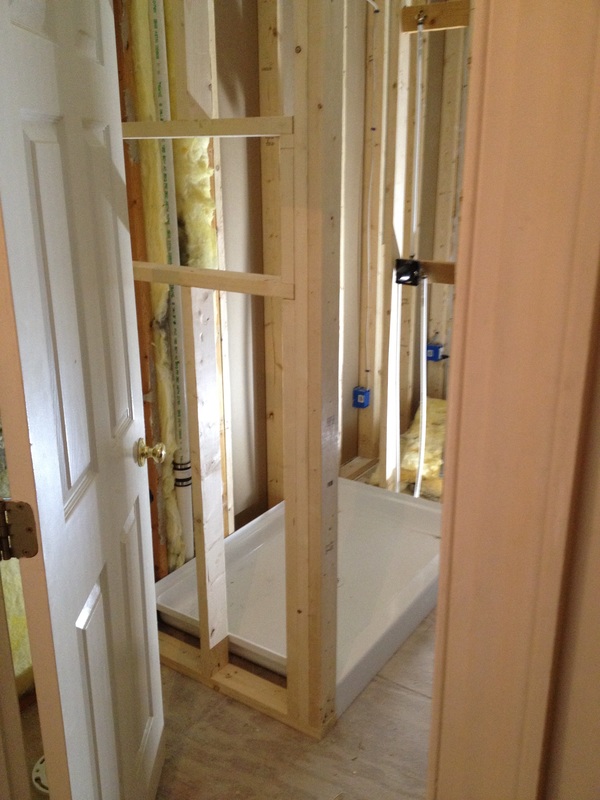 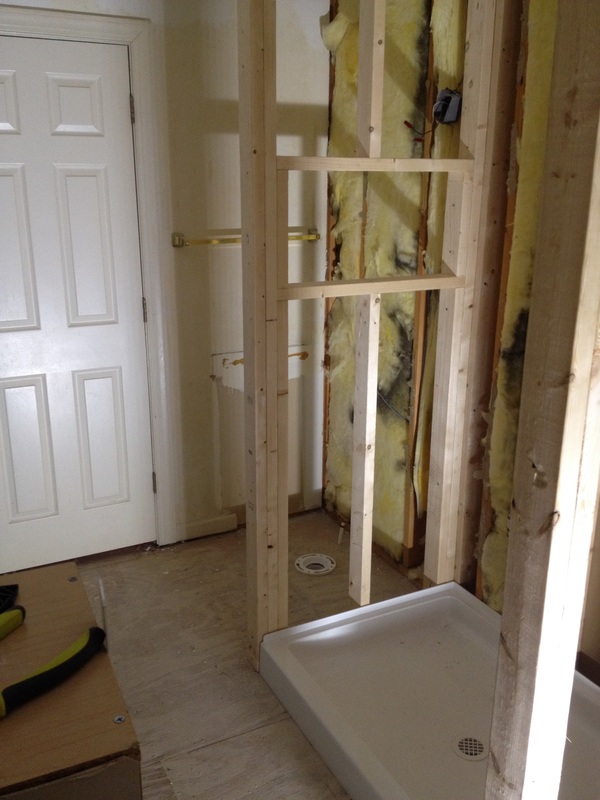 Below is a view from the toilet area, looking at my almost finished DIY double-vanities. 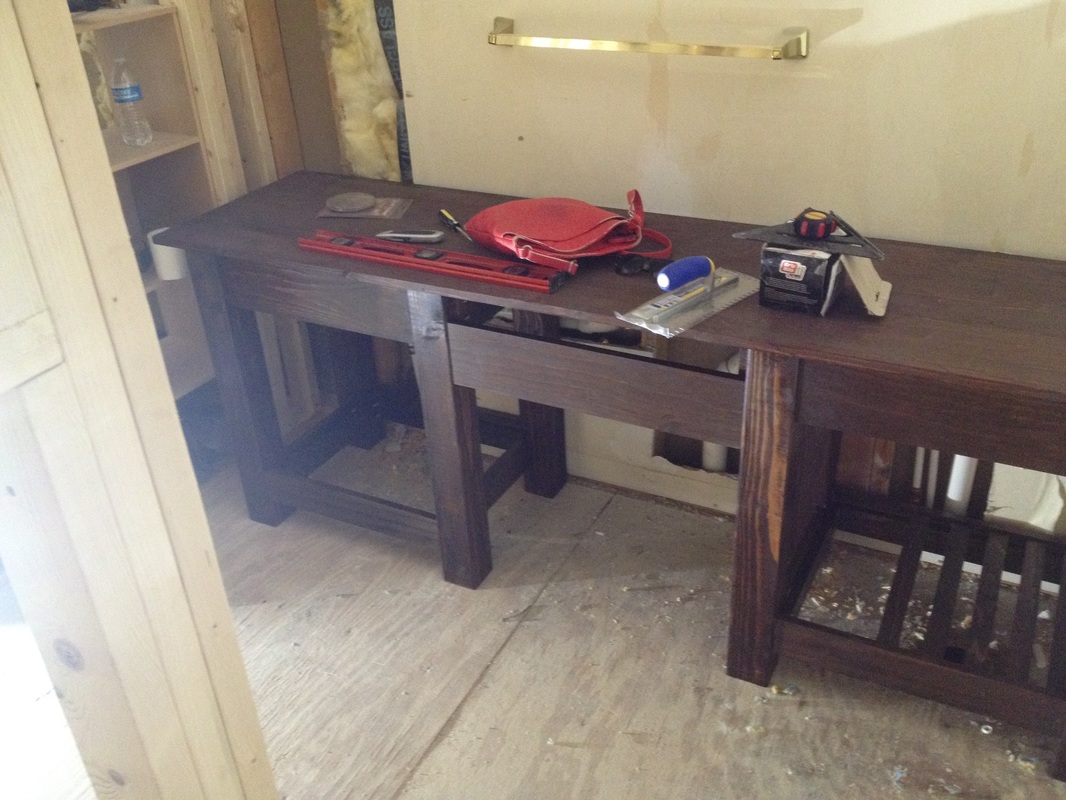 My only regret in the entire bathroom experience is that we stupidly didn't lay luan down before framing up the walls. Oh well. You live and you learn!
|

about meHi! I'm Lauren! I'm a twenty-something teacher and homeowner in North Carolina. I love math, decorating, and getting down and dirty learning new things about home renovation and repair. Categories
All
Archives
December 2018
|
 RSS Feed
