|
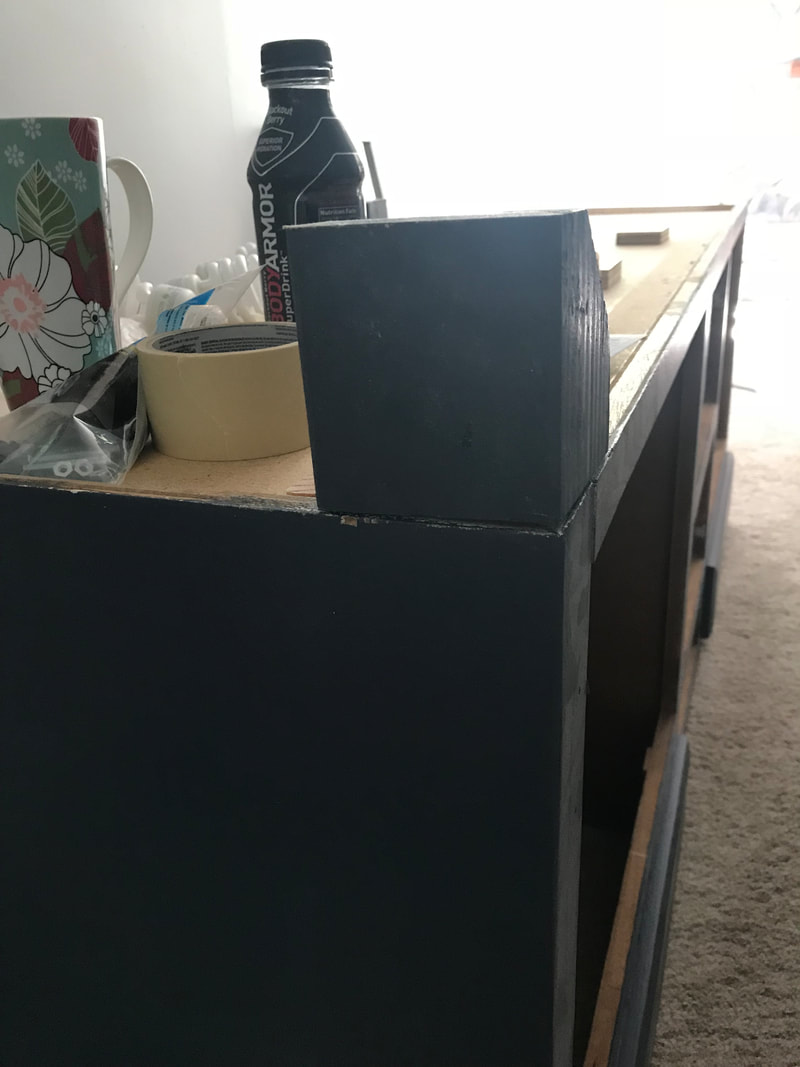
So we wanted to keep the master bath remodel under $5,000, and a huge expense in bathrooms is the vanity. Honestly, I think we spent under $3,000 total (!!), which included all drywall, beadboard, faucets, sinks, light fixtures, the toilet, cement backerboard, floor tile, luan, new exhaust fan, bath accessories, paint, shower tile, and the vanity (and everything else that I missed). So, the vanity. I am in LOVE with Ana White's website, and I had all of these plans of building my own vanity to keep costs down. And I DID build my own vanity! However, when two years go by from the time you start something until when you decide to finish it, sometimes things get repurposed (i.e. a vanity turns into a desk that fits perfectly in a little window alcove). 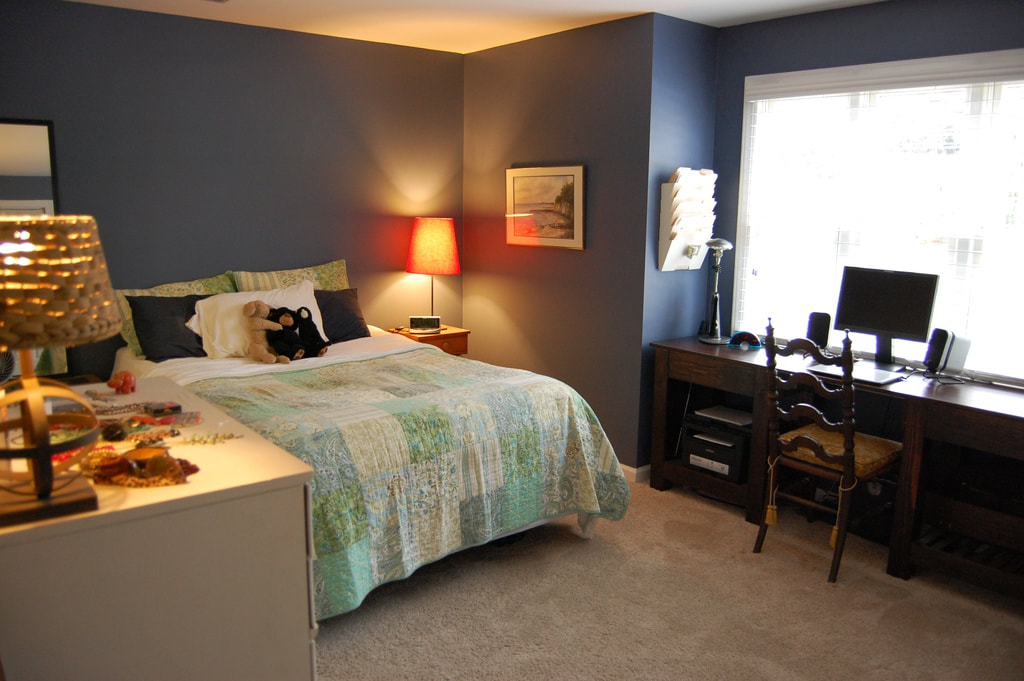 We put the vanity that I built back in the bathroom to see how it looked with the beadboard, and I really liked it, but I was pretty nervous about the storage situation. The "spa" feel of the vanity seemed nice at first, but the thought of no drawers and no cabinets really started to bother me. Where would you store extra towels, or toilet paper, or makeup?! Plus, then we'd be down a desk! 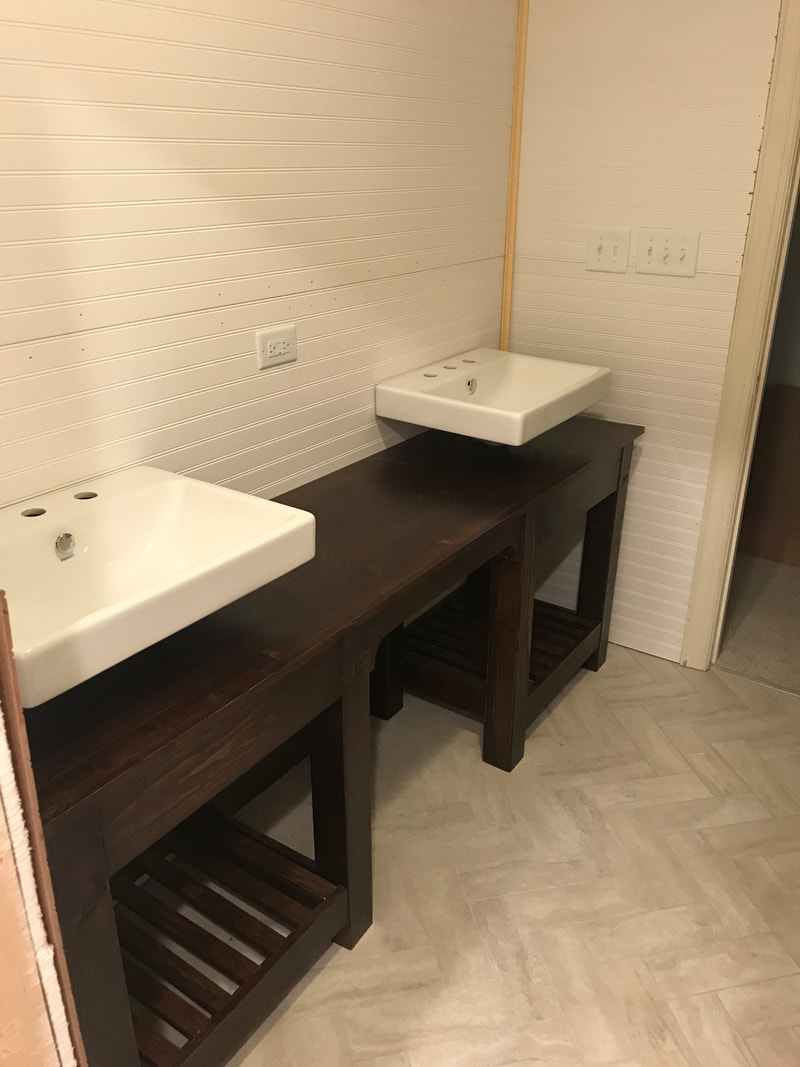 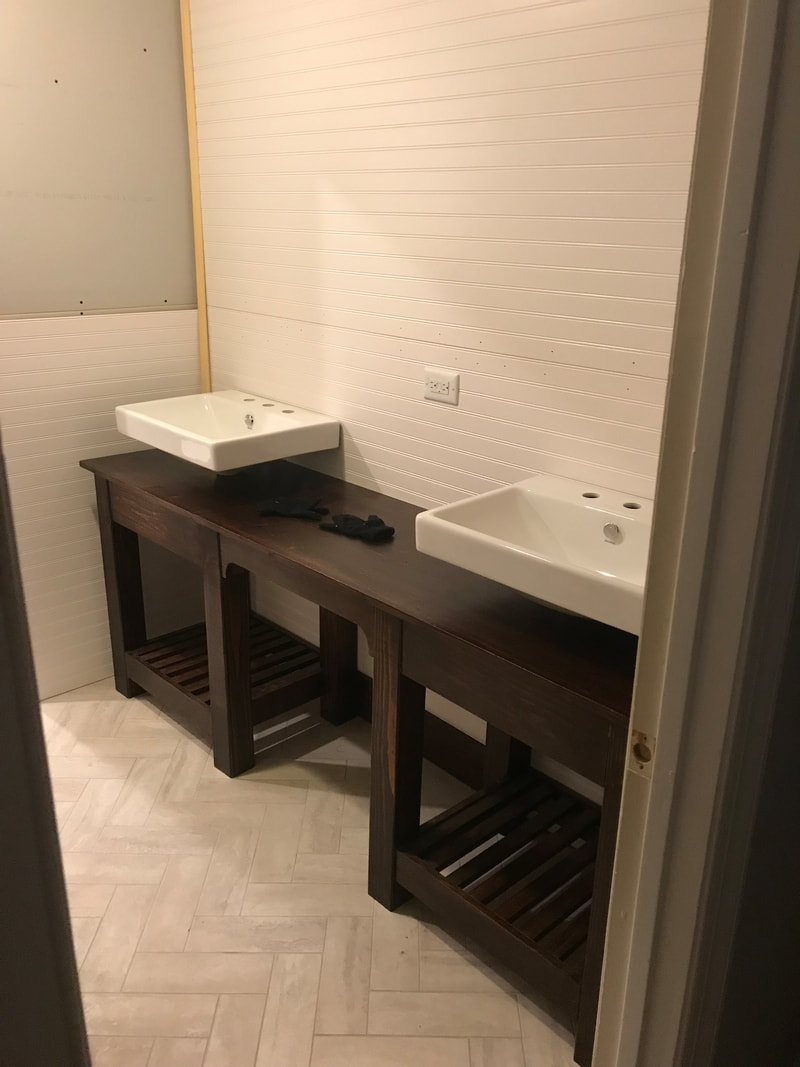 So my search continued until I found a 72" builder grade cabinet for $30 on Craig's List. Unfortunately, I don't have a "before" picture of the vanity, but if you can imagine a 20 year old dark brown cabinet with 1980's handles, then you'll understand what we started with. To spice it up, it got a nice paint job, some furniture feet (I made out of 4x4 scrap lumber), and some new hardware. 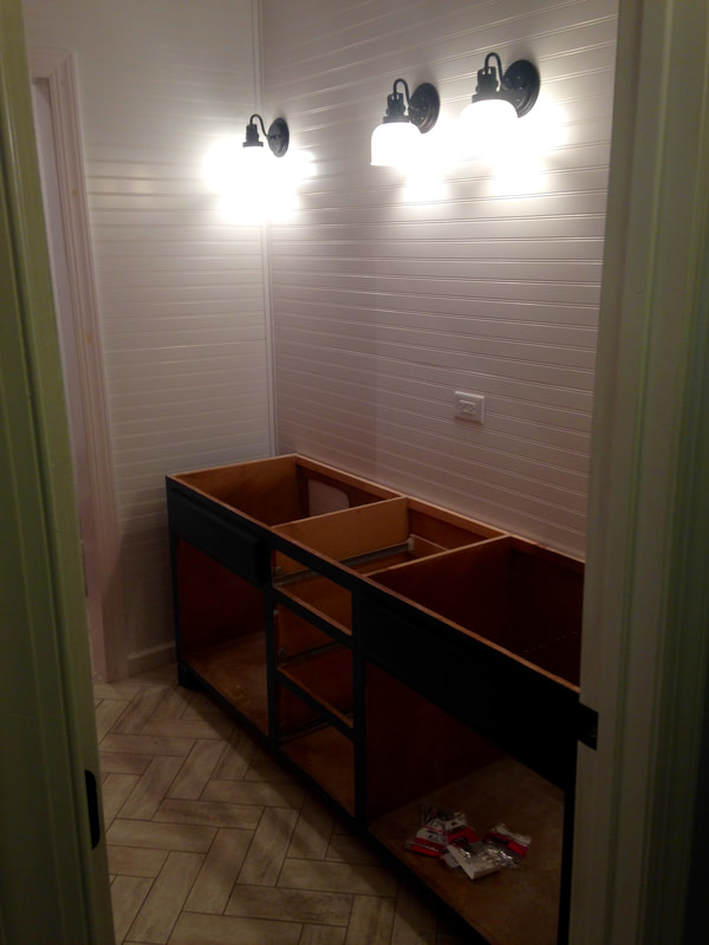 To add height to the cabinet and some extra spice, I built furniture feet for the base. I first demoed the existing base (think of any typical "built in" cabinet with a toe-kick), then added a scrap piece of wood to level the base with the plywood sides, and then fixed the furniture feet to the bottom of the cabinet with L-brackets. I was originally going to buy some fancy furniture feet for the vanity, but they were really expensive and didn't really match the existing cabinet.
You can't really tell in the picture above, but I had initially painted the cabinet a dark navy blue. Once we settled on the Ikea Ekbacken countertop in "concrete effect," the vanity looked too dark for the space. I decided to mix a bunch of colors I already had to create a custom blue-grey color. The pictures on my phone make it look almost like Carolina Blue, but in reality it is more of a light grey with a blue undertone. 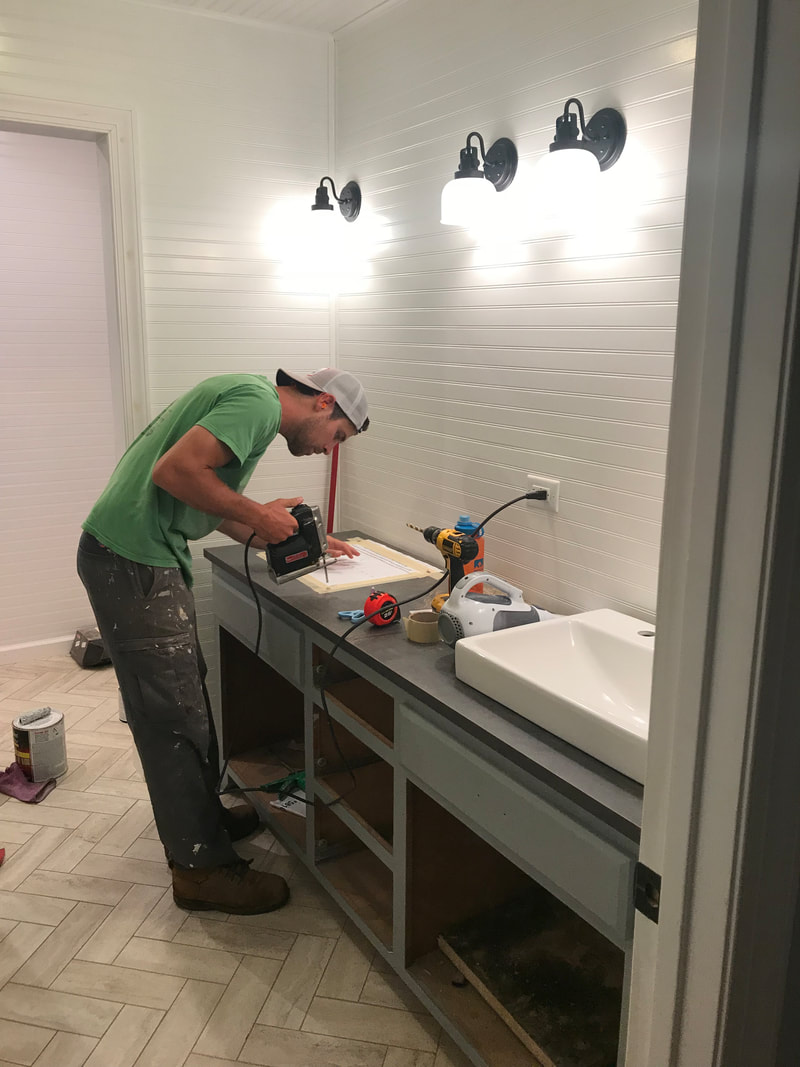 We went with the Ikea countertop for a variety of reasons. First, it was cheap ($100) and looked great. Second, it was long enough to fit the vanity AND we were able to use one of our cut pieces as a backsplash. Third, it was a thinner countertop than other ones we saw, which was perfect since we were using vessel sinks. 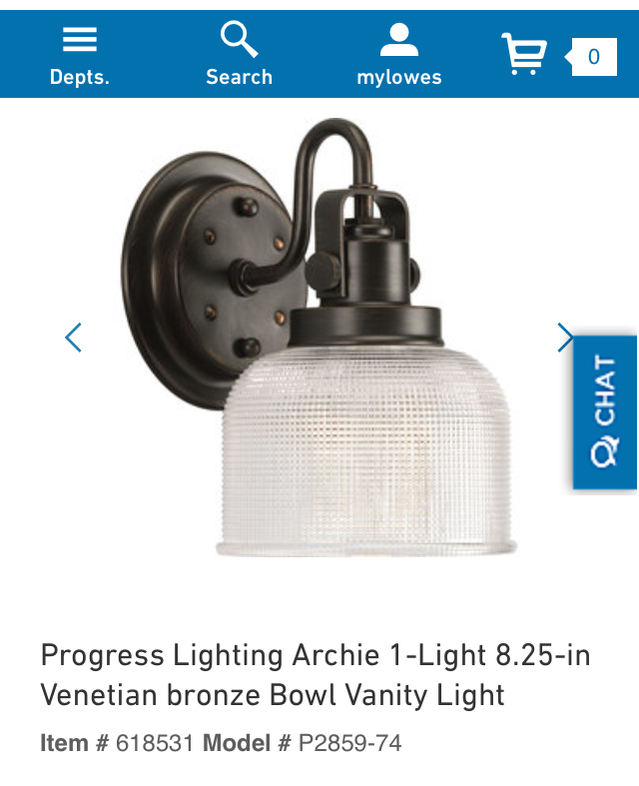 And since they have been in a bunch of photos already - my lights! I LOVE my lights. They were on super-sale at Lowe's, but unfortunately they were sold out! I ended up finding four of them on an Amazon Warehouse deal for only $25 each!!!! STEAL! 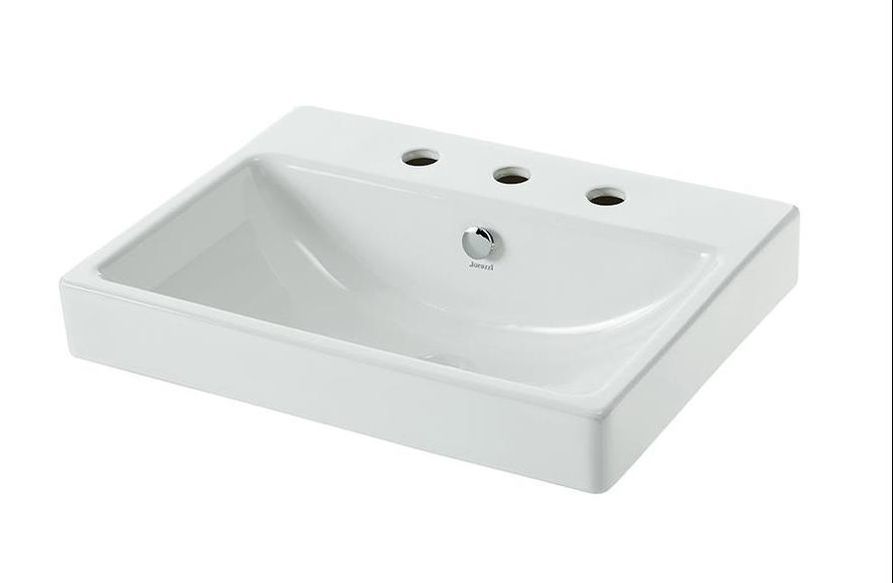 My sinks are Jacuzzi Anna Farmhouse vessel sinks, also available at Lowe's. They are pretty wide but narrow, and aren't too tall. Nice price and look great! I love them!
0 Comments
Wow it has been a long time since I've updated. Well, as many of you know, we actually sold the house back in June - however I still have so much to show you! Let's start with the master bath remodel. To remind you what the bathroom used to look like.... 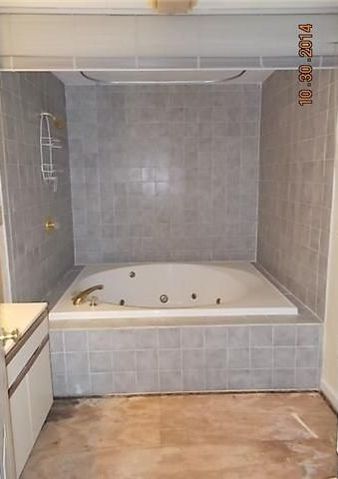 Woof. Well, we gutted the bathroom, rebuilt the bathroom, laid the flooring, and then stopped working on the bathroom for about a year so we could work on other projects. The master bath was our last BIG project in the house, and it was so much fun because it was the only room that really was a complete remodel. To avoid mudding the drywall, we decided to cover it (both the ceiling and walls) with beadboard - a decision Brian was very nervous about in the beginning. 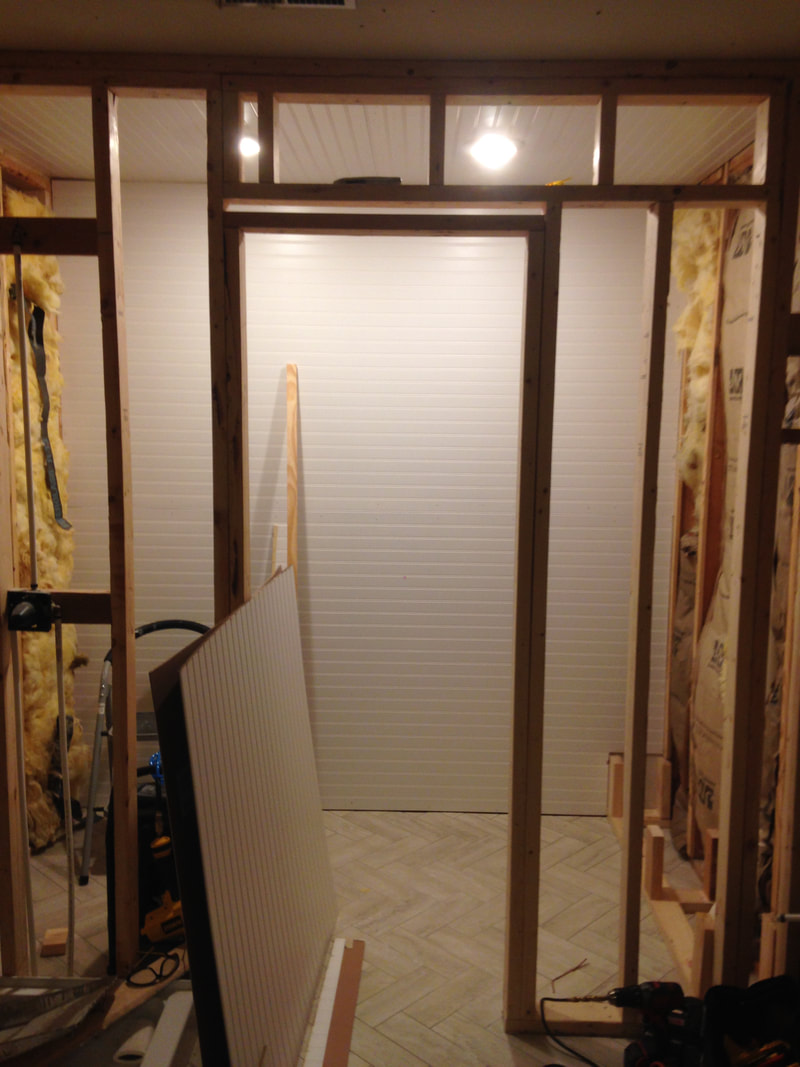 I would definitely say that installing beadboard is not for the faint of heart. It took us a much longer time to install it than we had anticipated, added significantly to the cost of the bathroom, and the board looked pretty terrible at first because it tore easily. We attached the boards using construction adhesive and nails, used Bondo to cover any nail holes and fix any areas where the boards tore, sanded and oil primed the entire surface, and then caulked the seams where the pieces came together. Since there are no windows in the bathroom, I wanted to make the bathroom as bright as possible, so we painted with Ben Moore Chantilly Lace (which is basically bright white). 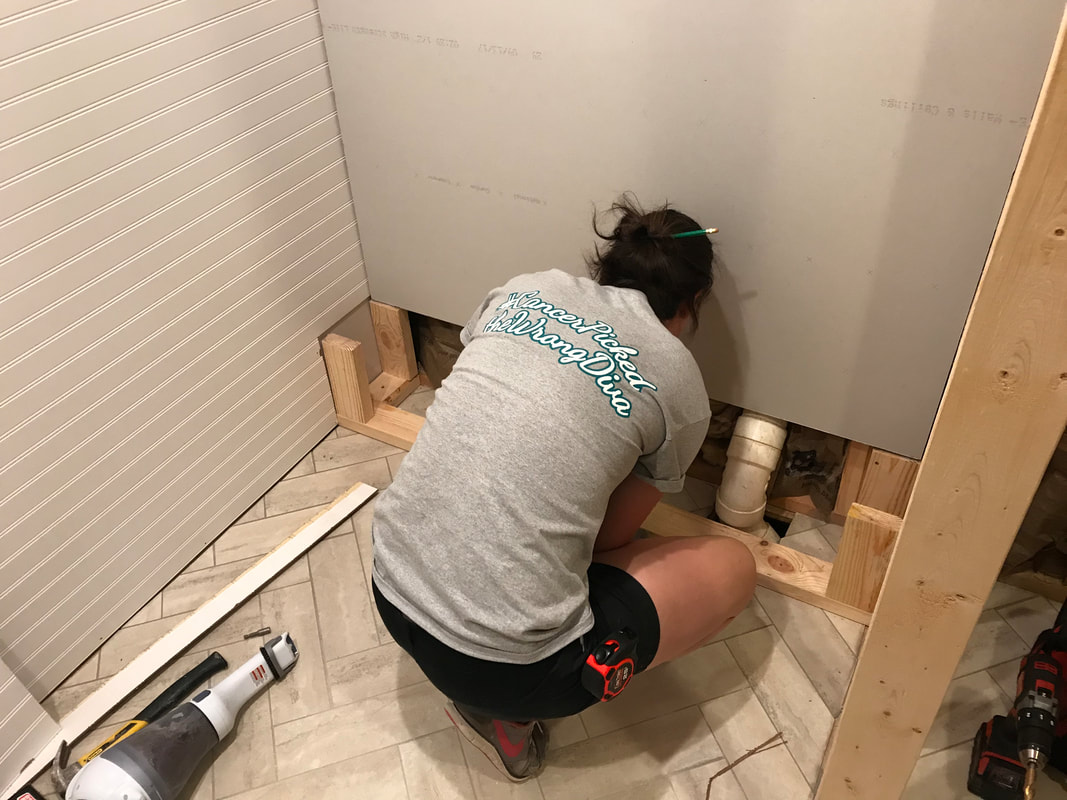 Here, I was working on building a soffit around a pipe in the closet area.  This view is looking from the closet area to wear the vanity and double sinks would eventually go. 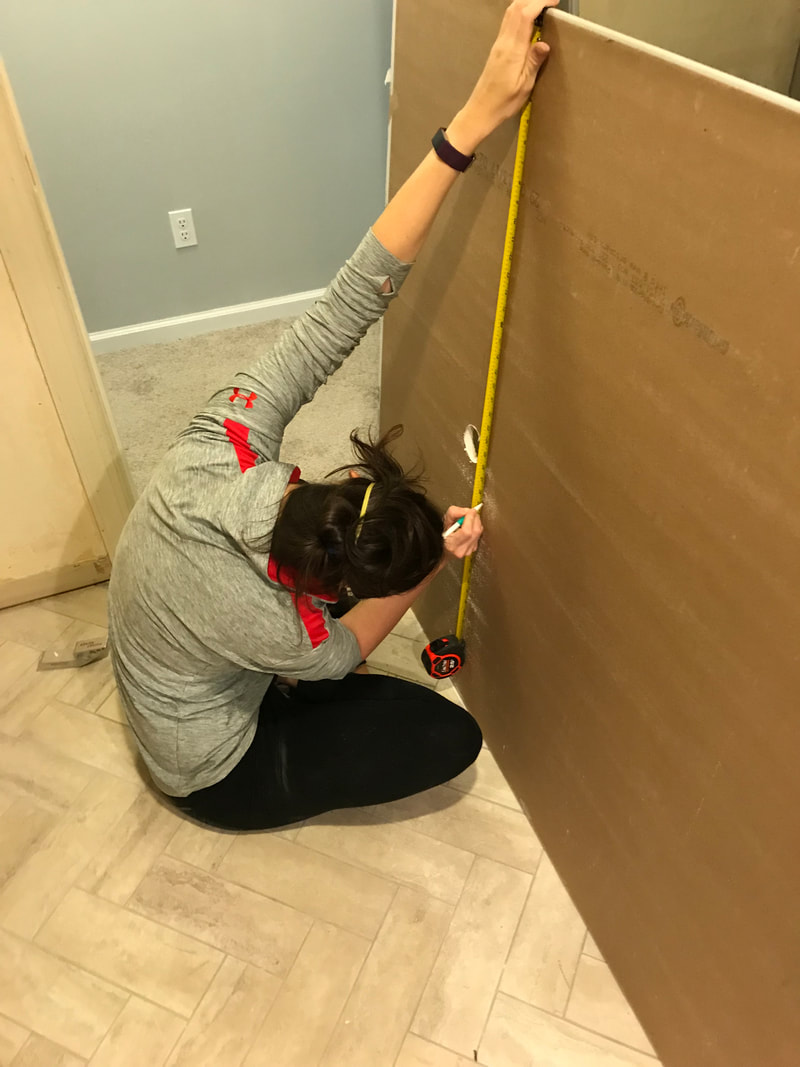 And of course, we had to measure and remeasure before drilling for the pipes. In the picture below, you can see we had already installed the beadboard on the ceiling. This was NOT an easy task, but it also wasn't the hardest project we tackled either. I would say it was more awkward than anything. Of course, we don't have any pictures of the process, but believe me when I tell you that I lost part of my contingency on this ceiling by cutting pieces the wrong way. Whoops! 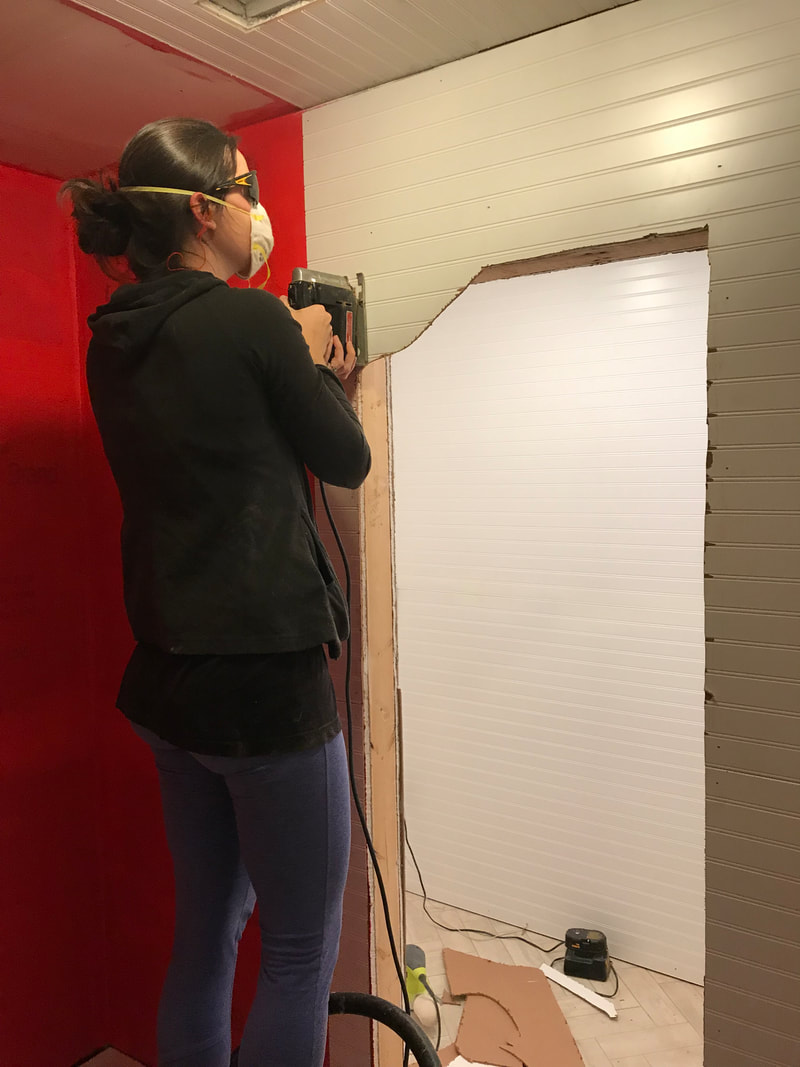 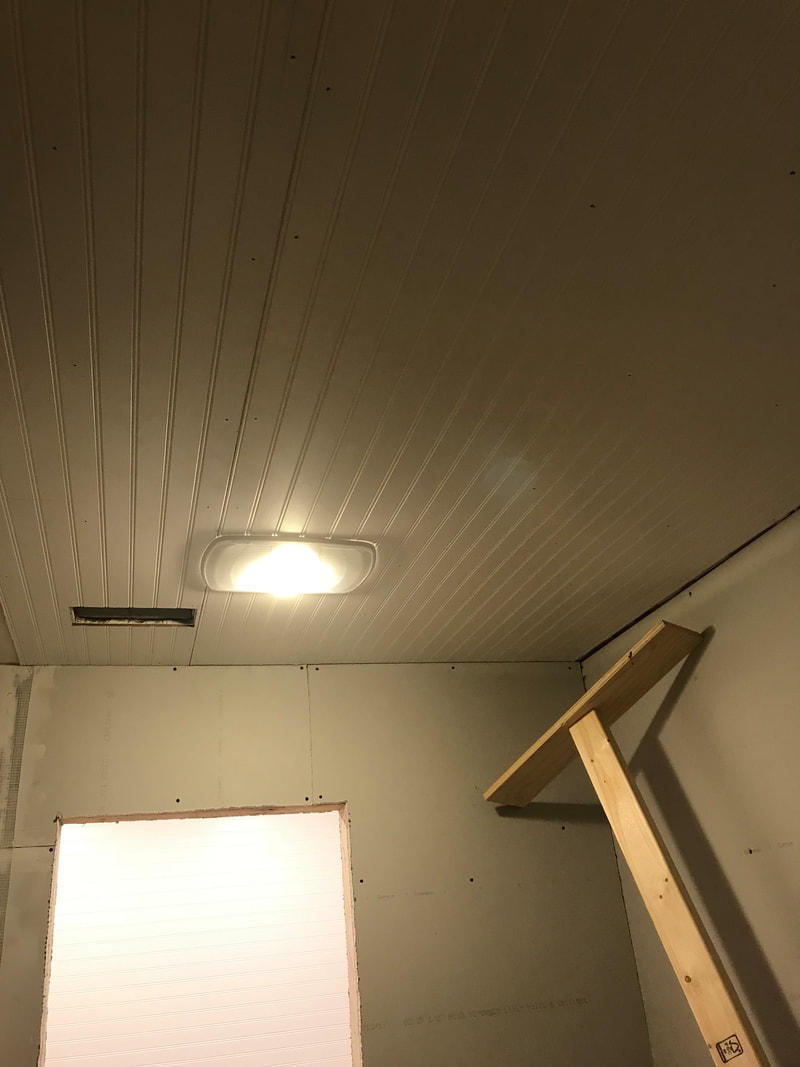 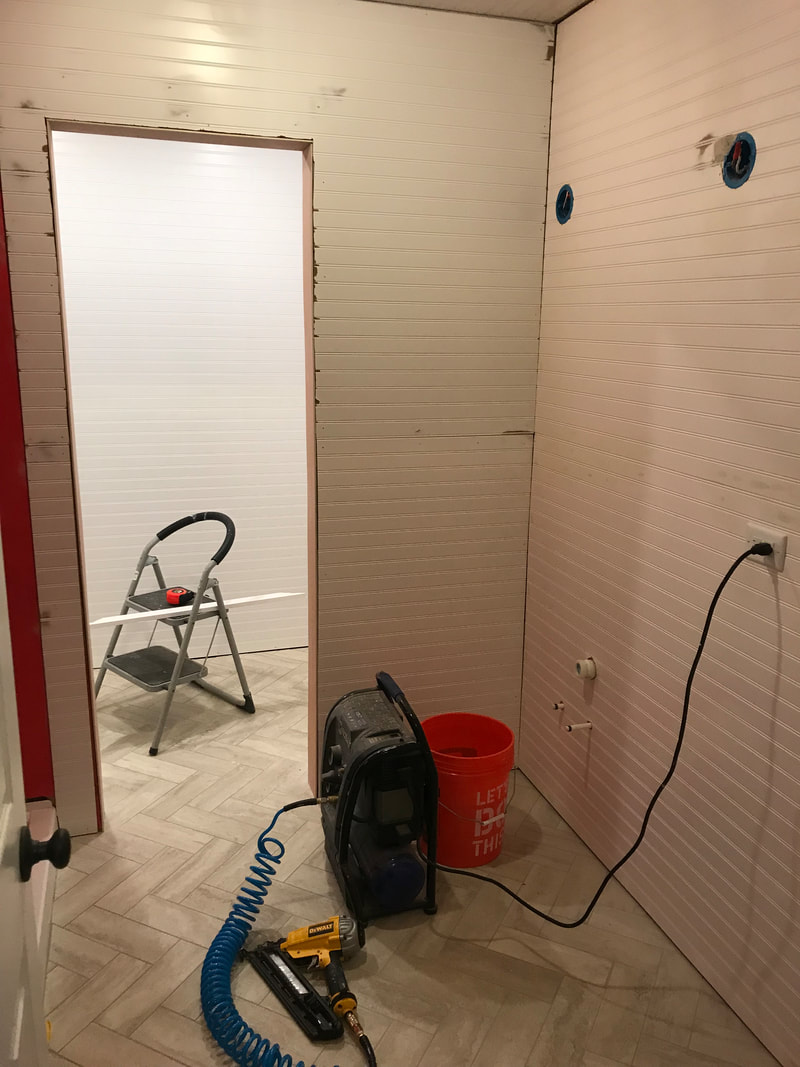 The trim and moulding made a HUGE difference in making the beadboard look "finished". You can really see in the picture above how damaged the board would get in the installation process. Below is a view toward the master hallway. That drywall was original and full of awful patchwork and wallpaper glue that was impossible to remove. We did NOT remove the door moulding before installing the beadboard on this wall; we simply worked around the existing moulding to save us time and hassle later. 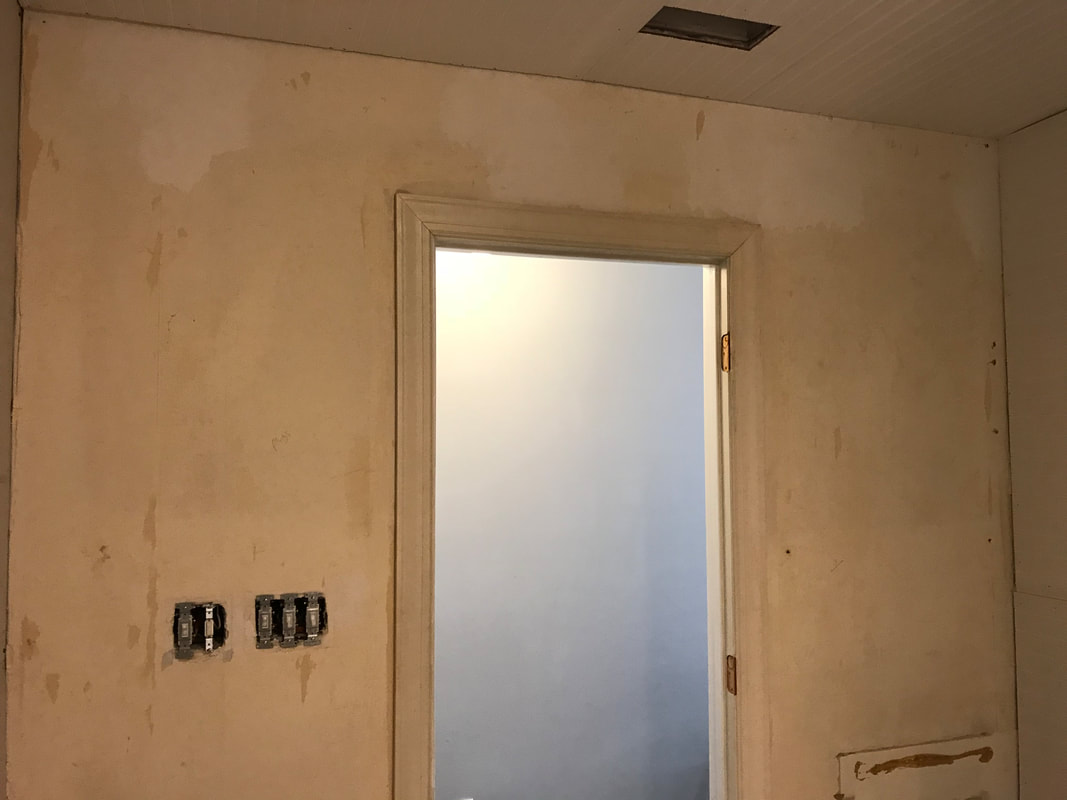 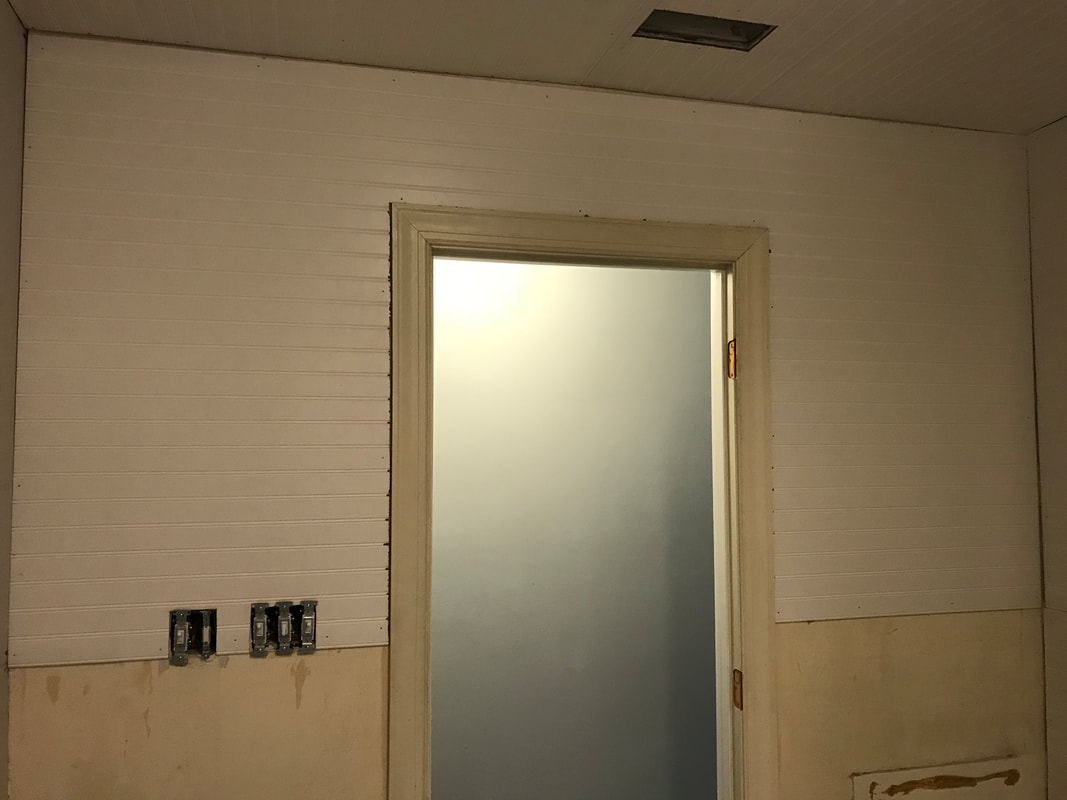 For the doorway leading to the closet, we opted to install luan over the framed wood because it is a relatively narrow opening. We figured in the future maybe we would install a barn door to make it more separate from the rest of the bathroom (but then we sold the house). 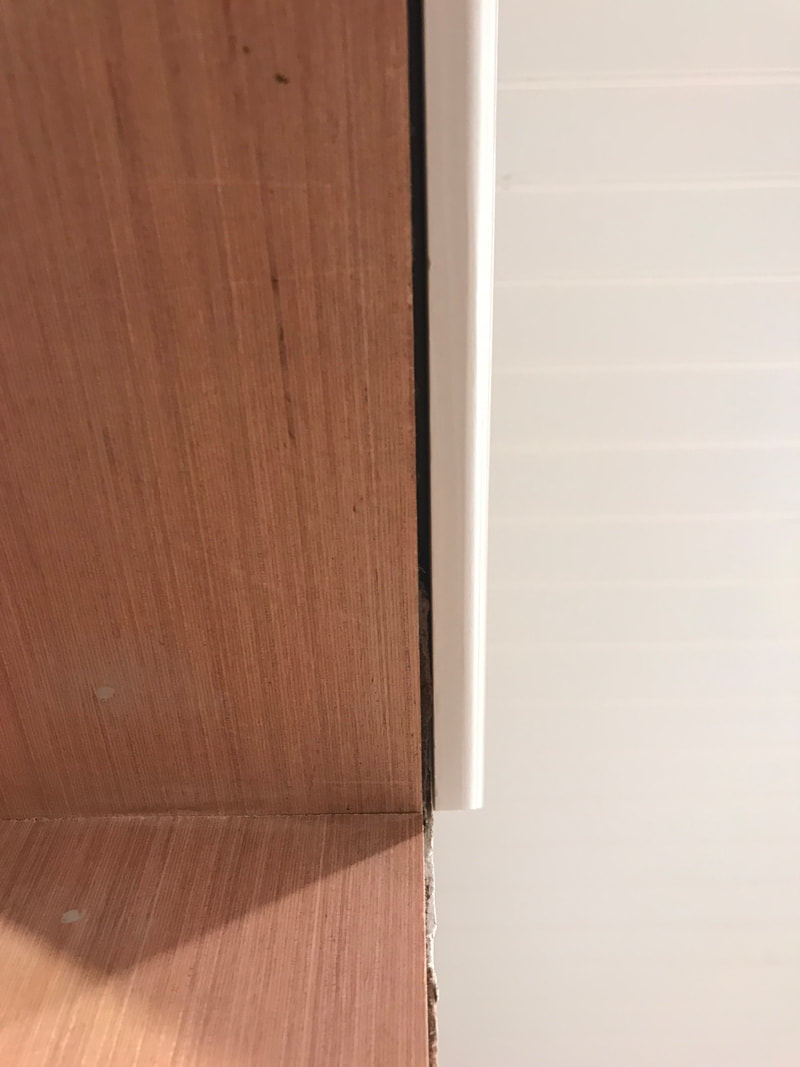 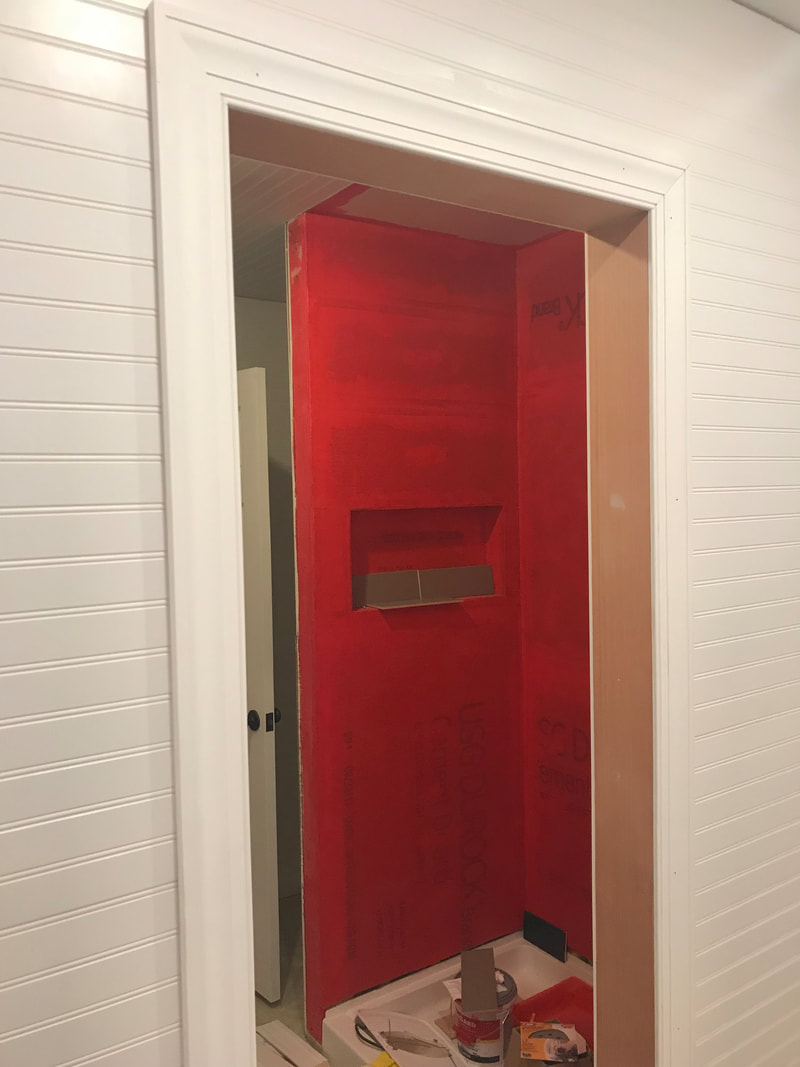 Incredible what a little bit of trim can do! I decided to go for a very minimal pvc moulding around the corners and ceiling because the beadboard was already pretty busy. For the base moulding, we installed the same stuff we had around the rest of the house. 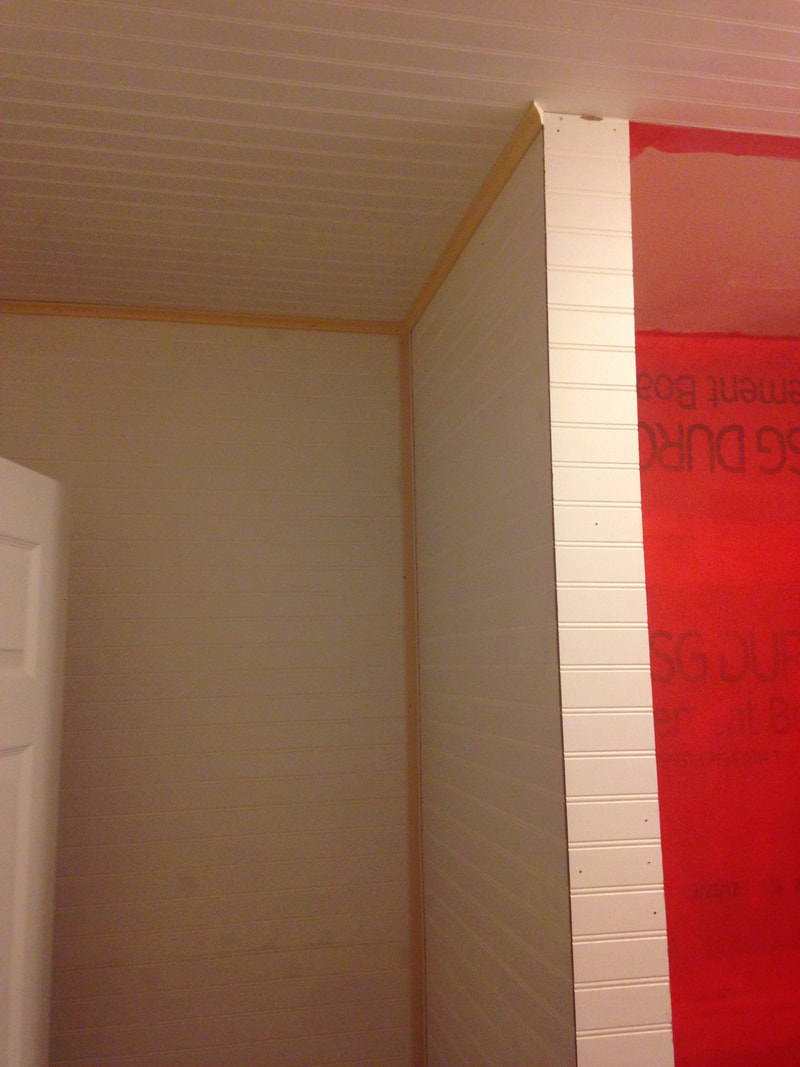 After I installed the trim and Brian Bondoed all of the nail holes (and there were a LOT of nail holes), we could finally start painting. Since the beadboard was installed in a "wet" area, I made sure to prime EVERYTHING with oil primer. Oil primer is not my favorite thing in the world, but the stuff works magic and we didn't want to ruin all of our hard work! 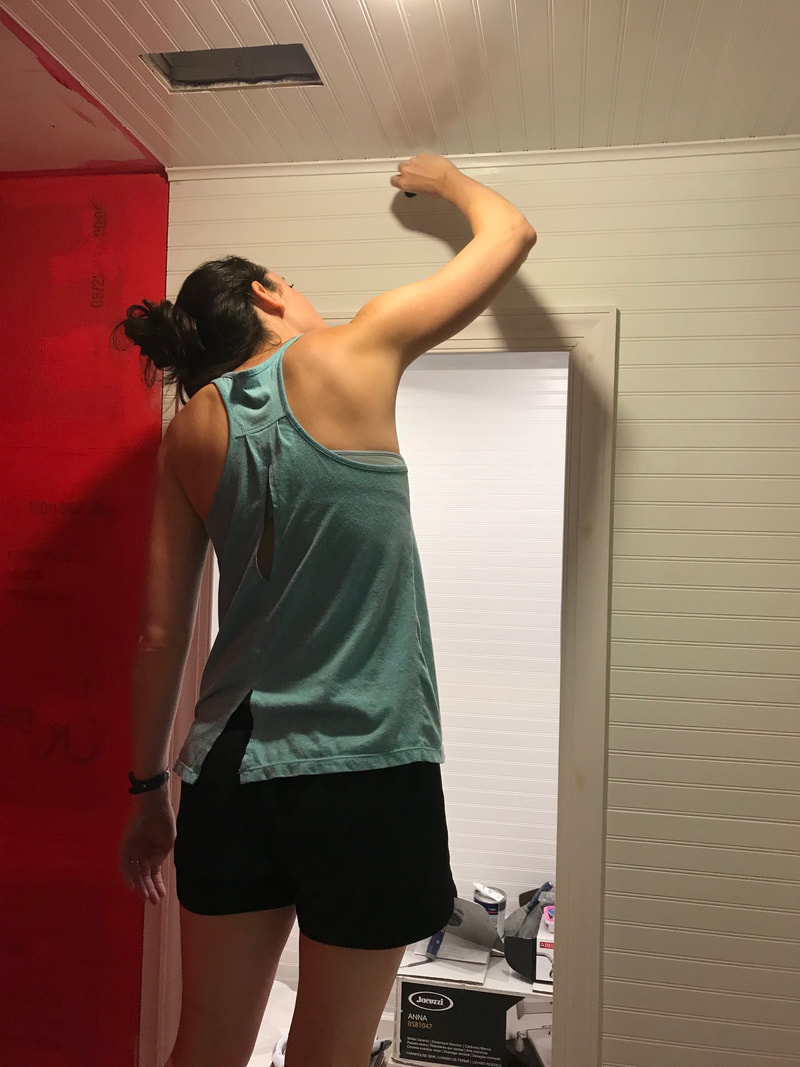 What a difference! What do YOU think of the beadboard look?! 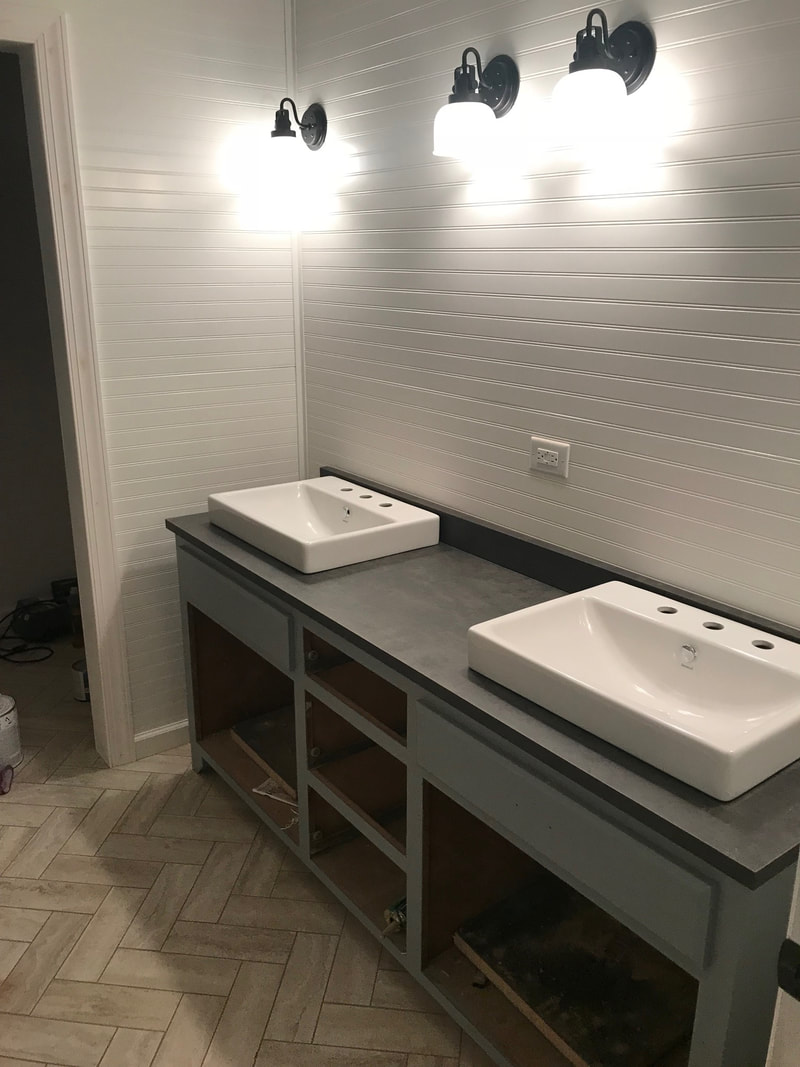 |

about meHi! I'm Lauren! I'm a twenty-something teacher and homeowner in North Carolina. I love math, decorating, and getting down and dirty learning new things about home renovation and repair. Categories
All
Archives
December 2018
|
 RSS Feed
