|
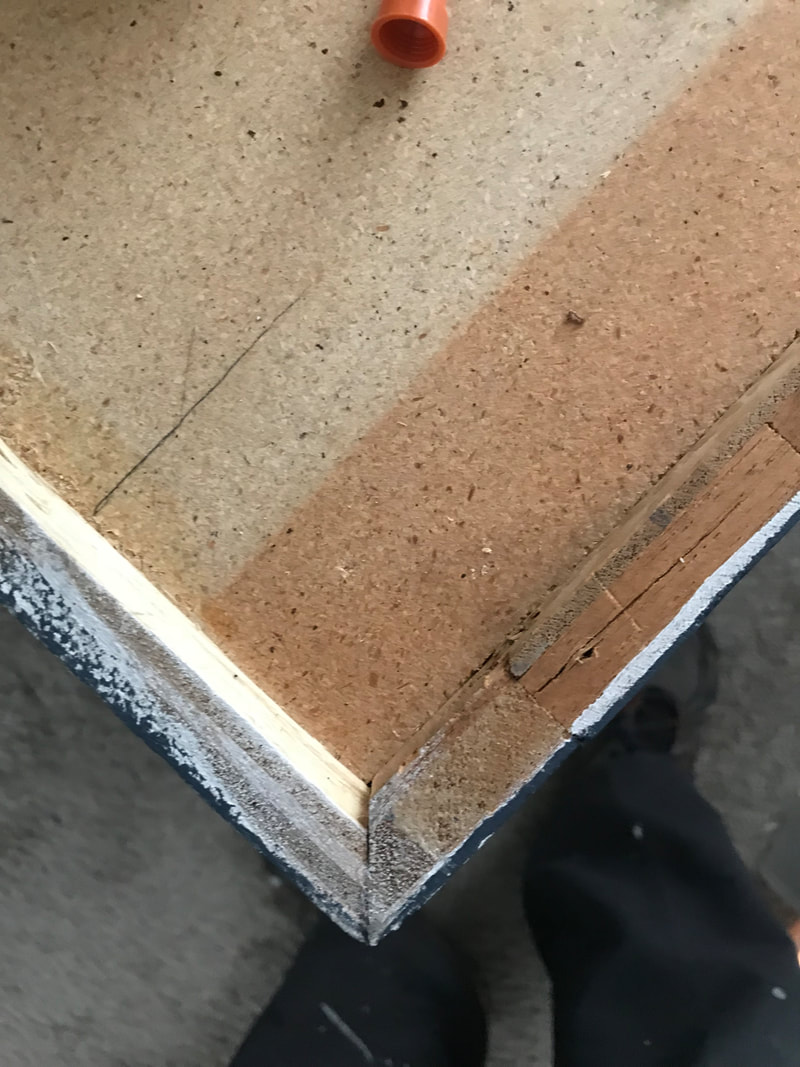
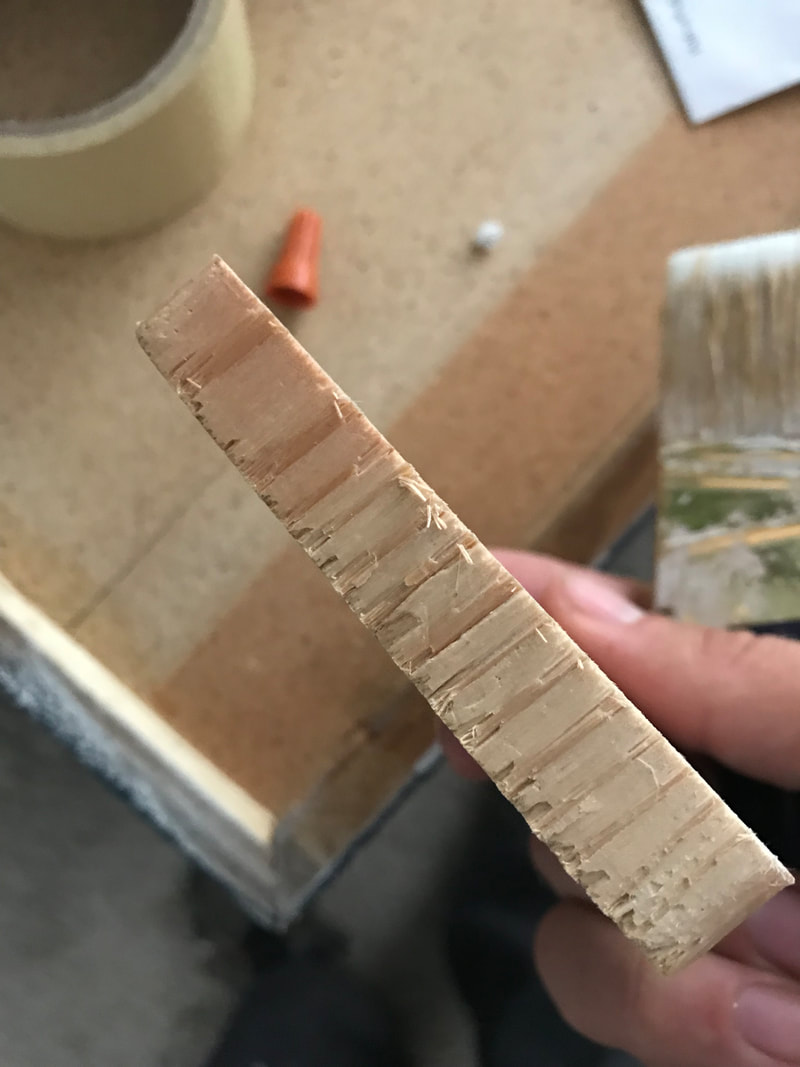
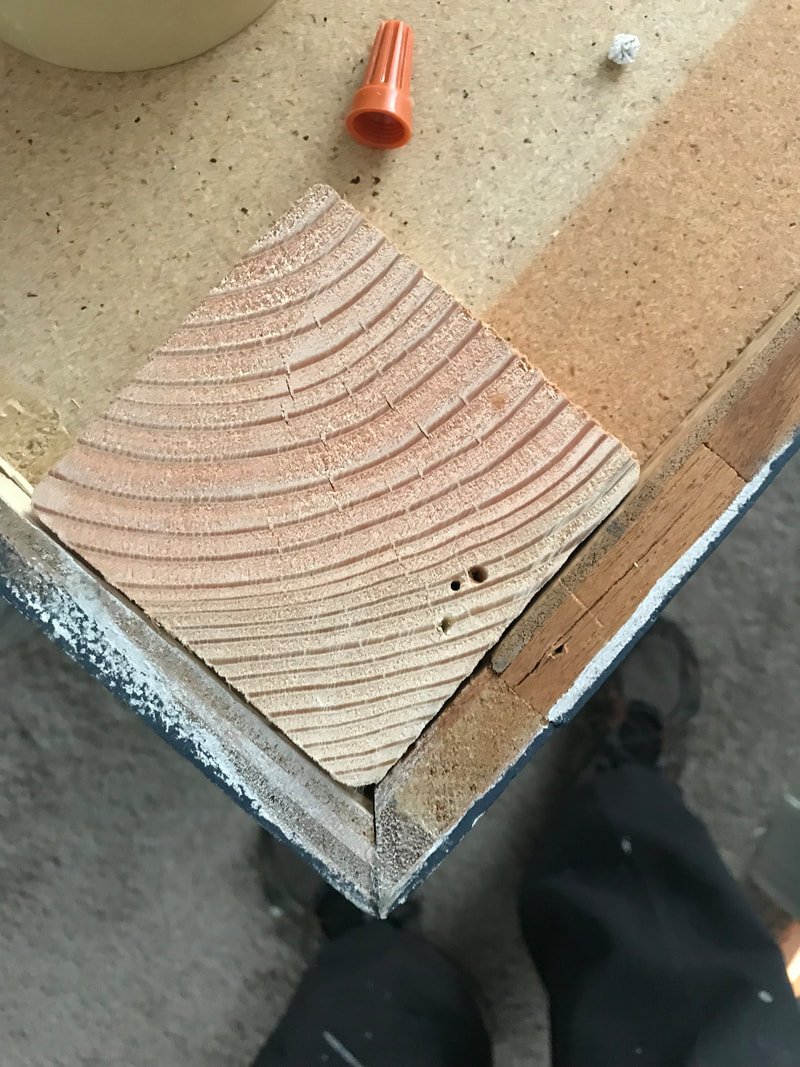
So we wanted to keep the master bath remodel under $5,000, and a huge expense in bathrooms is the vanity. Honestly, I think we spent under $3,000 total (!!), which included all drywall, beadboard, faucets, sinks, light fixtures, the toilet, cement backerboard, floor tile, luan, new exhaust fan, bath accessories, paint, shower tile, and the vanity (and everything else that I missed). So, the vanity. I am in LOVE with Ana White's website, and I had all of these plans of building my own vanity to keep costs down. And I DID build my own vanity! However, when two years go by from the time you start something until when you decide to finish it, sometimes things get repurposed (i.e. a vanity turns into a desk that fits perfectly in a little window alcove). 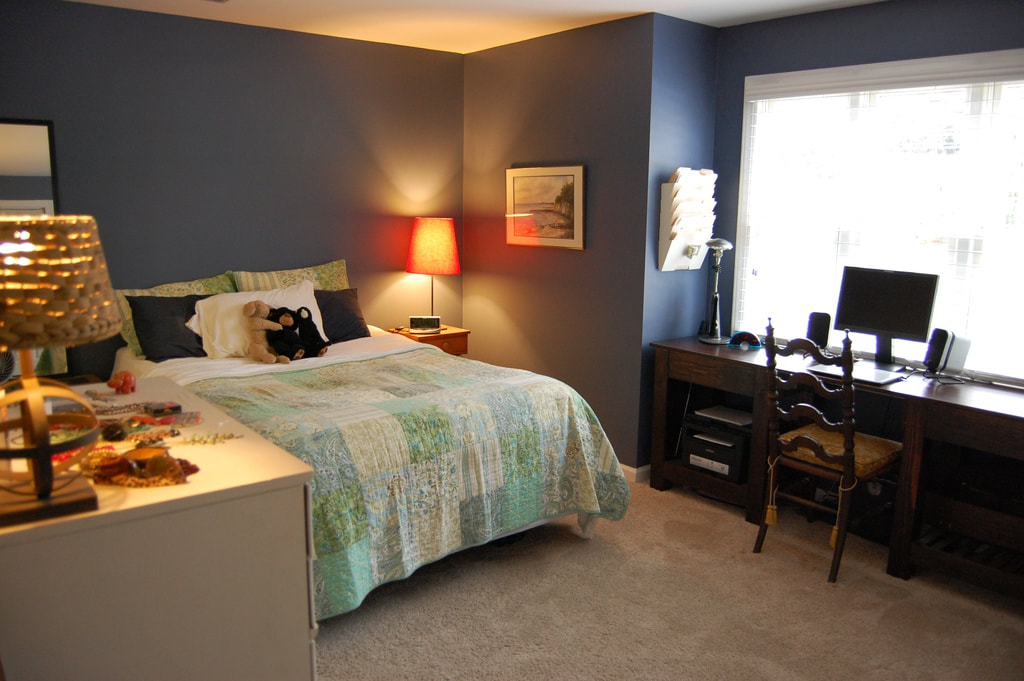 We put the vanity that I built back in the bathroom to see how it looked with the beadboard, and I really liked it, but I was pretty nervous about the storage situation. The "spa" feel of the vanity seemed nice at first, but the thought of no drawers and no cabinets really started to bother me. Where would you store extra towels, or toilet paper, or makeup?! Plus, then we'd be down a desk! 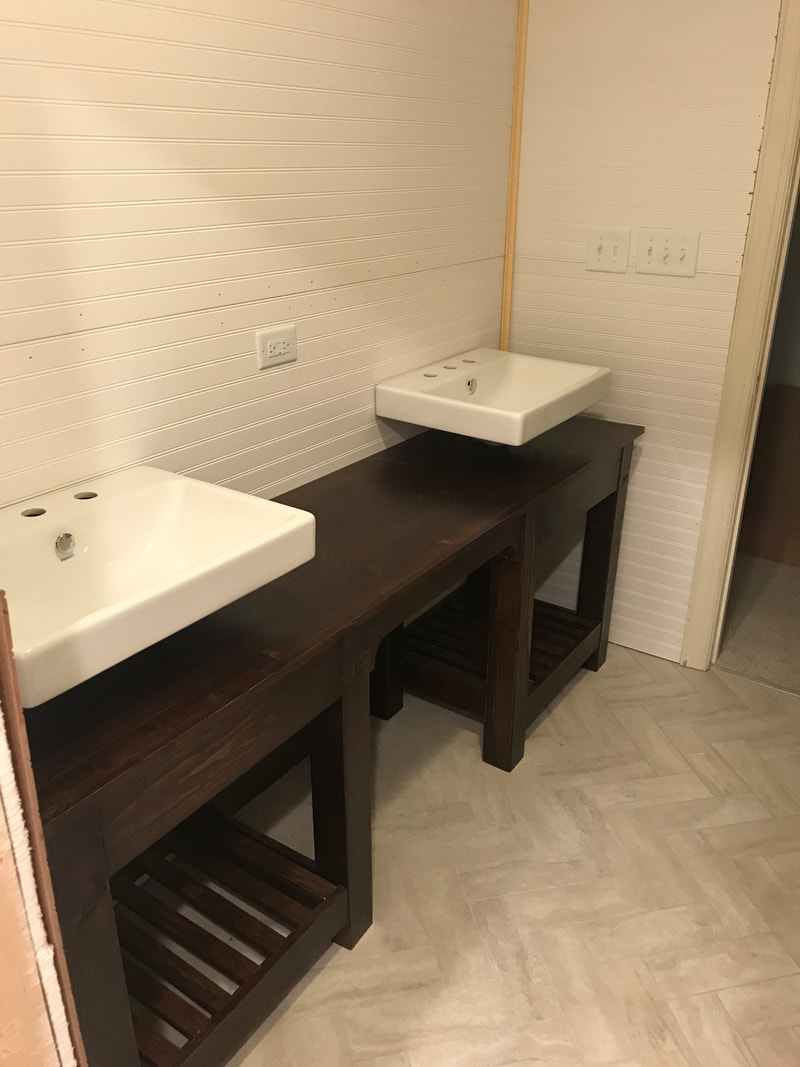 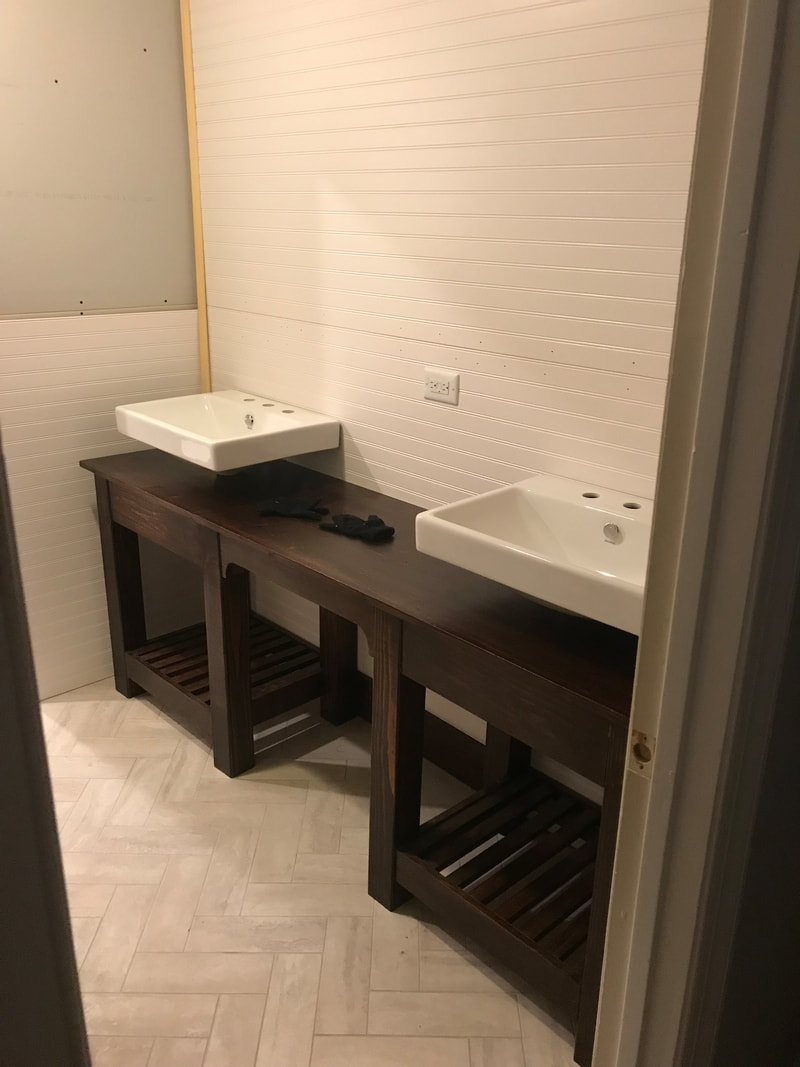 So my search continued until I found a 72" builder grade cabinet for $30 on Craig's List. Unfortunately, I don't have a "before" picture of the vanity, but if you can imagine a 20 year old dark brown cabinet with 1980's handles, then you'll understand what we started with. To spice it up, it got a nice paint job, some furniture feet (I made out of 4x4 scrap lumber), and some new hardware. 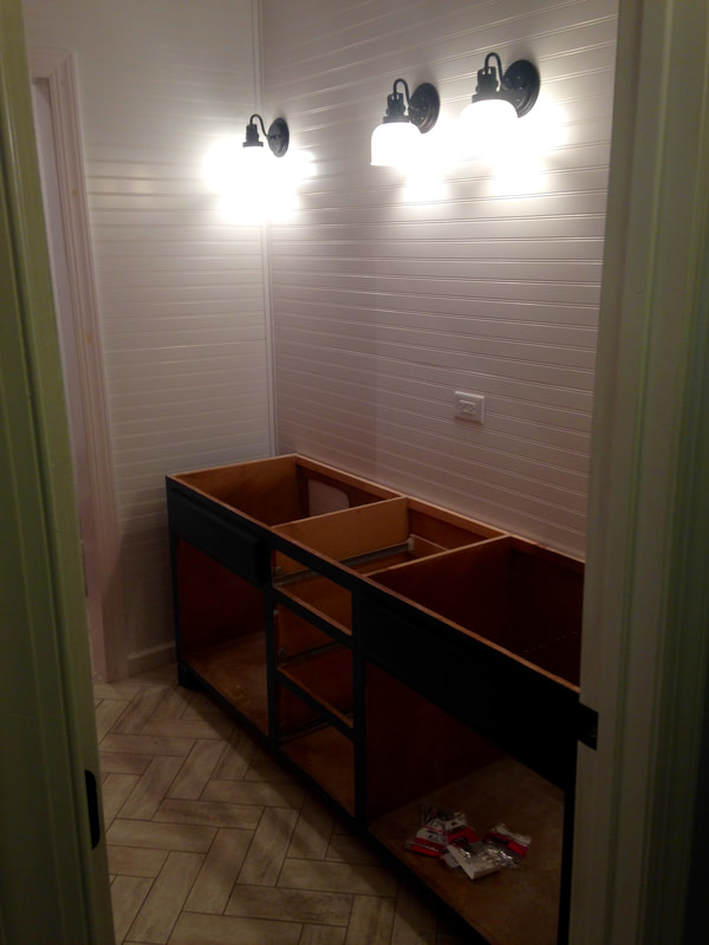 To add height to the cabinet and some extra spice, I built furniture feet for the base. I first demoed the existing base (think of any typical "built in" cabinet with a toe-kick), then added a scrap piece of wood to level the base with the plywood sides, and then fixed the furniture feet to the bottom of the cabinet with L-brackets. I was originally going to buy some fancy furniture feet for the vanity, but they were really expensive and didn't really match the existing cabinet.
You can't really tell in the picture above, but I had initially painted the cabinet a dark navy blue. Once we settled on the Ikea Ekbacken countertop in "concrete effect," the vanity looked too dark for the space. I decided to mix a bunch of colors I already had to create a custom blue-grey color. The pictures on my phone make it look almost like Carolina Blue, but in reality it is more of a light grey with a blue undertone. 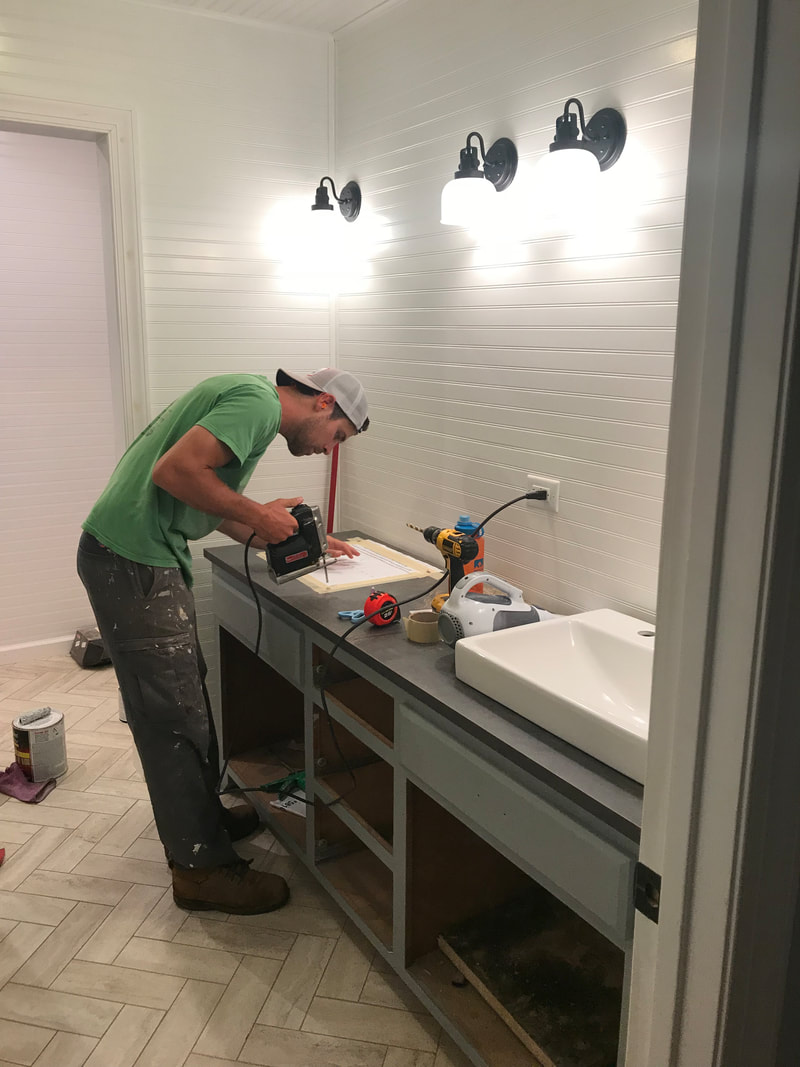 We went with the Ikea countertop for a variety of reasons. First, it was cheap ($100) and looked great. Second, it was long enough to fit the vanity AND we were able to use one of our cut pieces as a backsplash. Third, it was a thinner countertop than other ones we saw, which was perfect since we were using vessel sinks. 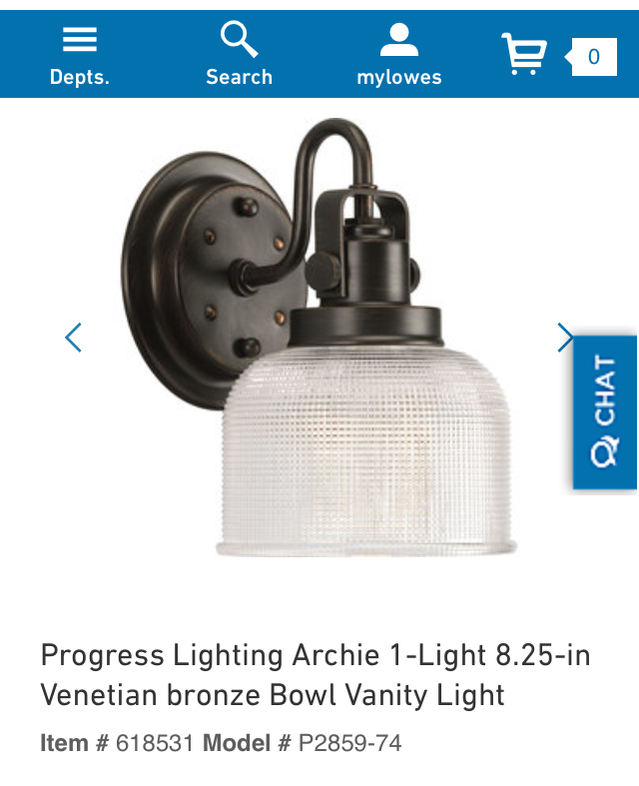 And since they have been in a bunch of photos already - my lights! I LOVE my lights. They were on super-sale at Lowe's, but unfortunately they were sold out! I ended up finding four of them on an Amazon Warehouse deal for only $25 each!!!! STEAL! 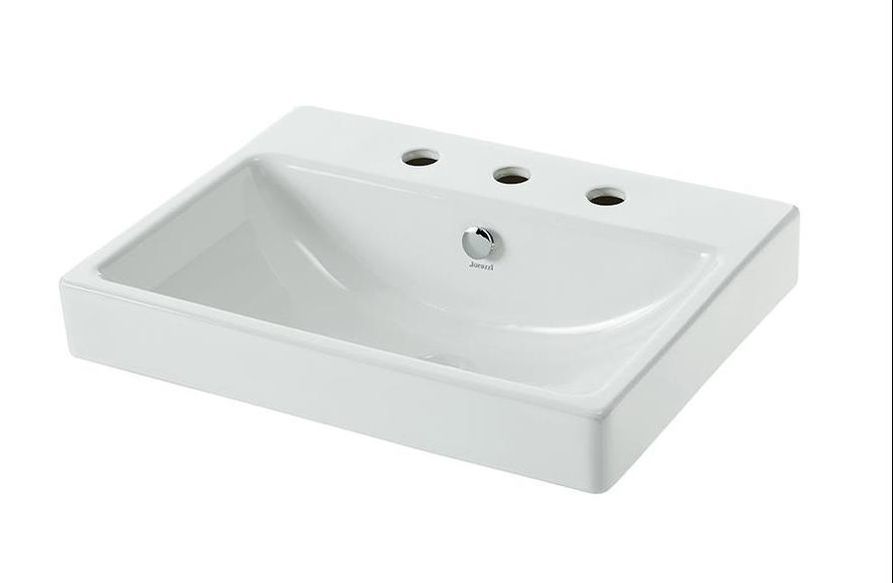 My sinks are Jacuzzi Anna Farmhouse vessel sinks, also available at Lowe's. They are pretty wide but narrow, and aren't too tall. Nice price and look great! I love them!
0 Comments
Leave a Reply. |

about meHi! I'm Lauren! I'm a twenty-something teacher and homeowner in North Carolina. I love math, decorating, and getting down and dirty learning new things about home renovation and repair. Categories
All
Archives
December 2018
|
 RSS Feed
