|
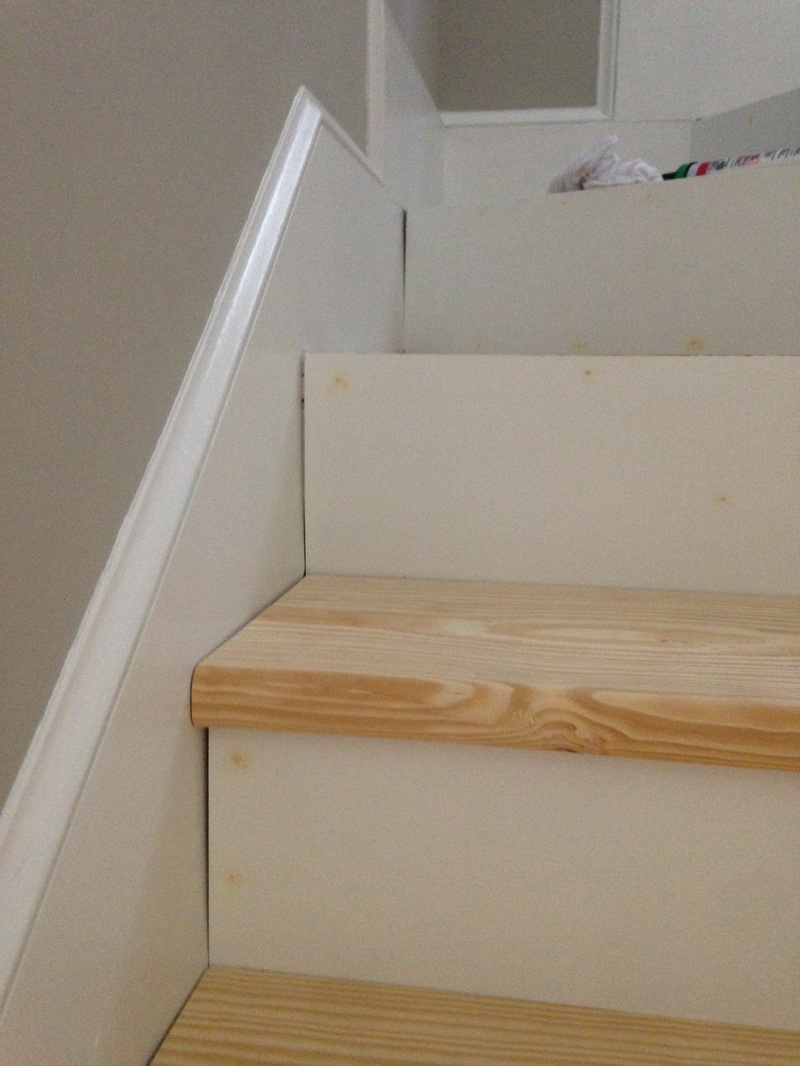
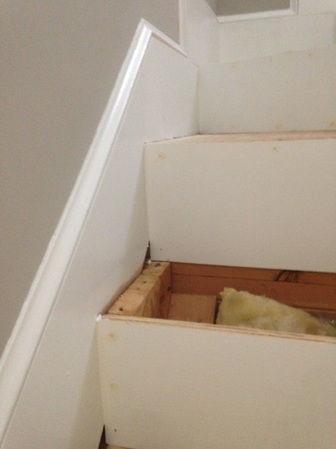
Update 1: Risers. For the treads that were being completely replaced, the risers were also replaced. I used 3/4" sanded plywood, painted them white, and heavy-duty glue and nailed them onto the stringers. They look great! For the risers that go around the curved stairs, I used 1/4" luan. I was initially thinking I would use 1/2" plywood, but am glad I went with the luan. I had a lot of scrap around in my basement that worked great (and kept the costs down). Again, I painted them white and glued and nailed them onto the existing plywood risers.
I filled in the nail holes with wood filler and caulked the edges to give the risers that "finished" look. I slapped on one more coat of paint and the risers are finished! 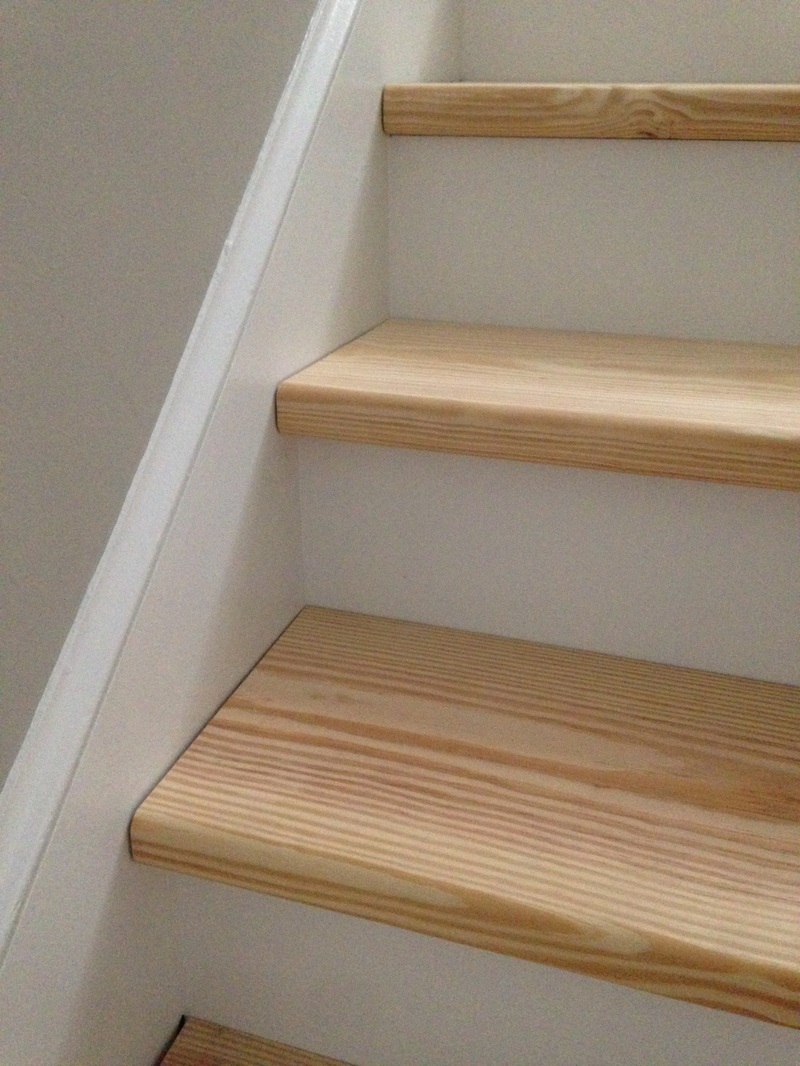 Update 2: The Curved Stairs (Part 1). These are definitely the most stressful (and expensive) part of the stair replacement process. It took me a while to figure out how I wanted to approach this project, but the first thing I did was create a template. Yes, I made it out of dusty old cardboard moving boxes. It was fun. The template isn't perfect, but I dealt with the imperfections later by scribing the wood to the riser. 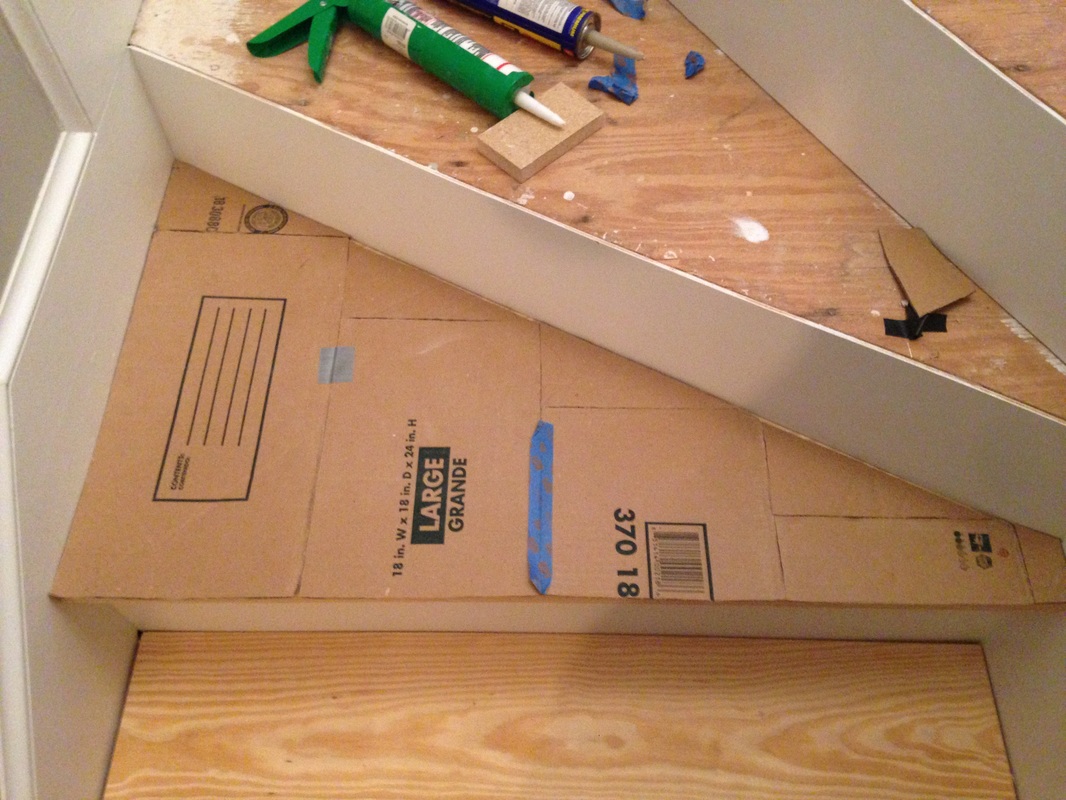 Next, I hit my first dilemma. I should stress that I am not replacing the plywood treads that are there currently - I am simply placing wood on top of the plywood base. According to my dad, stairs should rise 7.5", but could go as high as 8.25" (but really not any more - even 8.25" is high). Currently, from tread to tread, I have an approximate 7.5" rise. Since I am not replacing the existing plywood, by placing a piece of wood on top will increase the rise. Hmmm... what to do. I knew immediately that I could not use the 1.5" thick wood I have been using for the rest of the stairs - it would make the rise too big. Instead, I used basic 1"x8" (really 0.75"x7.25") pine lumber. This increased the rise to just under 8", which is within the allowed amount! Yay! Then, I cut the pieces down to create a makeshift triangular tread, like so: 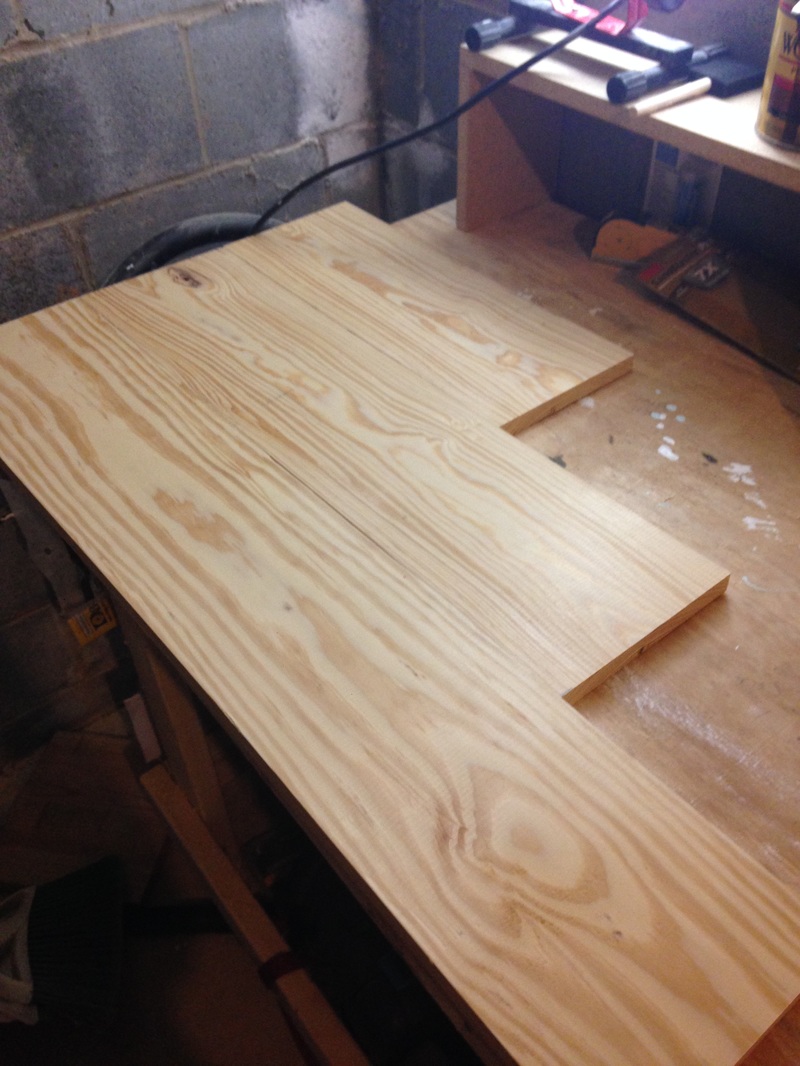 Next, I broke out my handy Kreg Jig and cut pocket holes in the back to attach the boards together (with wood glue as well). I then sanded the seams and filled in any small cracks and holes with wood filler. 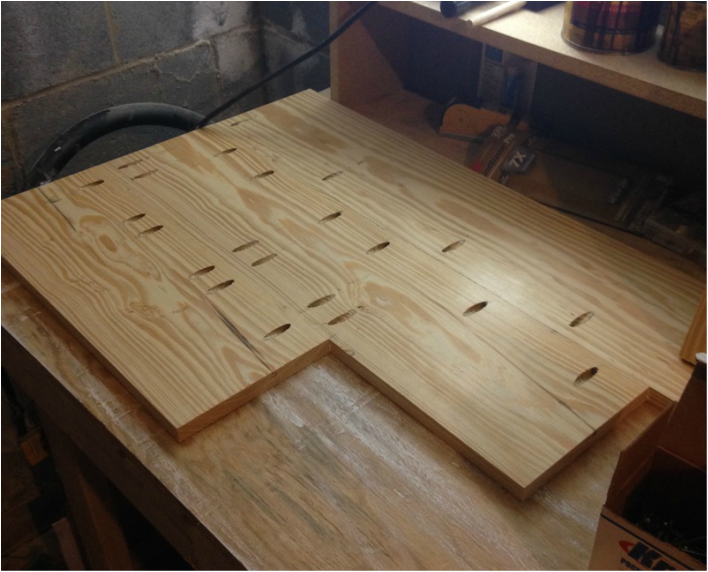 I then used my template again to trace the lines onto the wood. I tried my best to rip one straight line on my table saw. 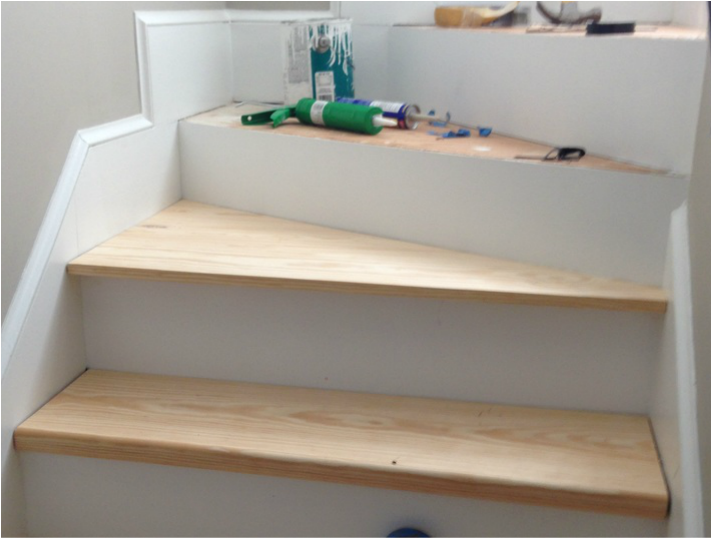 The cut wasn't perfect, so I went ahead and scribed the wood to the riser, and cut it again. 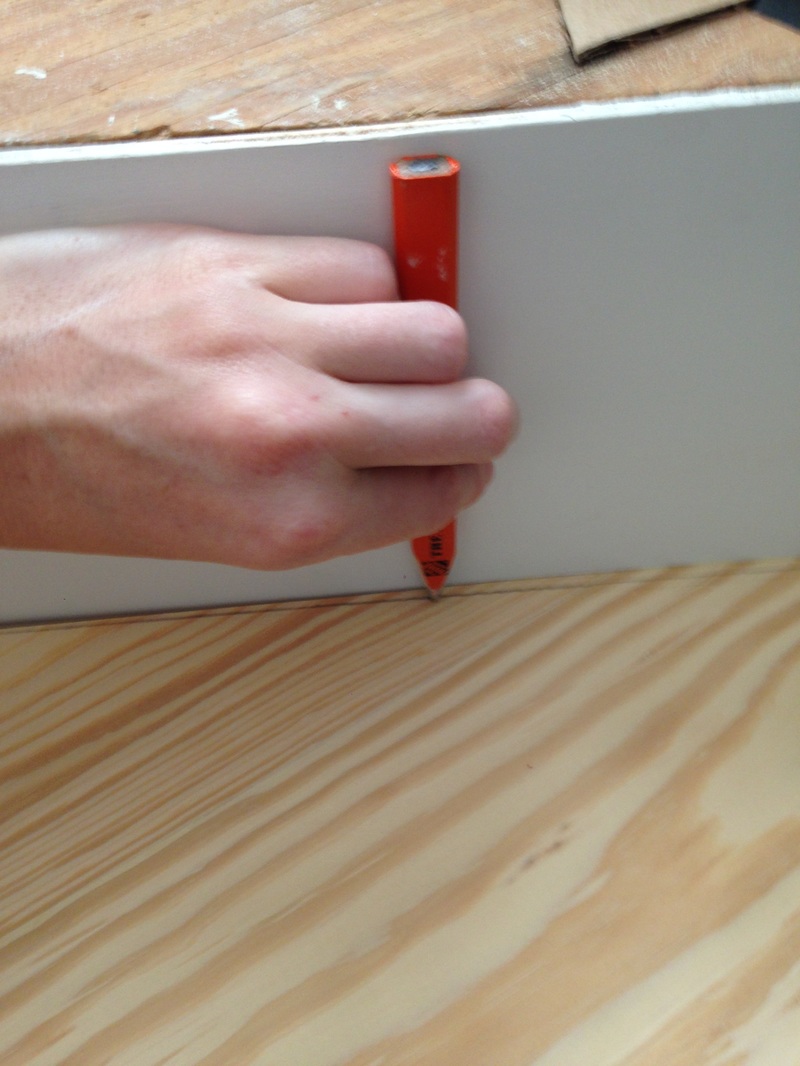 It didn't end up being perfect, but as I've learned through this process... caulk solves lots of problems! 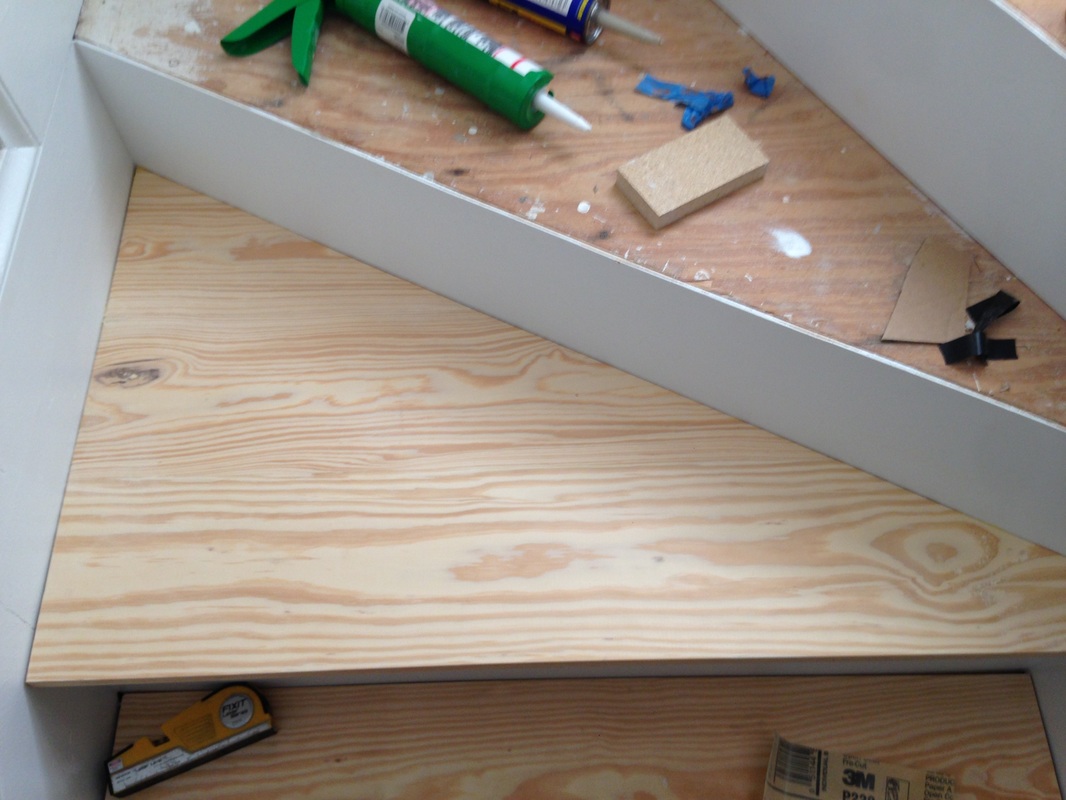 The last part of the process is making the front appear to be 1.5" thick, like the rest of my treads. There was a simple solution - create a "lip" on the front of the tread with another piece of 0.75" thick wood. It would give the tread the illusion of being 1.5" thick, even though it really isn't. Brilliant! I haven't done this yet, but in future posts!
0 Comments
Leave a Reply. |

about meHi! I'm Lauren! I'm a twenty-something teacher and homeowner in North Carolina. I love math, decorating, and getting down and dirty learning new things about home renovation and repair. Categories
All
Archives
December 2018
|
 RSS Feed
