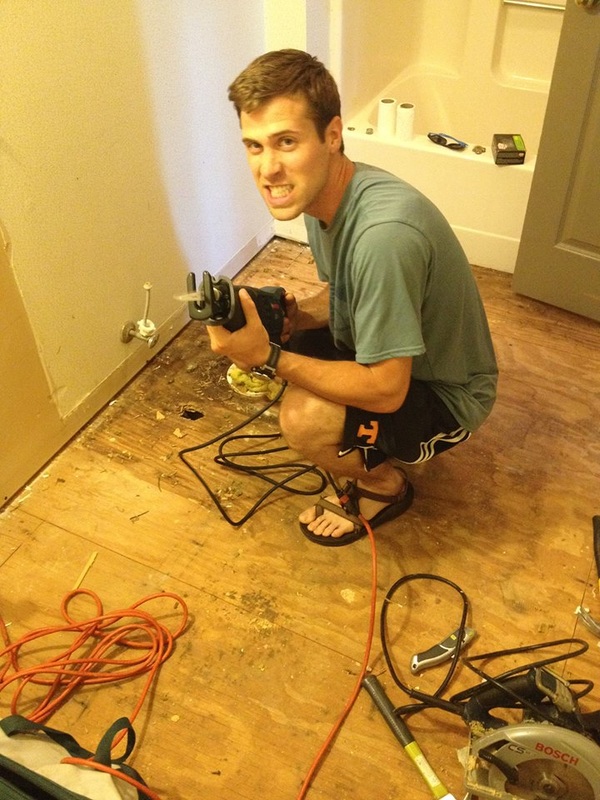
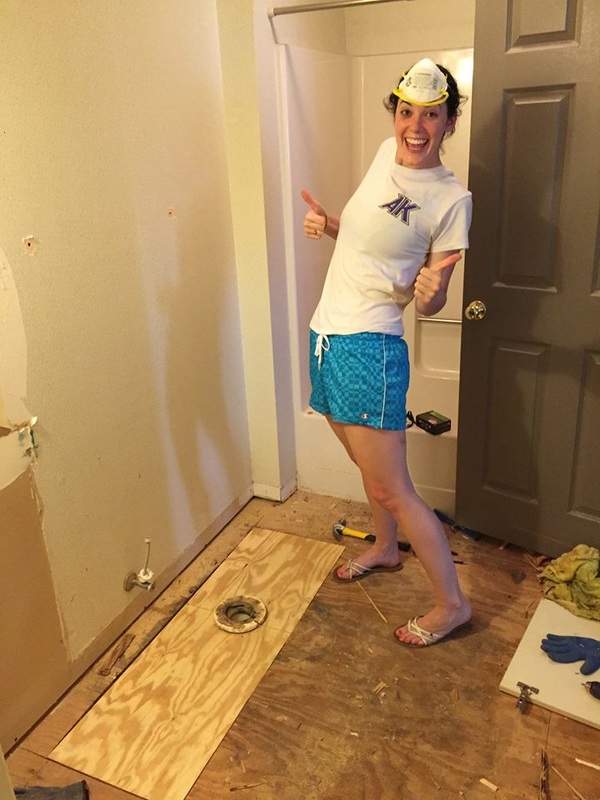
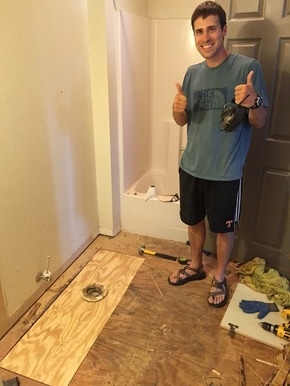
 Backstory: A little old man lived in my big, not-so-old house, and slept in the little first floor bedroom and bathed in the little first floor bath. Did I mention that this little old man had carpet in his little first floor bath? Having lived with three brothers my entire childhood (and shared a bath with one of them), I can tell you that men have a hard time hitting their target (the toilet) I'd say about 50% of the time. Mix that with flooring that sucks up moisture and a leaky toilet, you get a very gross little first floor bath and a rotten subfloor (mostly due to the leaky toilet). New Story: Brian and I spent the weekend trying to replace the rotted subfloor surrounding the toilet in preparation to lay tile in my little first floor bath. And by Brian and I, I really mean just Brian. Moving on. I should preface this post with the fact that we really had no idea what we are doing and just kind of winged it. In the end, happy dances went on! Our first plan of action was to remove the entire sheet of plywood were the rot was, however after realizing that the tongue and groove plywood was much more difficult to remove as a whole sheet, we scrapped that idea and cut a section about 16 inches by 4 feet. This section was located around the toilet flange. As we learned this weekend, the toilet flange is not removable (it is glued into the plumbing below the toilet), and it sits on top of the plywood subfloor. This is what made the project relatively difficult. We debated for a while to cut the flange off and then attach a new one once the new subfloor was laid, but ultimately Brian cut the plywood out from around the flange, leaving it in tact. 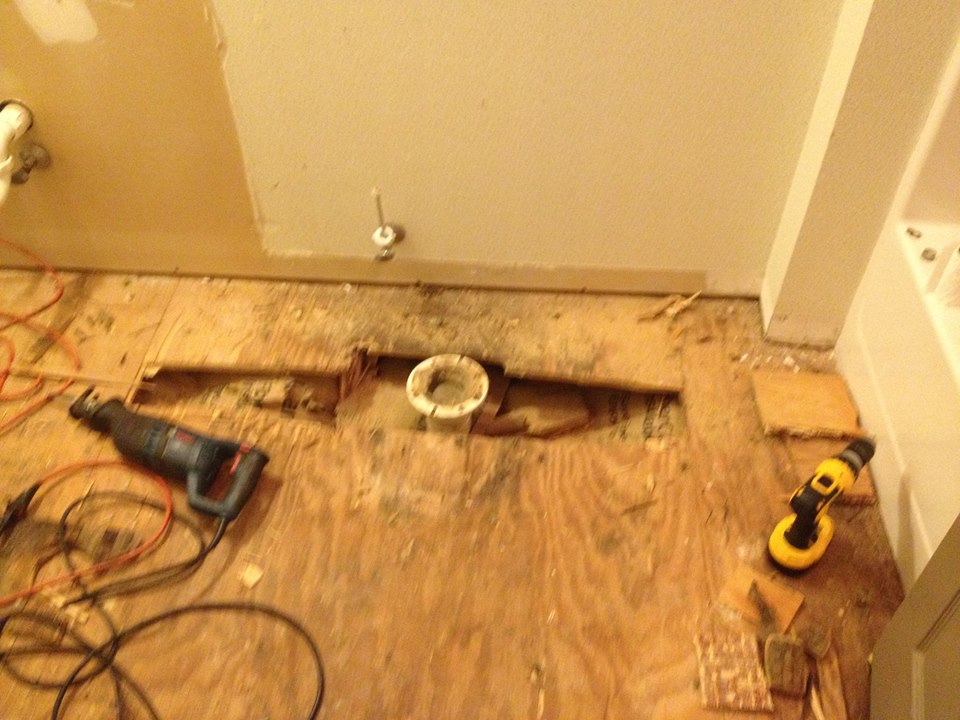 Flange sticking out of the plywood. 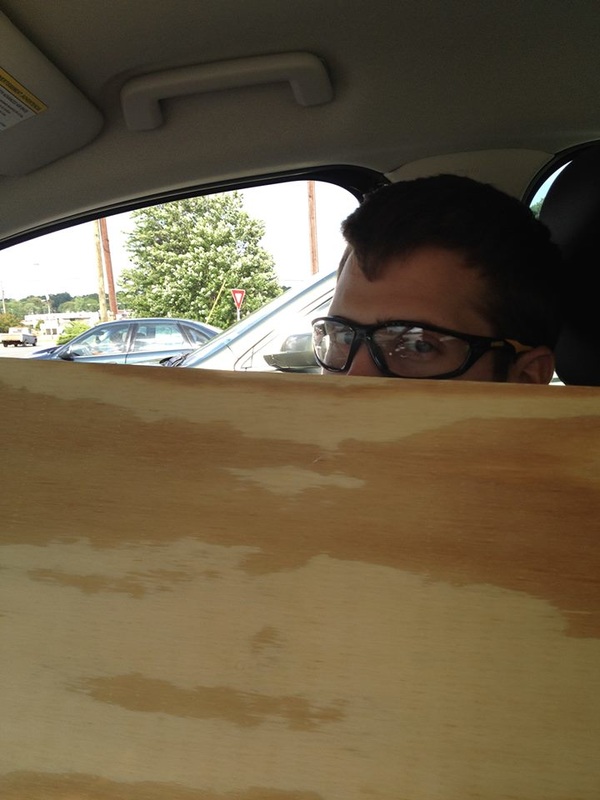 When you drive a hybrid and not a pickup to Lowe's.  We made a trip to Lowe's to stock up on materials, and ended up finding a scrap piece of 3/4" plywood for $8, as well as a few tile samples for the floor. This is where I started going to work - measuring. See, you really can use math in real life! I measured out the center of the flange, and then used the rotted piece of plywood Brian saved from around the flange to draw a circle (for the flange to fit through) in the plywood. Brian then cut the 4 ft plywood in half through the center of the circle, and I cut the space for the flange to fit! We surrounded the flange with the now two pieces of plywood, and then nailed them down. Voila! It fit! HAPPY DANCE!
0 Comments
Leave a Reply. |

about meHi! I'm Lauren! I'm a twenty-something teacher and homeowner in North Carolina. I love math, decorating, and getting down and dirty learning new things about home renovation and repair. Categories
All
Archives
December 2018
|
 RSS Feed
