|
As many of you should remember, I got my brand new shaker-style kitchen cabinets on Craig's List this summer for a whopping $1200. For those of you who have never bought kitchen cabinets, you may be thinking, WHOA THAT'S A LOT. On the contrary my friends - cabinets are usually the reason why kitchen renovations can sometimes reach over $30-40K. Mine are all wood and soft close! WIN! The cabinets are also a really nice looking wood, so I've been going back and forth about whether or not I should paint them. When I unboxed them again today (they've been sitting in my garage since July), I got really excited and again couldn't decide. Ultimately, though, I know I want a nice bright and open kitchen, so white is the way to go. I can't wait to start painting them! 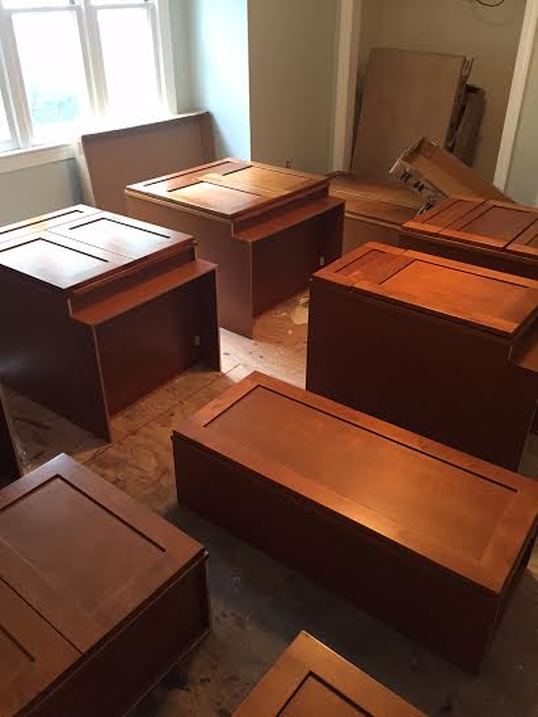 The first thing Brian and I did was bring them in from the garage and lay them in the downstairs bedroom. We needed to label each box and then each drawer and door. This ensures that when we go to put the doors and drawers back on, we know exactly which box they belong to. 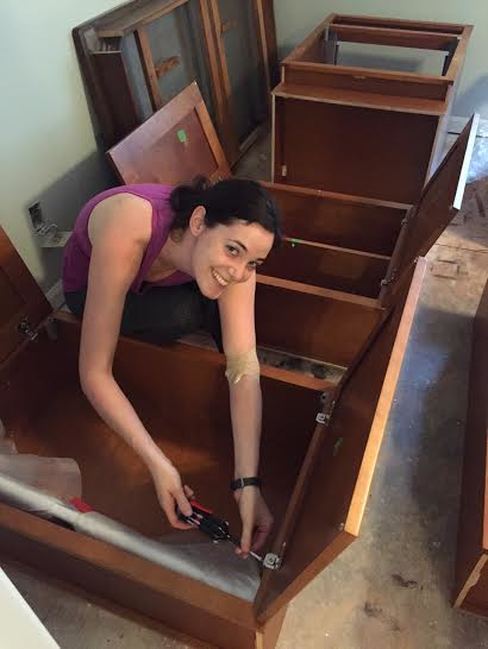 Don't mind the bandage, Brian and I had donated blood earlier today! Now, removing the drawers and doors was a very, very simple process. The drawers just clicked out of place, and then the doors just needed two screws each to be taken out. We took all of the drawers and doors upstairs to the other guest bedroom and the boxes stayed in the downstairs bedroom. 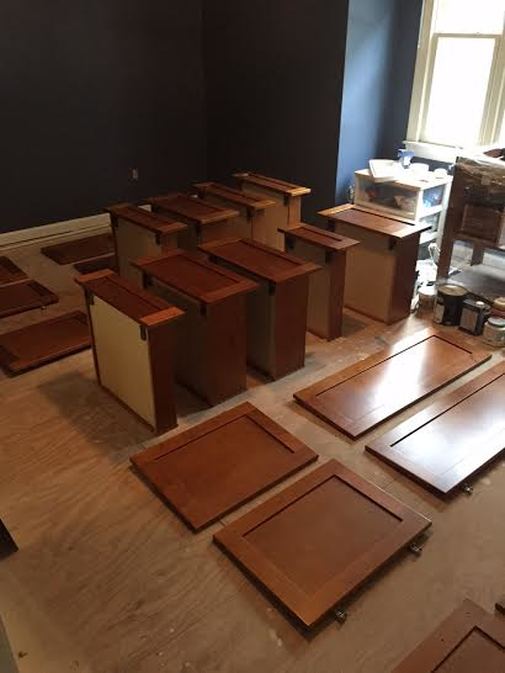 The next step will be to stand them all down, prime, and then paint! I can't wait! 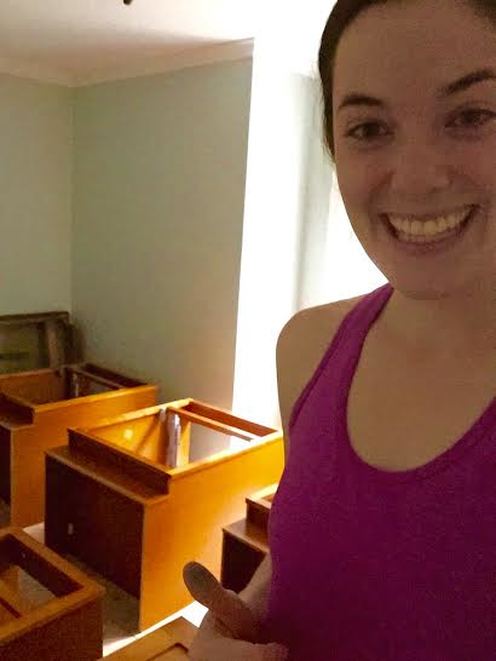
1 Comment
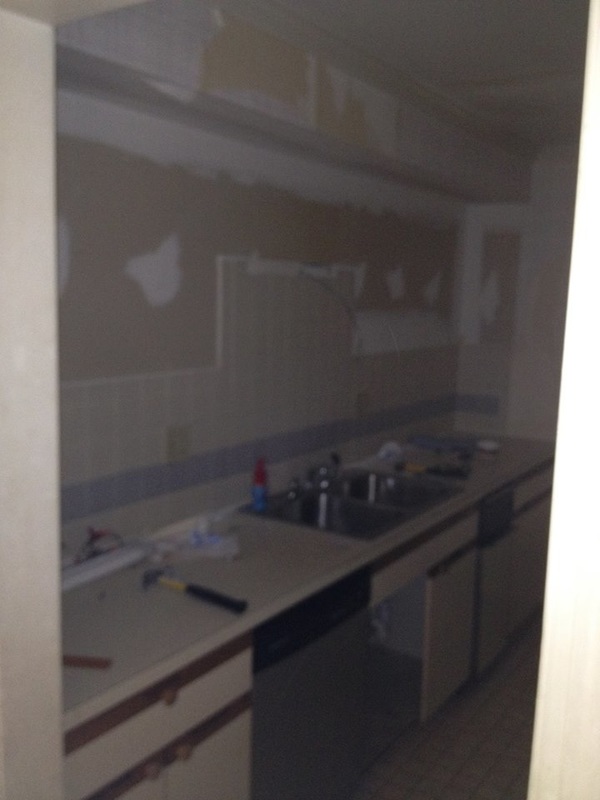
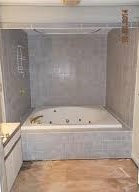
Oh Boy!! Two posts in ONE DAY! I guess I have to make up for the lack of posting over the past two months somehow... Well, just as the title implies, the kitchen ceiling is back up again! This is a huge milestone in the renovation process, mostly because it means that soon enough we will be able to install the kitchen cabinets, which means we'll be able to install the flooring, which means I'll be able to move in! Yippie! The biggest holdup in the ceiling installation was the replumbing of the master bath. Now that the shower pan has been installed and Tim-the-handyman has moved the plumbing for the toilet, shower, and two vanities, AND we checked for leaks - the ceiling down below could officially be installed. Hallelujah. Brian and I started off Saturday by prepping the walls and taking back some of the ceiling drywall that had come loose when we removed the kitchen wall (oh so long ago). While Brian was doing that, I went ahead and installed the insulation back up between the trusses. I'm hoping I got the right kind (R-13), but it wasn't the same color as the stuff I'm used to seeing (the yellow kind or the pink kind). I'm hoping the brown color just means it's "recycled" insulation. Come Sunday, we were ready to roll with the installation of the drywall. Terry came back to help us out a bit (definitely a 3-person job), and I am so grateful that he did. The space ended up only needing 3 full sheets of drywall, and then it will need just a little extra in the back. 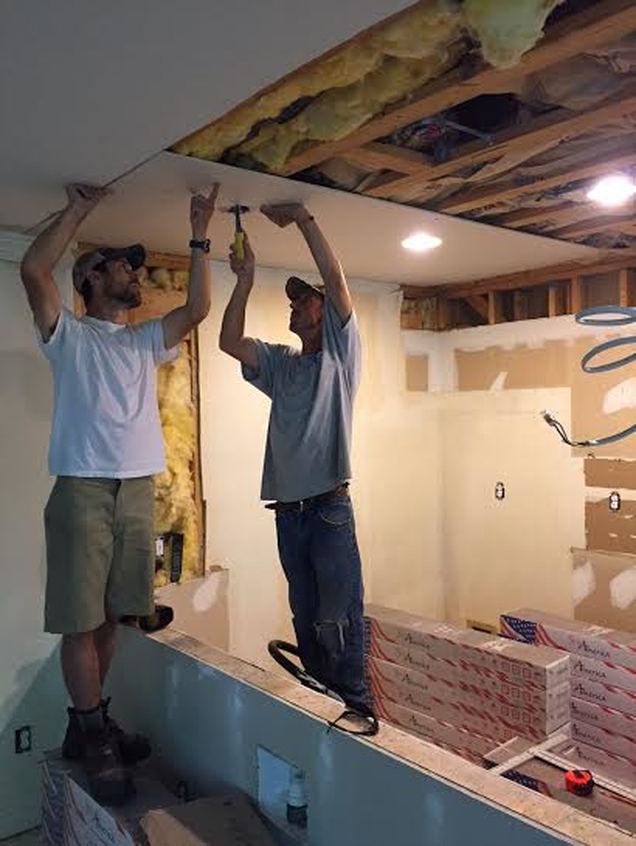 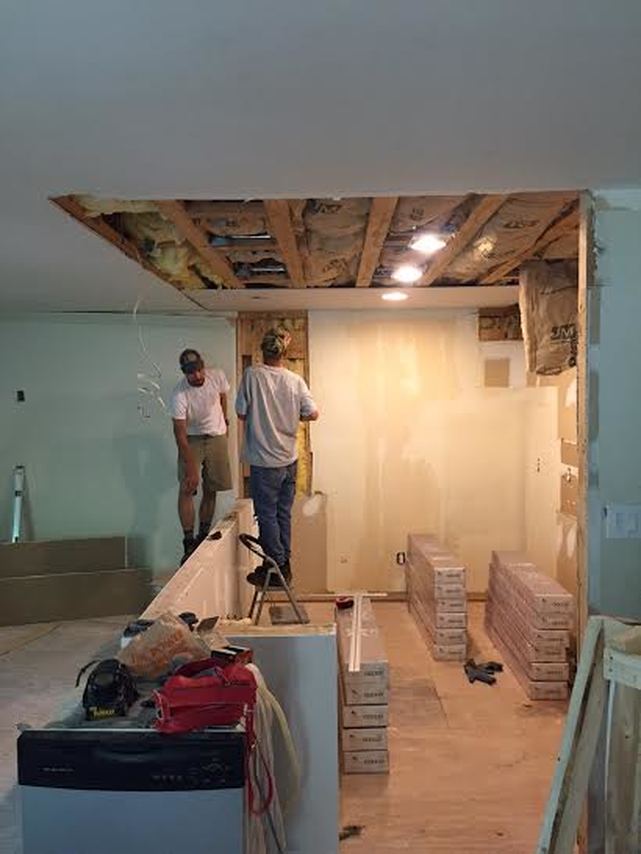 Notice that we are putting the flooring to good use as step-stools! Brian would murder me if I left this post without giving credit to his awesome idea (that Terry and I both thought wouldn't work. It did.). My kitchen is going to have six lights, three of which are pot lights, and three of which are pendent. All of these lights require cuts to be made in the drywall, which means a lot of perfect measuring that must go on. Since we know how well the measuring has gone in this renovation process, Brian had the idea of using - wait for it - lipstick. Yes, my friends, we traveled to our nearest CVS to purchase the cheapest stick of Wet-N-Wild bright pink lipstick for this project - and I have to say it was a genius idea. Nice work, Brian! 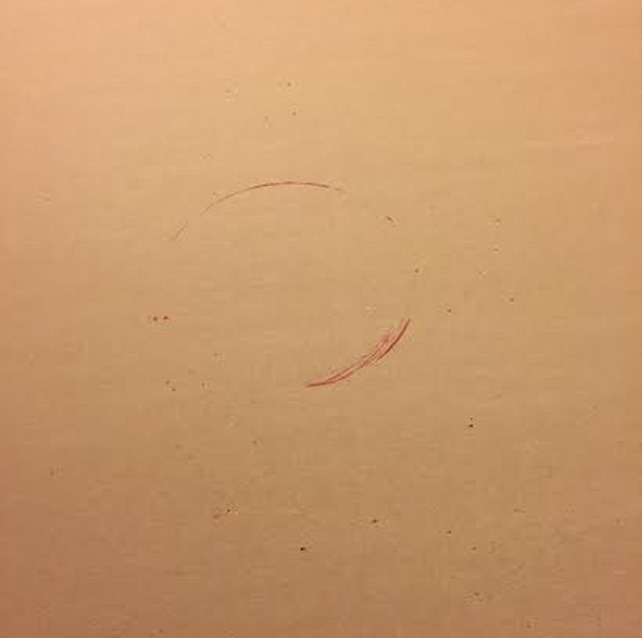 Notice the circular pink imprint on the drywall. By holding the drywall up against the ceiling where it needed to go, and then pressing the drywall into the light fixture, the lipstick left an imprint exactly where the light was, meaning we knew exactly where to cut the drywall (with no measuring whatsoever). Brilliant. 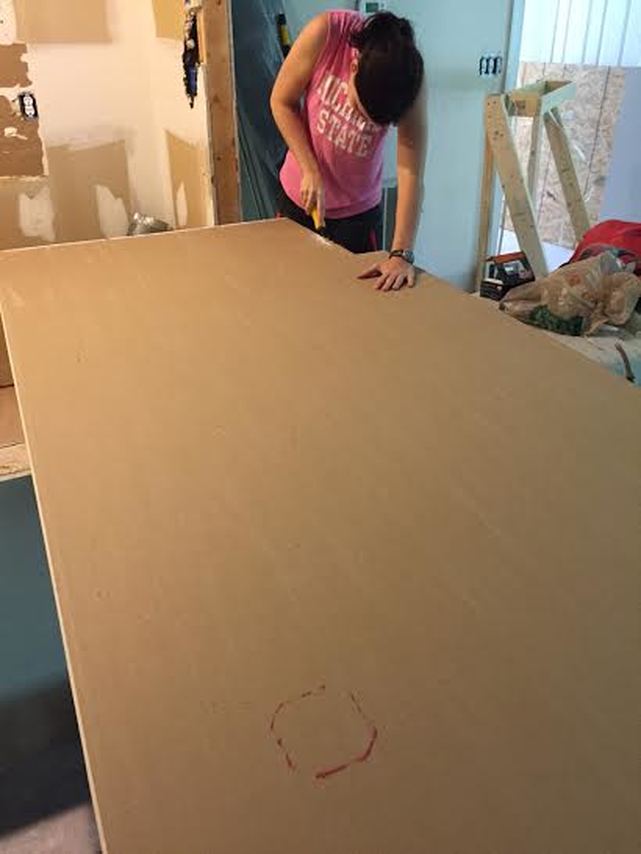 Notice more lipstick! I even put the camera down and helped cut a little bit. 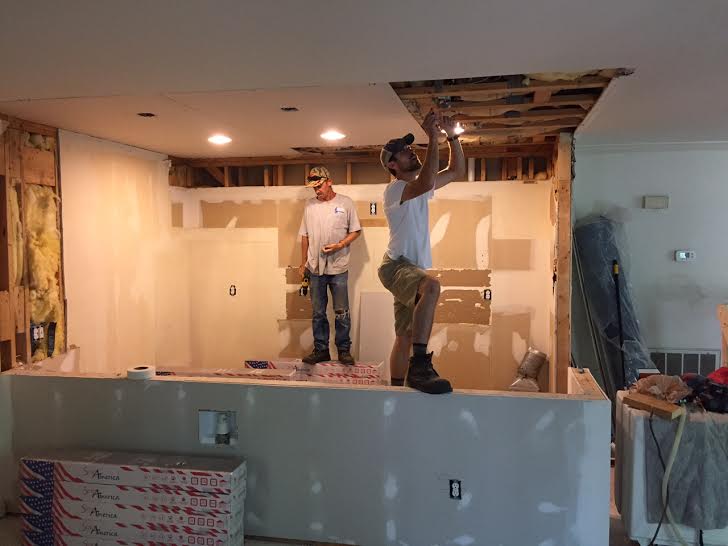 I want to say the entire process took about 2.5 hours, but then we started to mud and fixed up some other areas that also needed some drywall. Overall, I am pretty satisfied with our Sunday project! 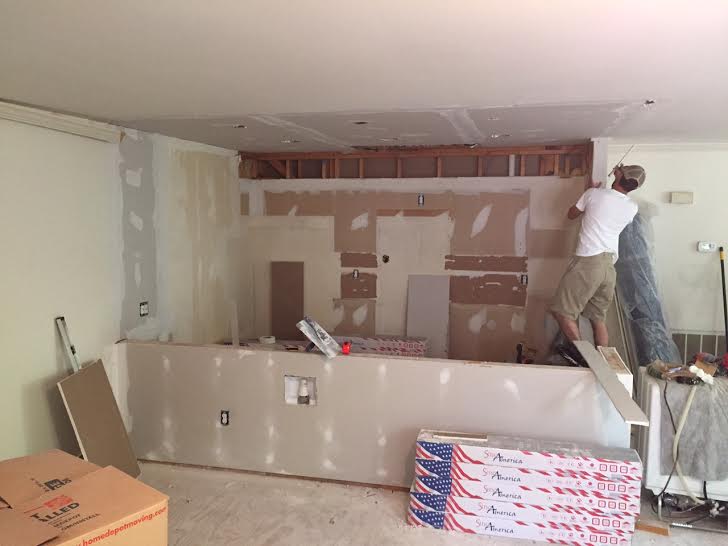 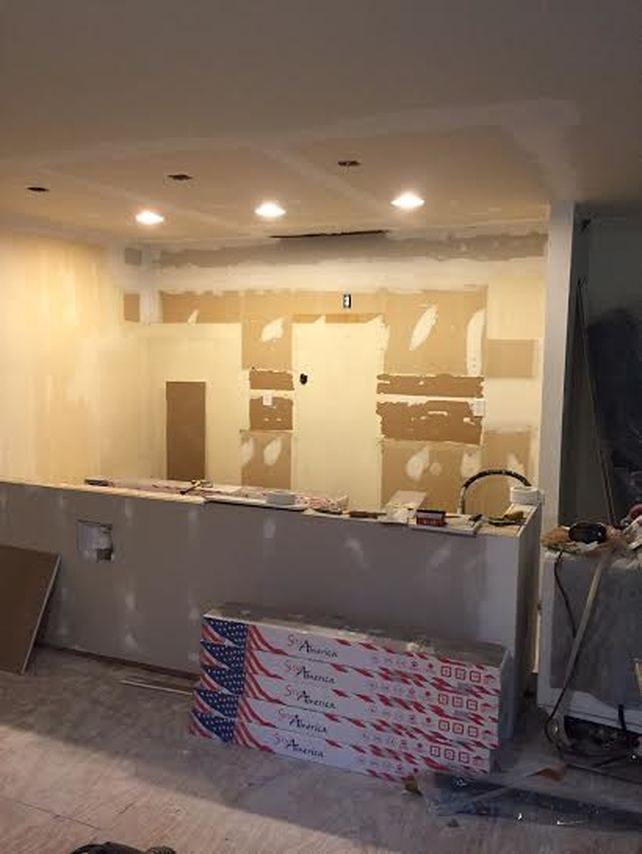 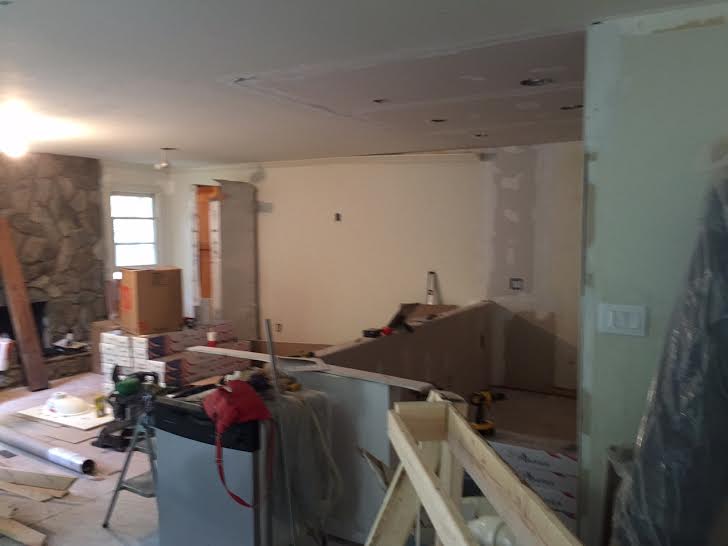 This week was the first week where I have questioned my sanity and the reasons why I bought this house (and if I am really up to the challenge). Crap is everywhere... literally EVERYWHERE throughout the house and it feels like nothing is being accomplished. Yes, I know deep down that things are getting done (which is why there is crap everywhere), but it is cluttered and messy and driving me batty. It seems that as soon as we clean one thing up, we knock something else down and the space is again filled with... crap. I really think my biggest stressor is the fact that my landlord found someone to take over my lease and I have to be moved out of my apartment in... T-minus 9 days. NINE. DAYS. Ugh. And there is crap everywhere. Anyways... This weekend, Brian and I took down another layer of cabinets (and ceiling drywall, and the grossdisgustingmakesmewanttovomit stove) in preparation for the electrician to come and do his thing. So exciting! It took Matthew-the-Awesome all of three hours to "demo" the kitchen and tie up all the wires, remove the wall sconces, and dismantle all of the light switches and sockets that used to be on the wall that I am removing. I now have no electrical in the main room (living/dining/kitchen) at all, so the faster we can start rebuilding the space the better. 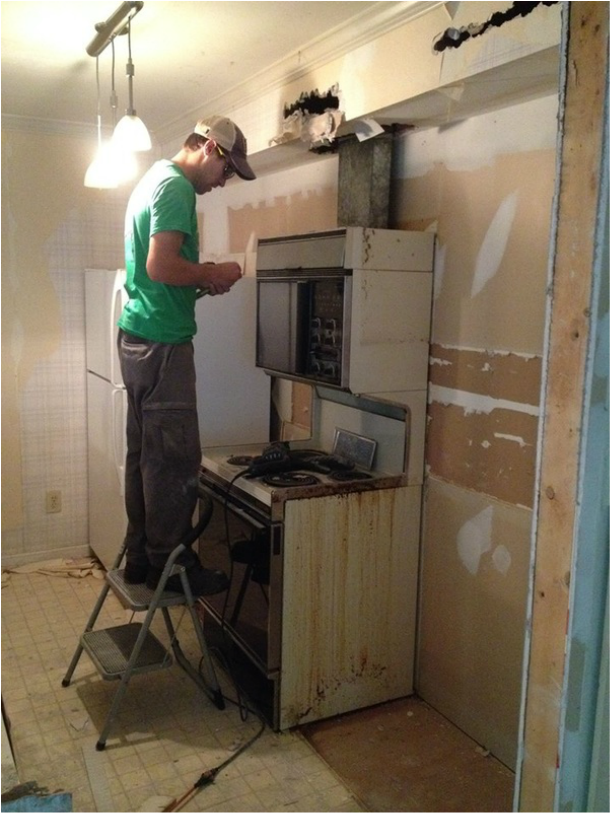 Gross Stove. Beautiful Man. 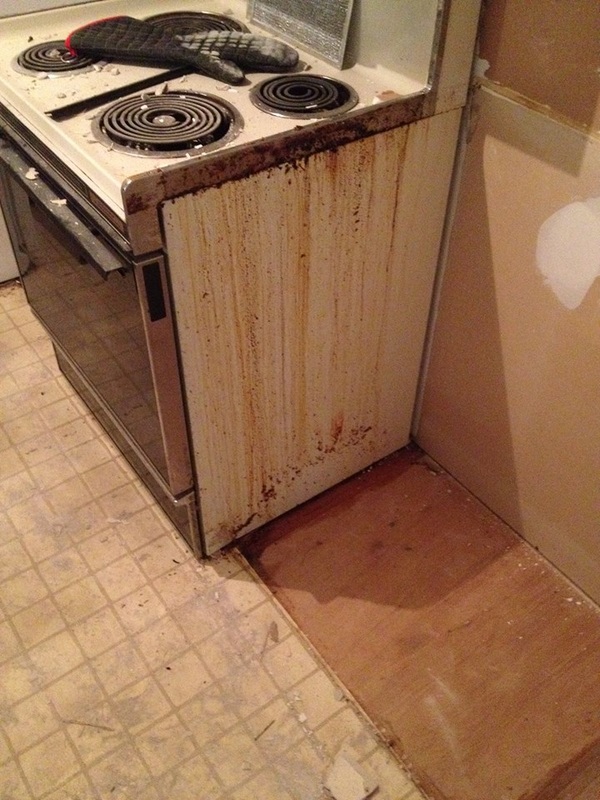 Up close and personal. (**Vomit**) 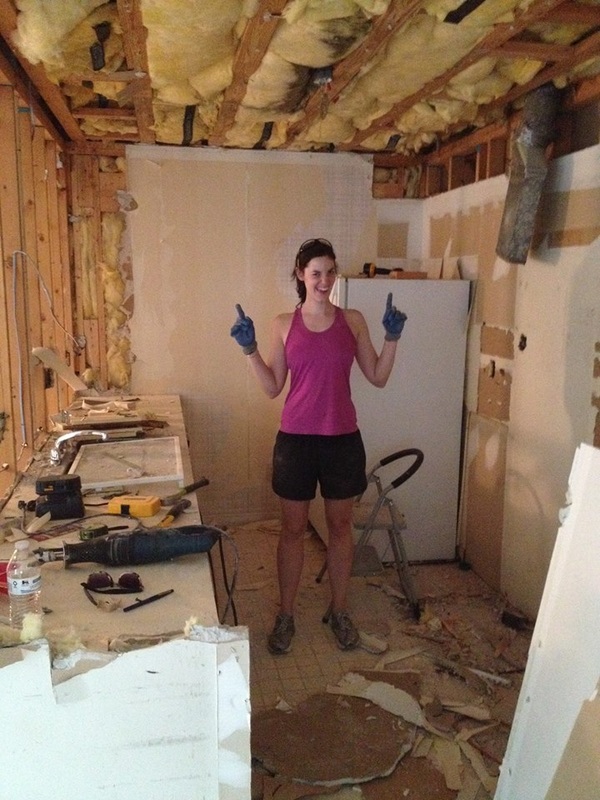 Cabinets, stove, and ceiling gone! 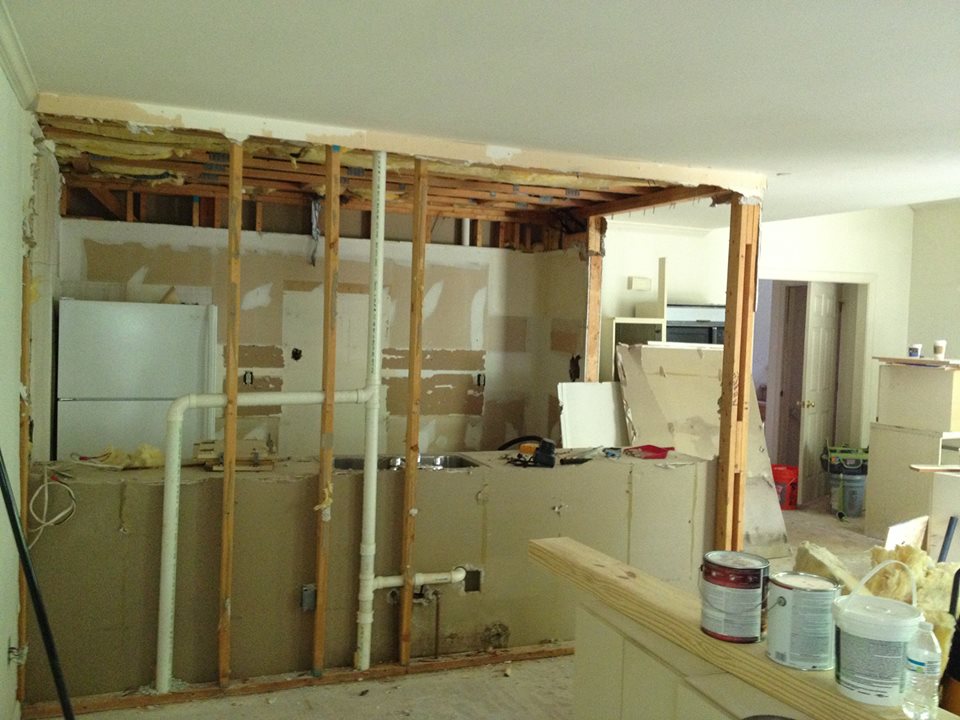 Open concept - Almost there! While I have been stressing, having Matthew-the-Awesome come in was a huge relief. It is nice to see some progress throughout the mess, however I am still worried about leaving for Michigan (oh, for those of you who didn't know - I'm coming home for 10 days!). That is ten whole days where I can accomplish nothing in the space. I still have to pick out flooring, paint colors, tile the bathrooms, get carpet installed upstairs, install the flooring I have yet to pick out.... etc. However, Brian did offer some advice that I am going to take him up on. While in the mitten, I am going to have Terry-the-Painter come in and paint. I wasn't originally going to pay anyone to paint (hello students!), but I cannot justify leaving for ten days without anything getting accomplished. I'm bitting the bullet on this one and paying up. I know Terry-the-Painter won't be able to get everything done, but even just having the majority of the space painted will give me the feeling that SOMETHING has at least been completed. Again, huge relief. As soon as Matthew-the-Awesome was ready to leave, he instead asked me "so you're taking down these posts?" in which I replied, "Yes." He then grabbed one, twisted it, and then ripped it out - just liked that. Hence, the "awesome." I tried to do the same thing but failed epically. Needless to say, Matthew-the-Awesome removed the other three posts that did not have plumbing in them in two minutes. Now that's what I call excellent customer service.
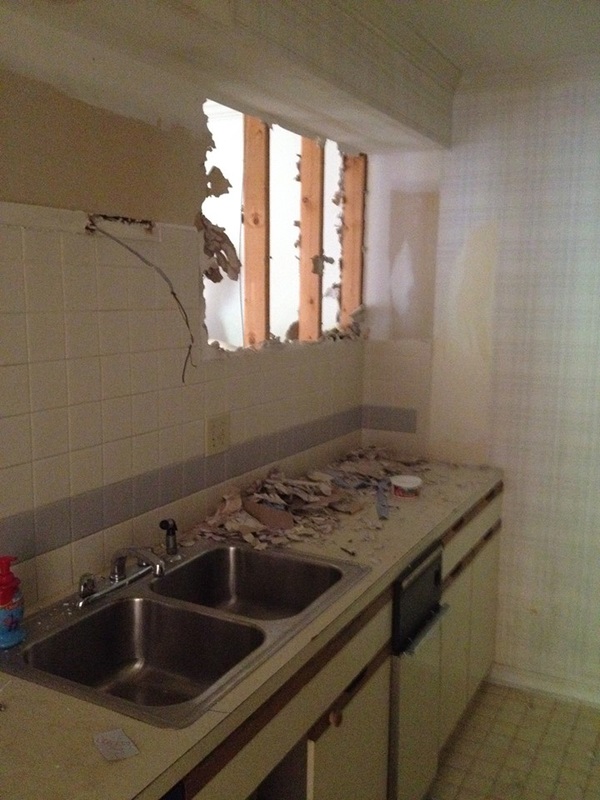
First off, I have never used a sawzall before, but I quickly discovered that this tool has become my new favorite toy. IT GOES THROUGH EVERYTHING, AND IS AWESOME. Brian always told me how much he loved this little gadget, and now I'm a believer. I started my project by tackling the soffit. I grabbed my handy sawzall and started drilling through the soffit supports one section at a time (sorry - no pictures. I was having too much fun). I would then take my hammer and pull apart each section until it dropped onto the kitchen counter. The process was relatively simple and quick - I think the entire soffit removal took about 45 minutes to an hour to complete. BTW, the kitchen feels so much bigger and taller now that the soffit is gone. Yay!  Briggs the Wonderdog! Briggs the Wonderdog! I'd like to officially name yesterday "Terrific Tuesday!" I scheduled my electrician to come by today (Yippie!), I took a quick nap, babysat my favorite dog Briggs, and of course demolished the kitchen some more. I should note that Brian was recovering from a 24 hour bug (101.7 temp), so he was MIA during demo. The plumber that came by the other day gave me all good news, tips on doing some of the bathroom plumbing myself (without having to move the pipes for my new, taller, and off-center sink/vanity), how easy it would be for him to move the washer and dryer, but then was a little stumped about the pipe in the kitchen. He's 90% sure it's just a vent pipe, however he asked me to remove more of the drywall and the soffit so he could have a better view of where the pipe goes. Ask, and you shall receive.
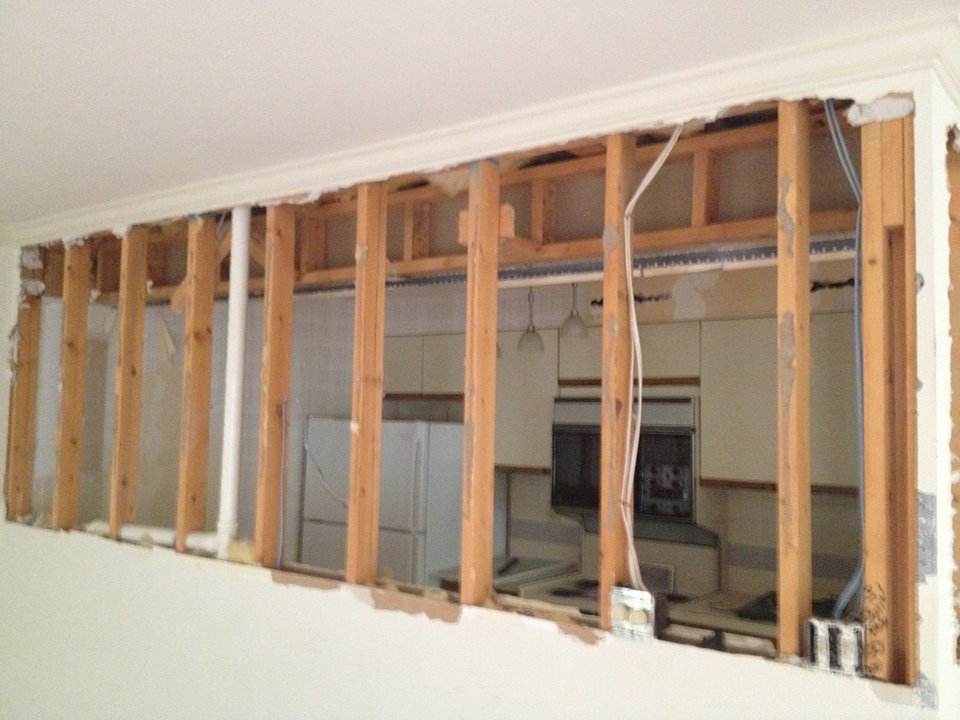
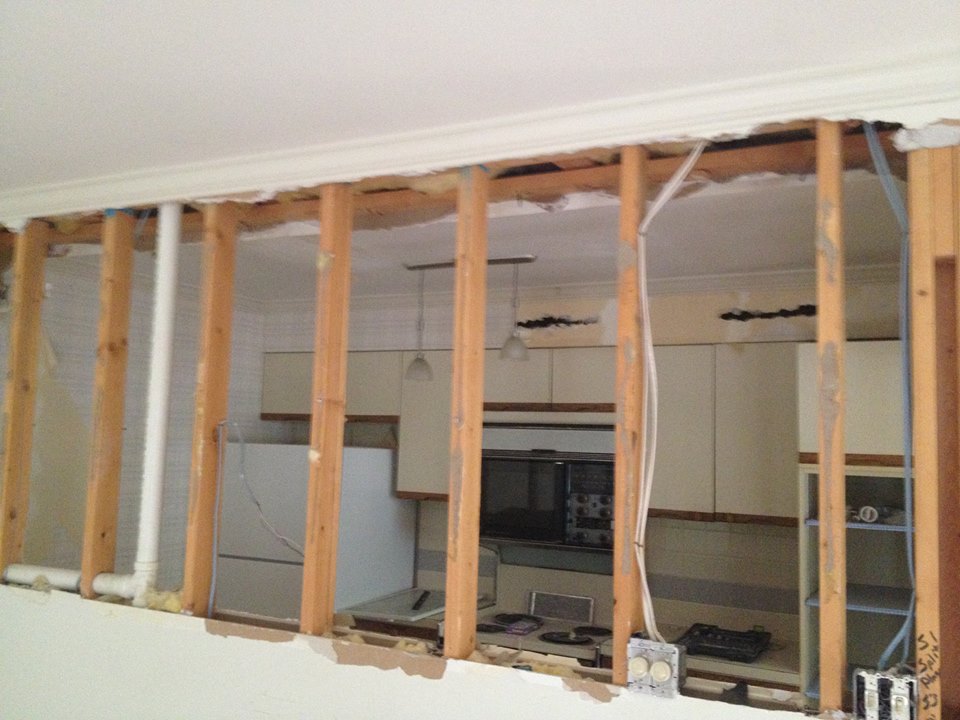
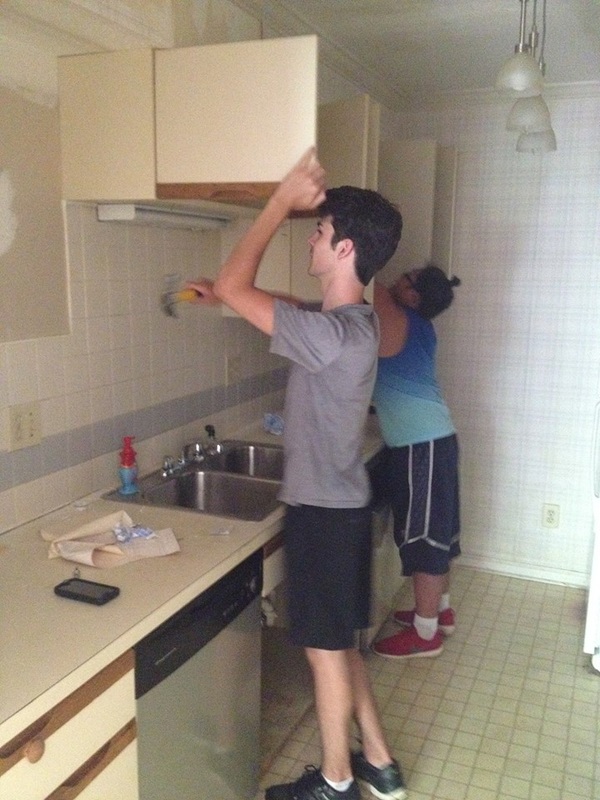
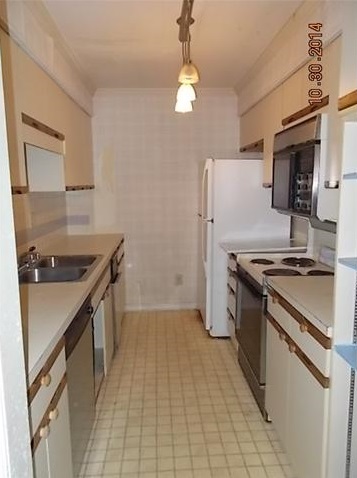
To top off the night, I ripped down the rest of the drywall in the kitchen (tile was attached to it) and brought it down to countertop level. I took my handy razor blade and scored the drywall on the living room side as well, and pulled it off in small sections (trying not to go too far so I could reuse the drywall below). The room is really starting to look big, which I never thought could happen in this tiny space! Woot Woot! 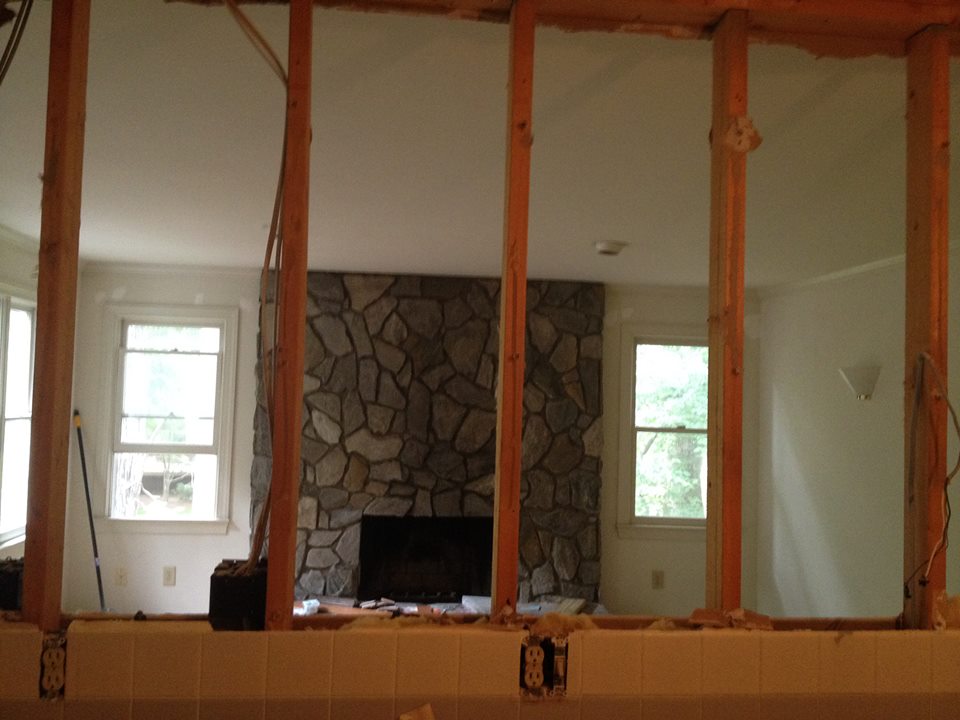 View from the kitchen sink! View from the kitchen sink! Next, since I had more time on my hands, I decided to remove the crown molding around the soffit in the living room and in the kitchen. Easy enough, but I did end up splitting one end of an 11 foot piece of molding. Oh well. Such is life. By this point, since I was feeling so good about myself, I continued by removing the molding around the kitchen door, which then exposed to door frame. No one wants to see an ugly door frame by itself - so that went away too. 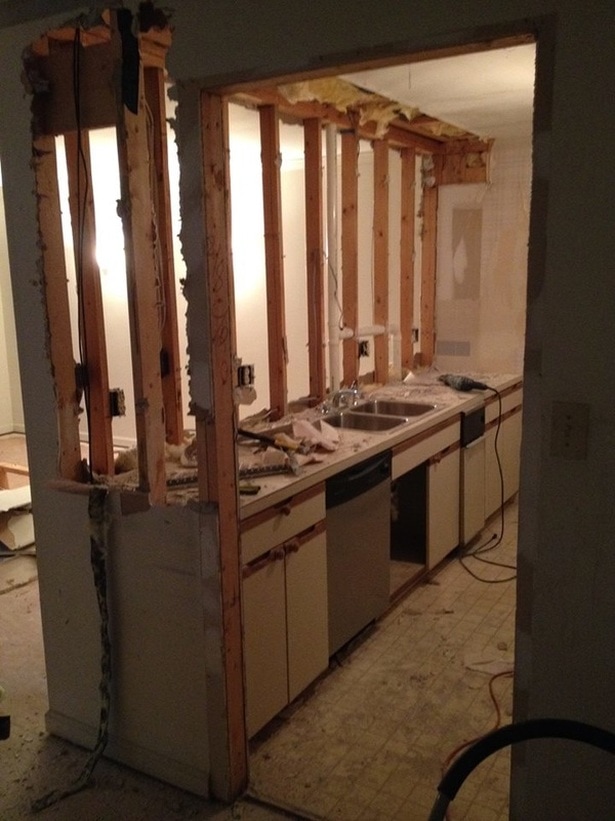 Drywall down to countertop level Okay, so now I really need some input and advice on the kitchen design. All of the cabinets are being replaced with new, shaker style cabinets. Currently, the cabinets are a brown color, but I'm going to paint them white for a more open feel. The uppers, however, are not going to exist. The current plan is to have open shelving using pipes and wood (see below). This is not me trying to be cheap (as I think this will actually cost me more than buying uppers), this is me trying to add some sort of rustic design to the kitchen. The issue that I am running into is what to do about storage. Right now, I have a pantry in the kitchen - which I could reinstall with the new cabinets, I'm just not sure how it will look with the open shelving. The other idea is to move the pantry "outside" the kitchen, by placing it on the other side of the wall where it is now (to the right of the current kitchen doorway). Would it be weird to have the pantry here? Thoughts please! 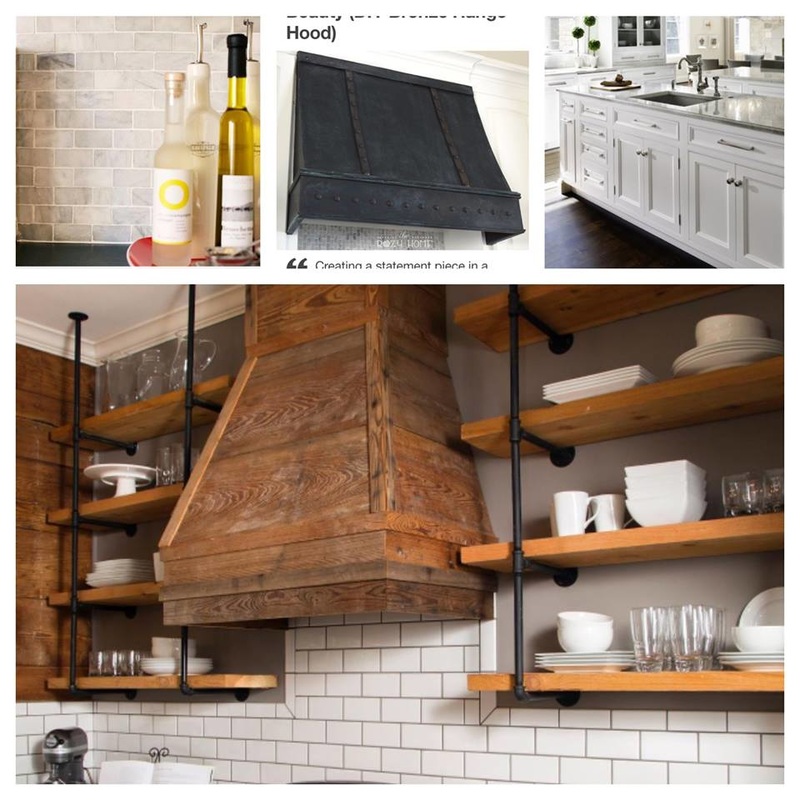 Kitchen Inspiration The evening after purchasing my new home, Brian brought over a bottle of champagne, flowers, and a hammer (he always knows how to steal my heart). We immediately popped open the champagne (which - word to the wise, do not drink unless you have glasses) and got to hammering. It took me a minute to feel comfortable enough to actually hit the wall, but once I got started it was hard to stop! The plan is to open up the space between the kitchen and the living room. The current galley kitchen feels claustrophobic and small, and the hope is that by opening up the shared wall between the kitchen and living room, it will give the illusion of more space.  Kitchen Before After we made a small dent in the place, we called it a night and went home. The next day, a few of my students were at school (B.T.W - it's summer vacation already, why are they still hanging around at school?!) and were bored, so they followed me back to my place and I put them to work with the promise that they would get to destroy stuff. They ended up being very handy and helped take down my first layer of melamine cabinets. The boys then went to town destroying my wall.
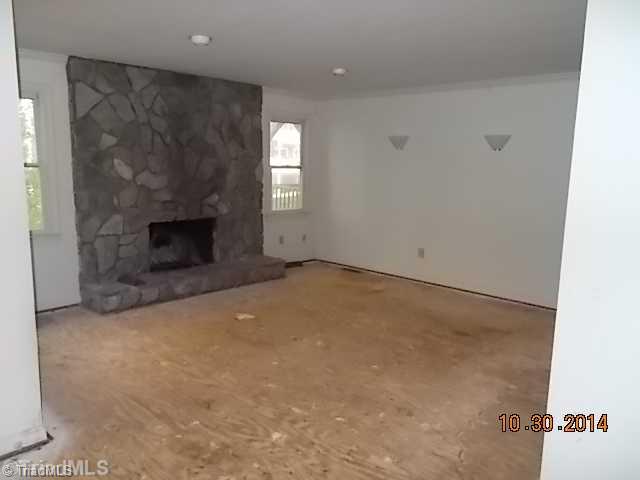
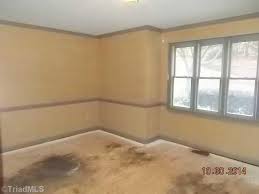
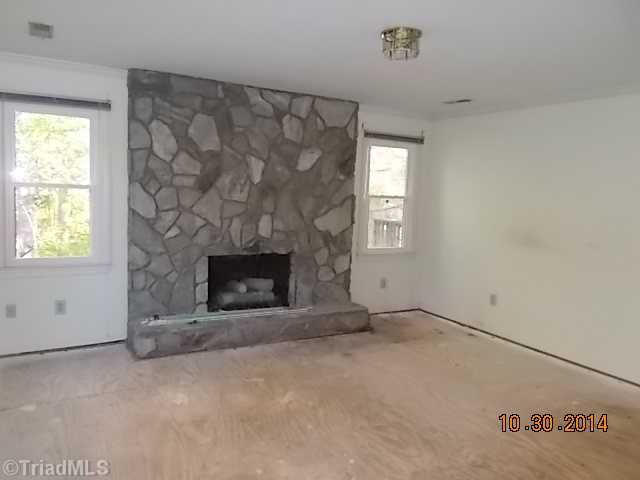
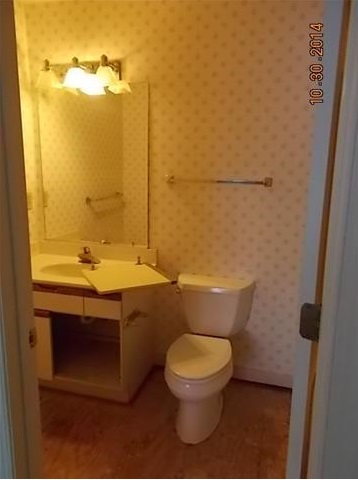
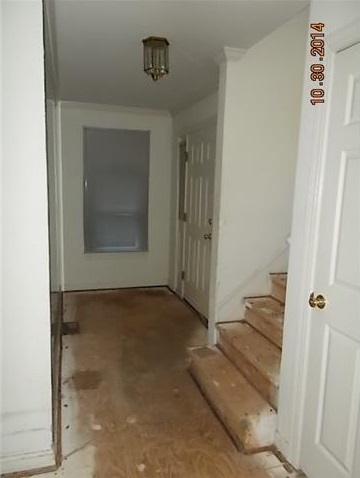
I would only let the guys bust through certain portions of the wall because I was terrified of any plumbing that might be contained in the wall. When Brian got off work, we continued where my students left off, and tore through the rest of the wall. We did end up finding one pipe, however we are still unsure about its purpose or use (the current theory is a vent pipe). 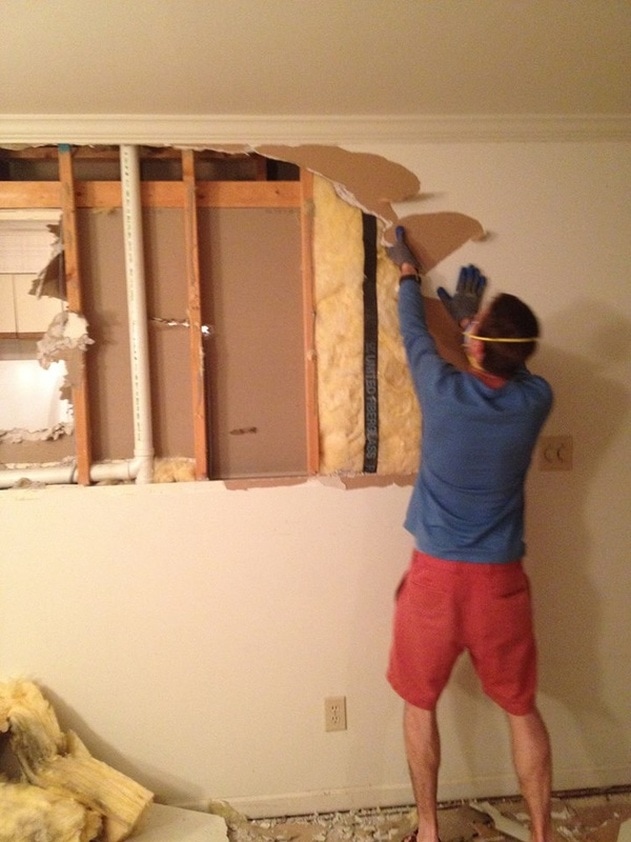 We have pretty much left the wall here, and the next step is to take down the joists. I was already given the OK by an engineer that the wall is non-load bearing (whew!), so hopefully we will demo the rest sooner than later! 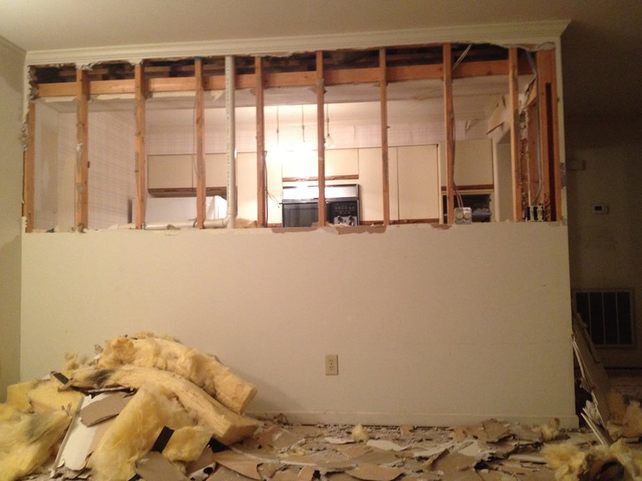 Go away, wall!! Last Thursday, I finally purchased my very first house in North Carolina. So very exciting! After what seemed like a thousand little hiccups in the buying process, everything worked out in my favor and I now own a 1700 square foot, three-story townhouse. The house is HUGE (especially in comparison to my current apartment), has three bedrooms, three full bathrooms, three fireplaces (even one in the master bedroom), and a completely unfinished walk-out basement. What the house doesn't have are floors. Or a kitchen from the last two decades. Or paint. Or a front door that opens easily. Or bathroom vanities that come up past my mid-thigh. Or a lot of things.... all of which make this house exactly what I like because I can mold it into exactly what I want. Of course, apparently what I want are the expensive things from the Home Depot (cough, $5/square foot hardwood floors), which, if you haven't figured out yet, I realistically cannot afford. If you can believe this or not, teachers are still broke in the state of North Carolina. All of this leads me to my new blog - Twenty-Something's Design. The blog is for friends and family who want to follow me on my house renovation journey, laugh at all of my mistakes along the way, and smile at the (hopefully) amazing transformation of my home (on a dime). With lots of tips from my mom and contractor dad, help from friends and students (yes, I said students are helping me), and maybe even a few visits from my brothers (hint - hint), I have a feeling this summer is going to be a lot of fun. I hope you stick around for the ride. :)
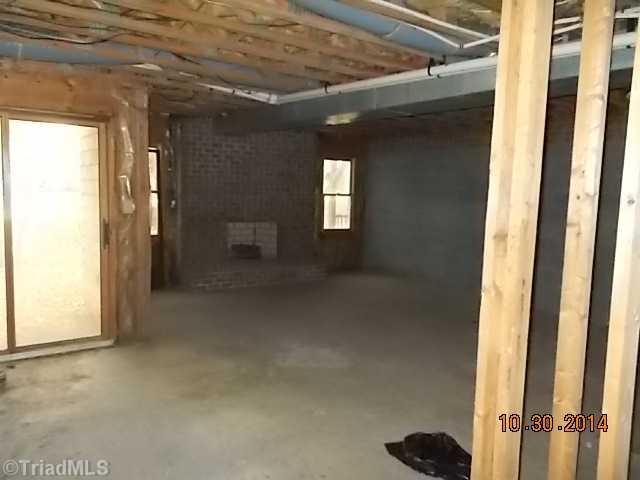 Unfinished Basement |

about meHi! I'm Lauren! I'm a twenty-something teacher and homeowner in North Carolina. I love math, decorating, and getting down and dirty learning new things about home renovation and repair. Categories
All
Archives
December 2018
|
 RSS Feed
