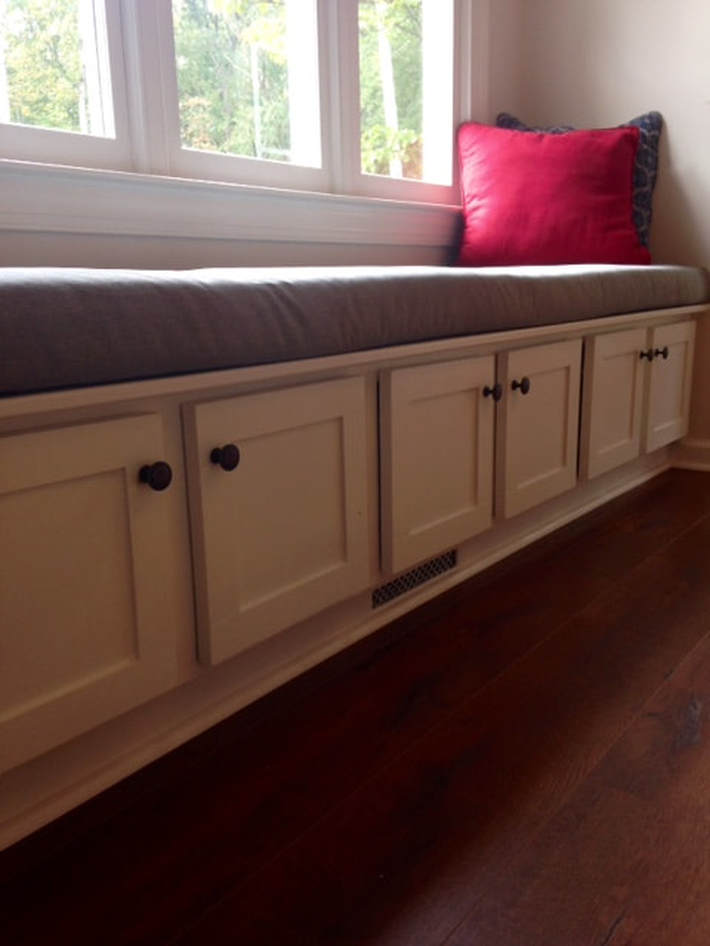
 I've been meaning to post this for a while, but as the school year got back underway... I've been a bit on the lazy side with the blog. This summer, I spent my time with two main projects: a window seat and a dining table. The dining table was actually built first (post to come), and after it was built, I felt like the space behind it needed to be filled. I'm actually really happy with the way the window seat turned out, but FYI - it was definitely more expensive than I thought it was going to be. 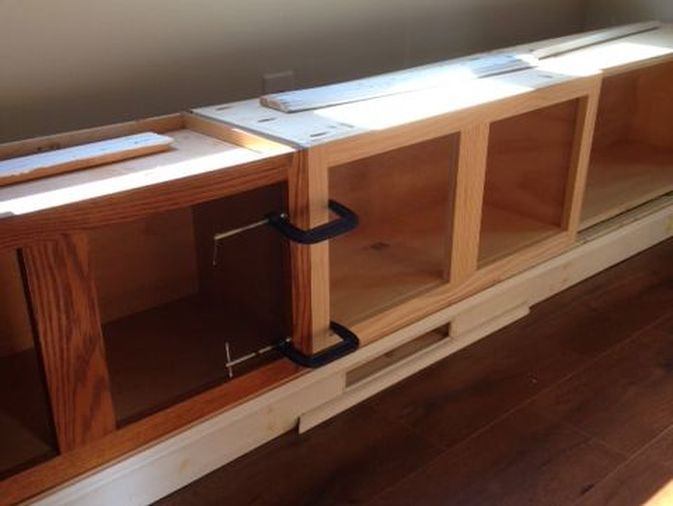 So my original idea was that I would salvage microwave cabinets from Habitat ReStore and create the window seat from those, however after some major searching and lots of driving to five different ReStores, I was only able to find one microwave cabinet (I snagged it for a whopping $12). I decided instead of searching for more, I would just spend a day and build two others. I happened to have enough scrap wood and plywood to get this done for (almost) free. The cabinets are 30" wide, 14" tall, and 12" deep. 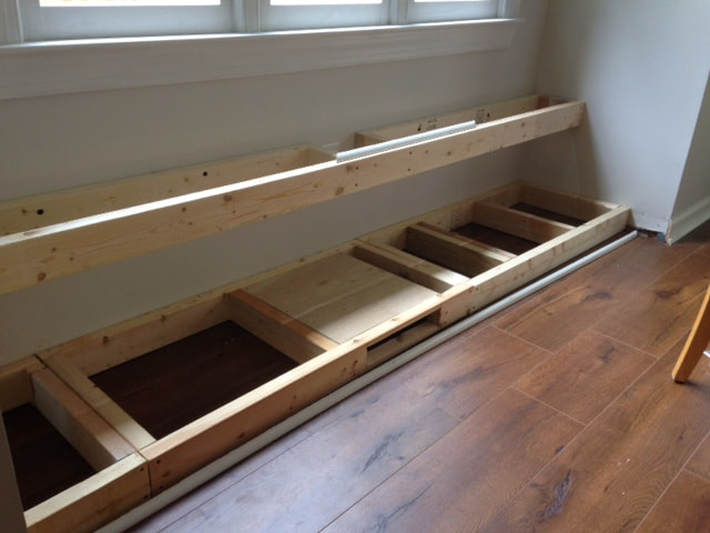 After building the boxes, I then had to frame up the floor and the wall behind the cabinets. The reason for the wall frame is simply to make the window seat larger - a 12" window seat would definitely not work in the space, so I built it up without having the make the boxes deeper. I tried to use as much scrap wood as possible for the frame, hence the million pieces. I also built a box within the floor frame to help direct the air out of the air duct. I did this by ripping a 1/4" off of a couple 2X4's, then attaching a piece of luan to the top. I also cut out a rectangular piece so the air could escape. 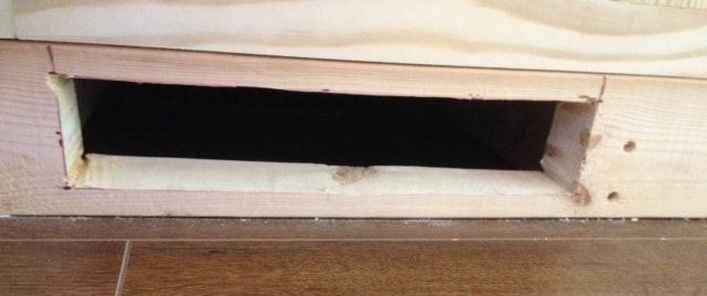 The moulding around the floor also needed to be cut to allow for the air to escape. I measured it out, cut the rectangle with the jigsaw, and then used a small piece of moulding to frame out the edges on the inside. I debated on routing the inside instead of adding the extra moulding, but decided against it. I then bought a piece of decorative metal from Hobby Lobby, cut to size, and stapled it to the inside frame. 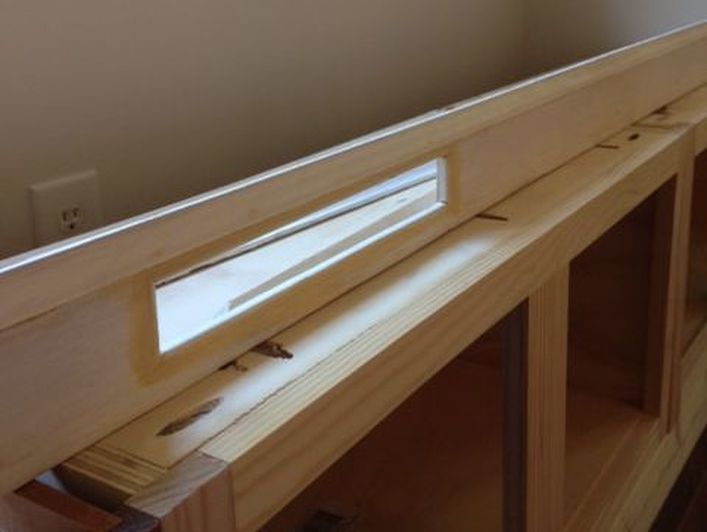 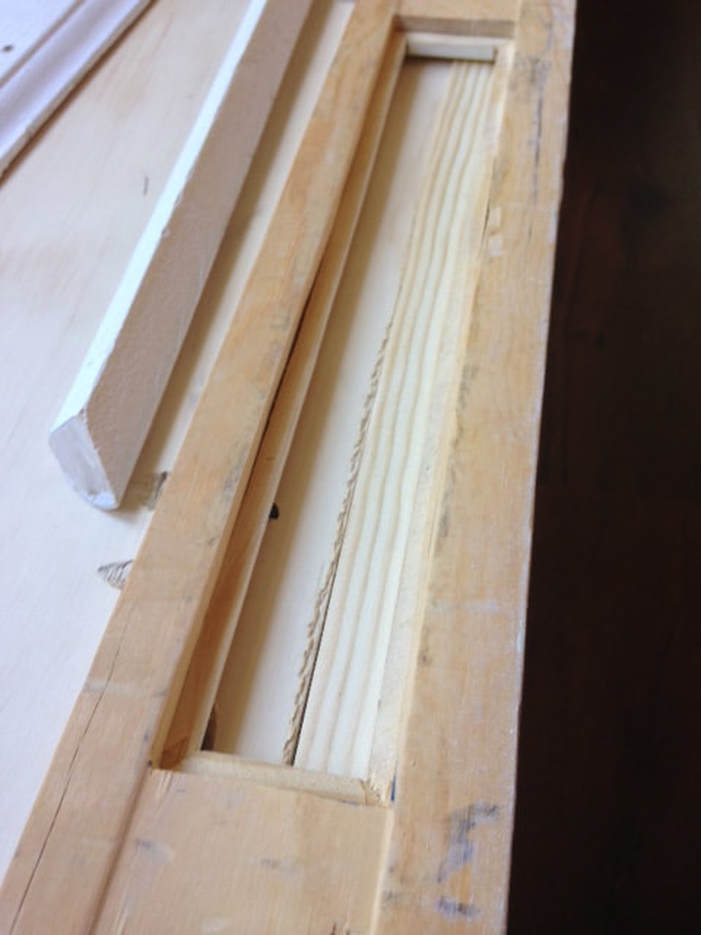 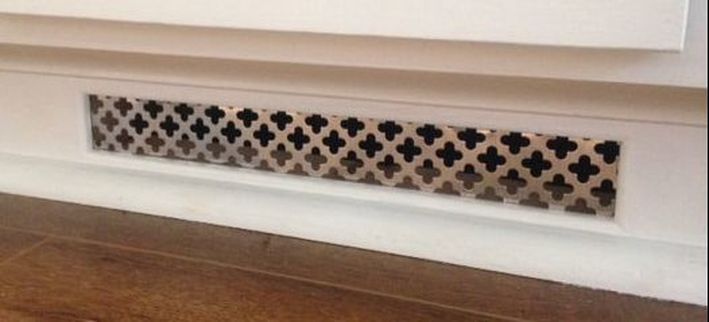 Instead of building my own doors, I went to a local building materials shop in town and found pre-made oak wood doors for a whopping $5 each. I primed, painted, and attached the doors using hinges I bought through Woodworker Express. They had exactly what I needed and were the cheapest place around! The top is made out of 3/4" plywood with a piece of moulding glued to the unfinished edge. The pulls are from Amazon and are leftover from my kitchen cabinets. 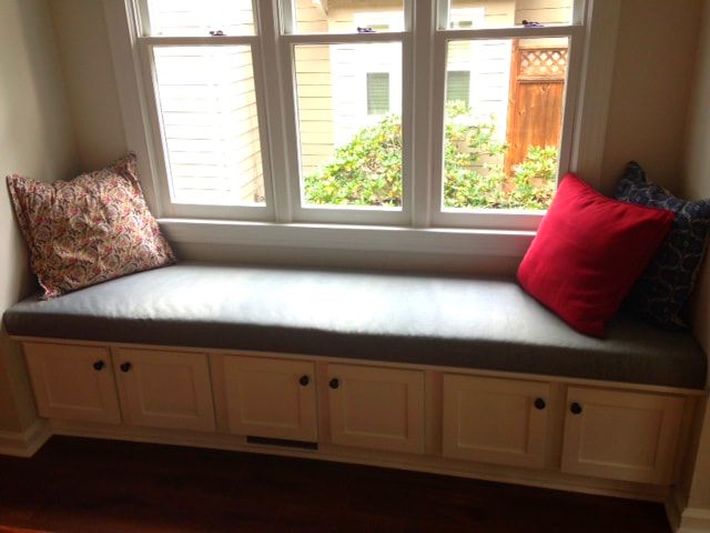 I made the cushion on top TODAY (maybe this is why I'm posting so late....). Although I had a student volunteer her time to sew me a top (I am NOT a sewer), I'm simply too impatient to wait and used the "no sew" technique demonstrated here (sans the spray adhesive). The fabric is a green heather canvas that I found at a fabric outlet for $15 while on vacation in Virginia. I still have an entire ROLL leftover, so if I do ever decide to have my student sew me a top, I'll have plenty for her to tackle the project. 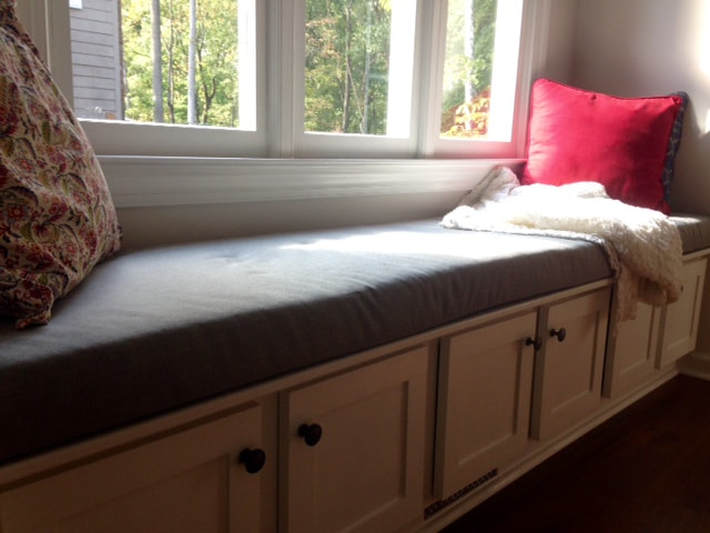 Can I get a sigh of relief? It's finally finished! And look who loves their new seat!!!!! 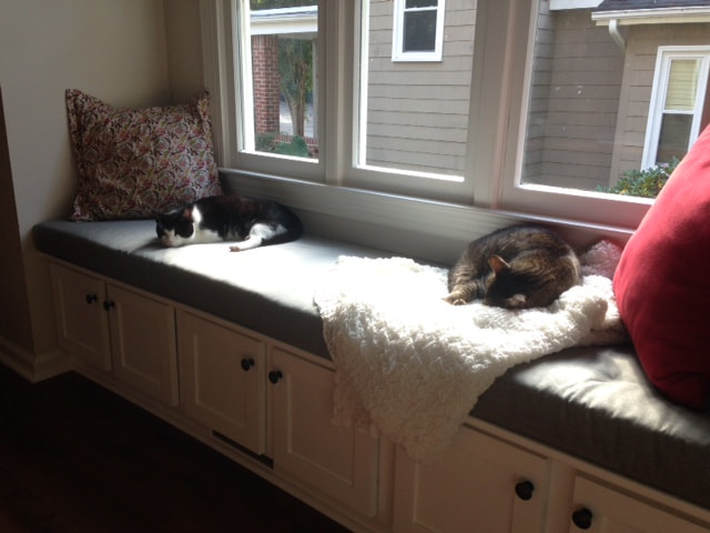
1 Comment
lauren benson
10/11/2017 06:01:54 pm
Lauren that is incredible! You are amazing. Leave a Reply. |

about meHi! I'm Lauren! I'm a twenty-something teacher and homeowner in North Carolina. I love math, decorating, and getting down and dirty learning new things about home renovation and repair. Categories
All
Archives
December 2018
|
 RSS Feed
