|
The shower definitely caused us the most strife in the Master Bathroom. We had to do the most research to see what products we should and should not use, how to frame it up, what kind of base to use, etc. Tears were definitely shed every time we realized we did something wrong and had to go back and fix it. We framed up the shower years ago, and when we finally got around to finishing the bathroom, we were so glad we took the time to frame it properly. 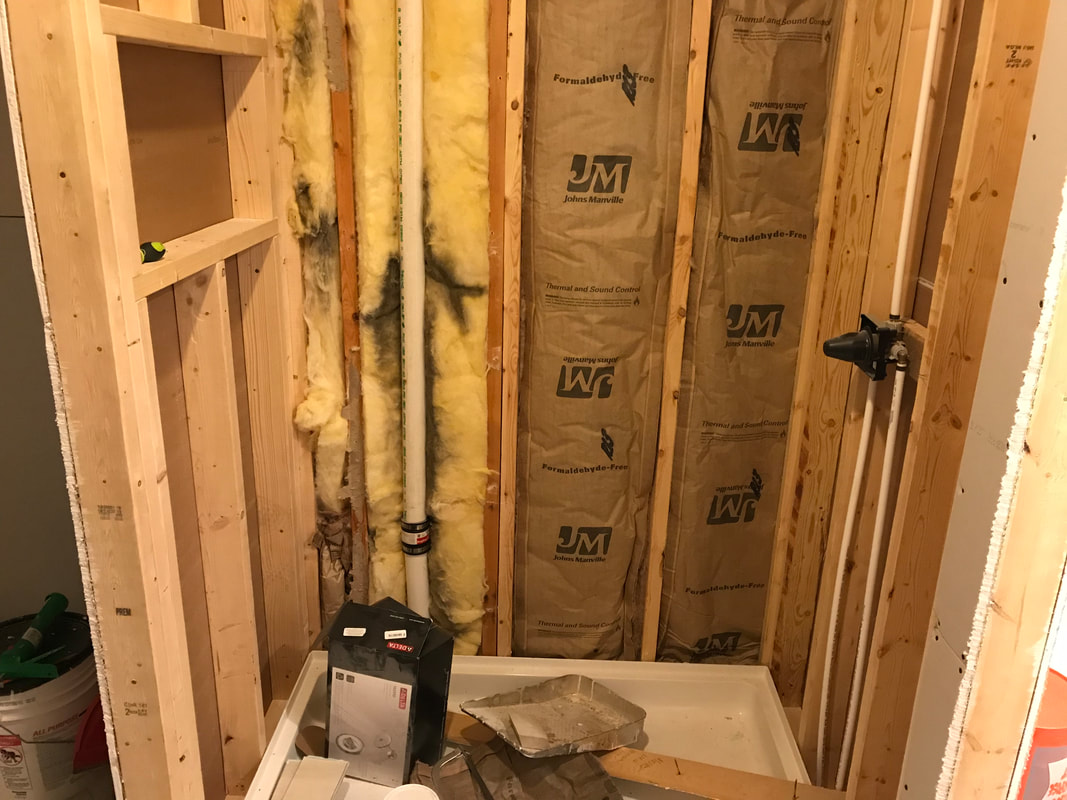 We added insulation all around the shower to help with the noise. We were told it didn't really matter if we put it in or not, but we figured it could help with the noise from the shower. Next, we used Durock as our cement board because Brian hates the other stuff. Durock is a lot easier to cut, but does tend to fall apart and damage easily. Beware when using this stuff, it does NOT come in a 4x8 sheet. 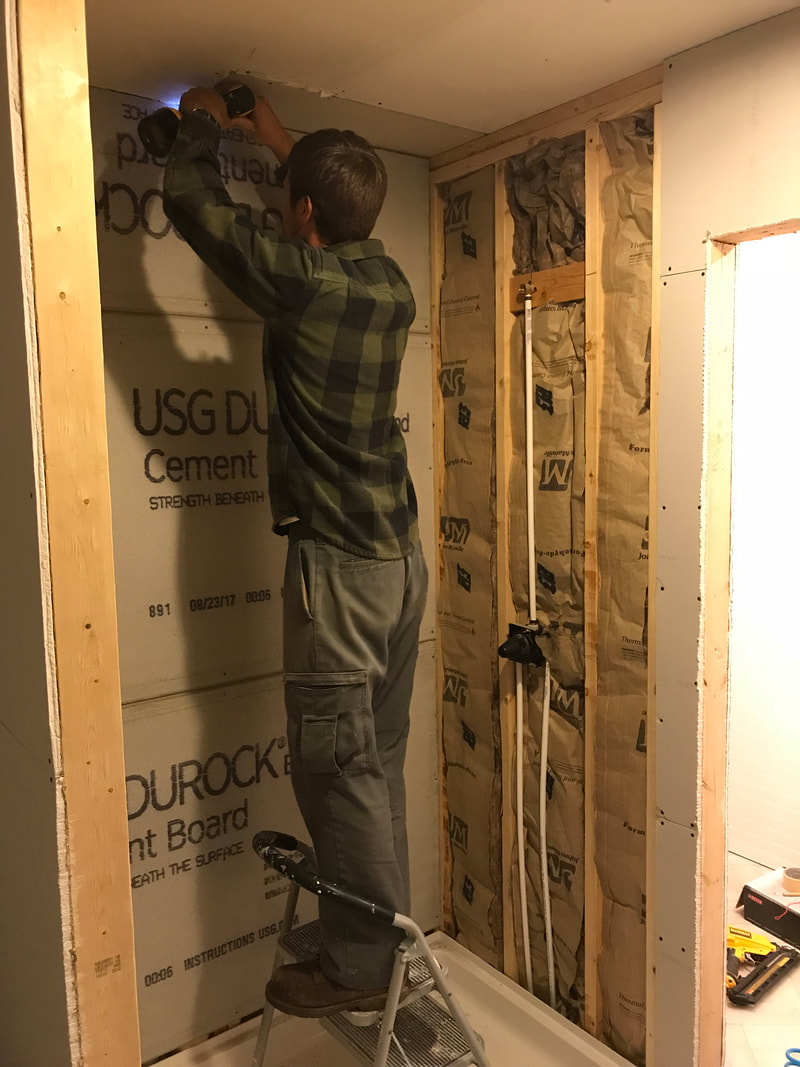 I believe for the shower nook we glued the cement board to the back wall, and then installed smaller pieces around it to help hold it in place (but honestly it was so long ago, I don't exactly remember...). 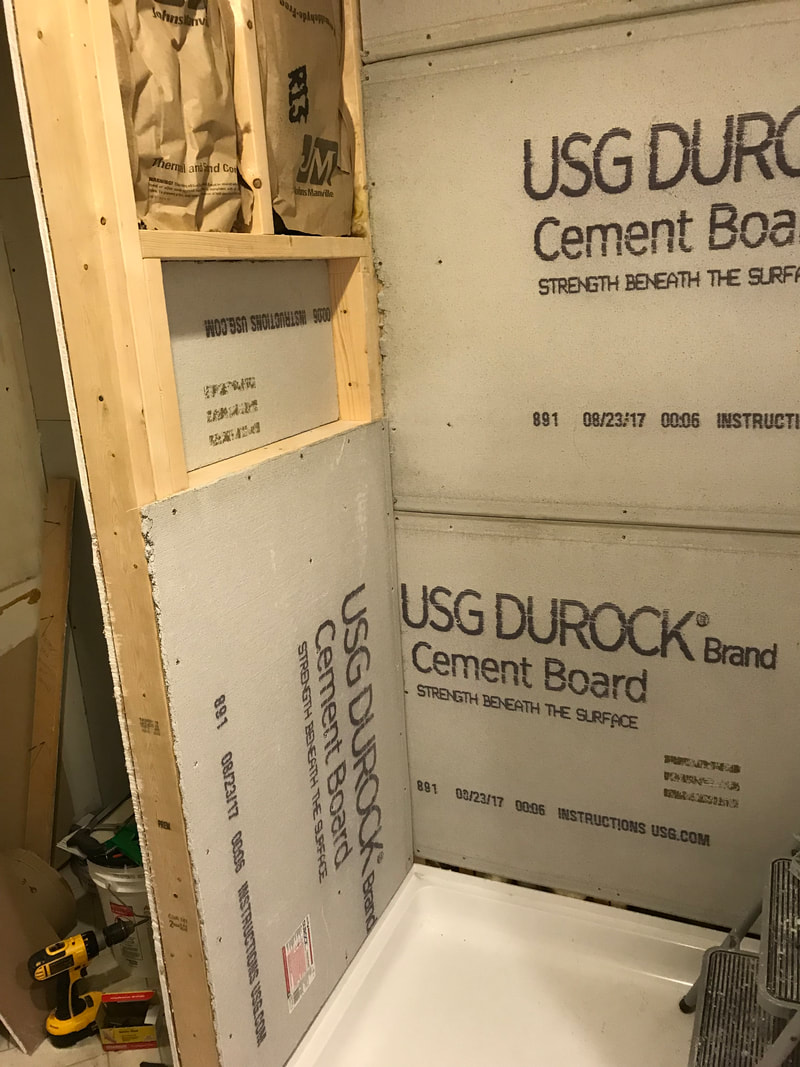 Notice the gap between the shower pan and the cement board. This was one area of frustration as the shower pan instructions were clear that there needed to be a 1/2" gap between the pan and the cement board, yet I couldn't get over how the tile wouldn't eventually let water behind that gap. Ultimately, we decided to tape the gap and mud over it with thin set, and then used Redguard over everything to create a waterproof seal. We did this after we had Redguarded the rest of the shower but before we started to tile.  Next we started to tile. We got the tile from Floor & Decor, **ON SALE**, and absolutely fell in love with it. It had a marble-ish look to it without looking manufactured. I believe the size was 8"x18", but again, I can't quite remember. I initially wanted to do subway tile, but thinking about tiling the ENTIRE shower made me want to quit before we even got started. We accented the tile with blue penny tile in the nook and on the ceiling. The tile cost around $150 in total. 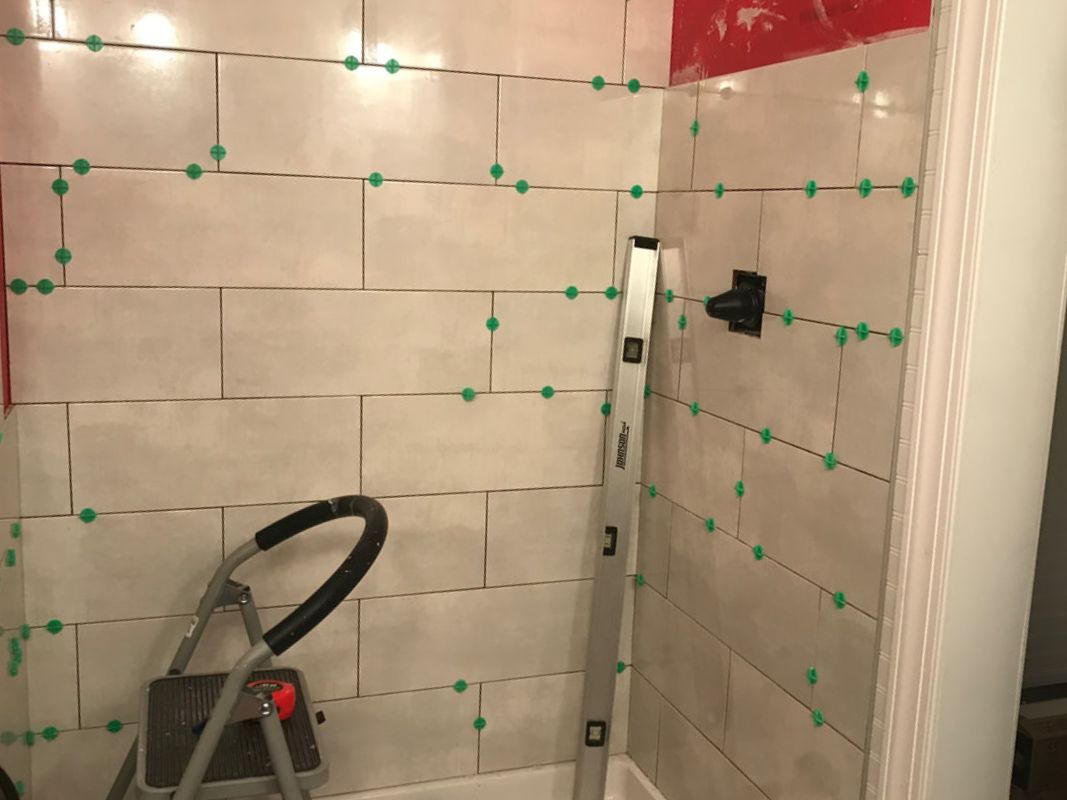 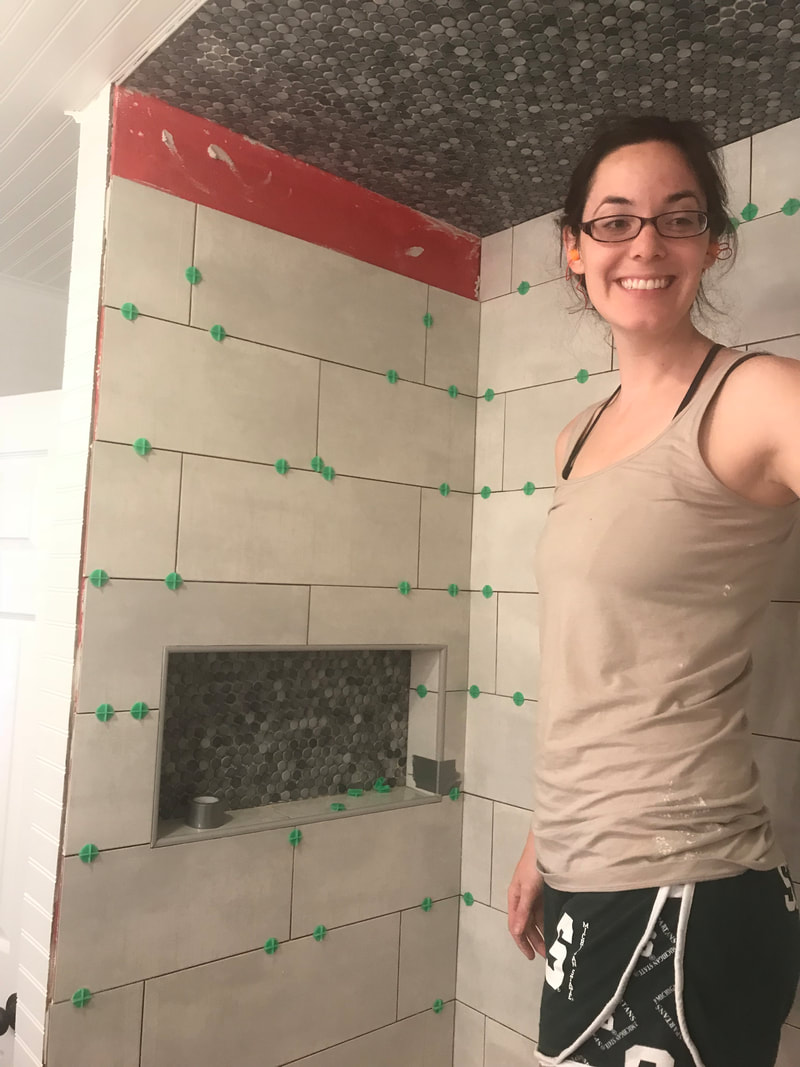 Once we got going on the tile, it went pretty quick. I measured and cut the tile, while Brian slapped thin set on the back. We did all of this in the bathroom and it made a HUGE mess. After cleaning everything up, I spent another day scrubbing everything down multiple times to the bathroom sparkling clean! 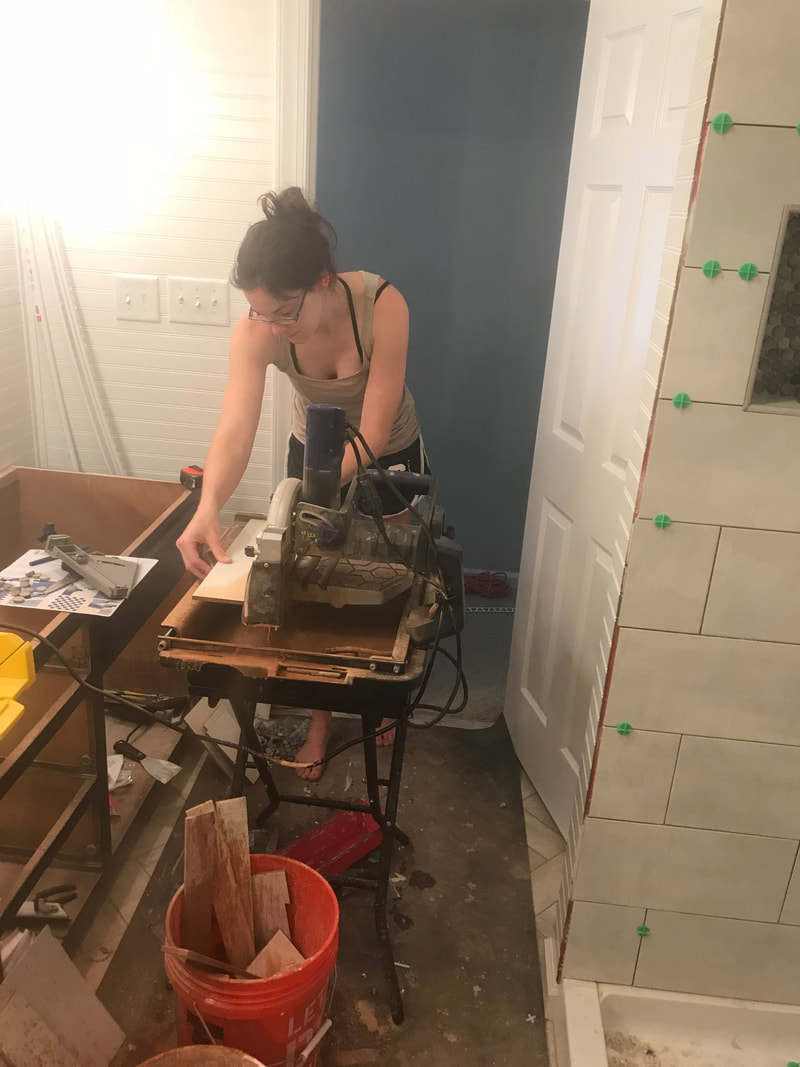 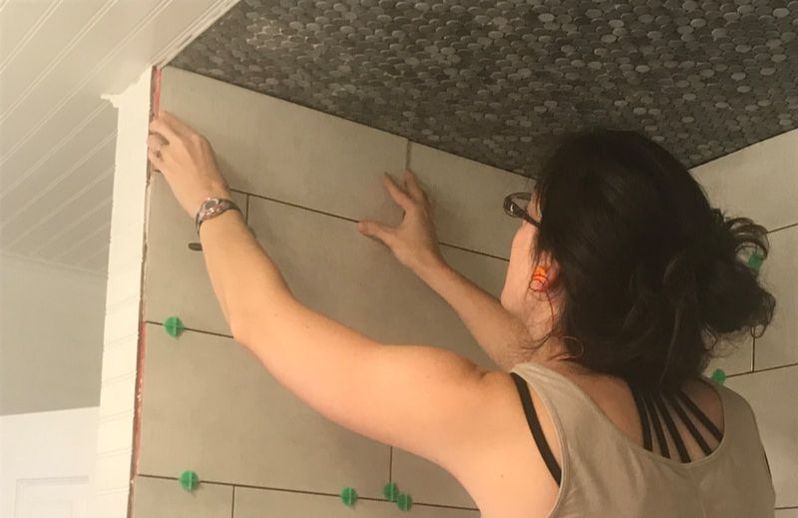 Ah, the last tile! Time to grout! After grouting, we waited a few days and then sealed the grout with a spray sealer. Again, if we hadn't sold the house, we would have installed a shower door as well, but we left that purchase up to the new owner.
0 Comments
Leave a Reply. |

about meHi! I'm Lauren! I'm a twenty-something teacher and homeowner in North Carolina. I love math, decorating, and getting down and dirty learning new things about home renovation and repair. Categories
All
Archives
December 2018
|
 RSS Feed
