|
Brian and I are working really hard to finish the upstairs (painting, bathrooms, etc) so that the carpet can be installed by March 1. This may be a long shot, but here's hoping. So some weekend updates - while I now know why it is so important to wear a mask when spray painting (I suddenly feel like an 80 year old man with emphysema), I am happy to report that we have almost completed two major projects (that could and should have been completed a long, long time ago). First, we finished oil priming the master bedroom and tested out our handy new Homeright Finishing Spray Painter with our first coat of latex paint. Brian says he has found a new love (and that we should have been spraying the walls since the beginning). While I agree with him, I also think I'm going to take my mom's advice and buy some heavy duty masks for the next round. Pictures to come. Next, we are in the process of finishing up the second guest bathroom. I wanted to add some pizazz to this bathroom that the one of the first floor lacks, so I used this inspiration picture from Pinterest to help: 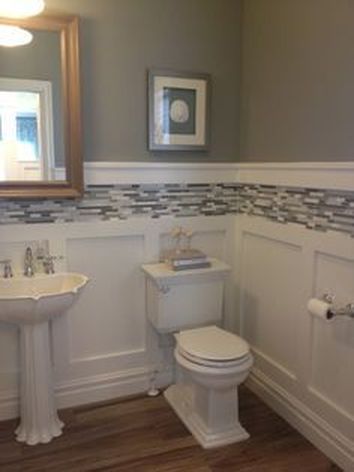 Although my floors aren't wood, I don't have a pedestal sink, and my walls sure as hell won't be this dark, I enjoyed the wainscoting and the tile backsplash. I thought they added elegance and some spice to an otherwise boring bathroom. We started with the wainscoting, and used the same technique that we did in the entry. The difference - we went with pine this time instead of MDF. 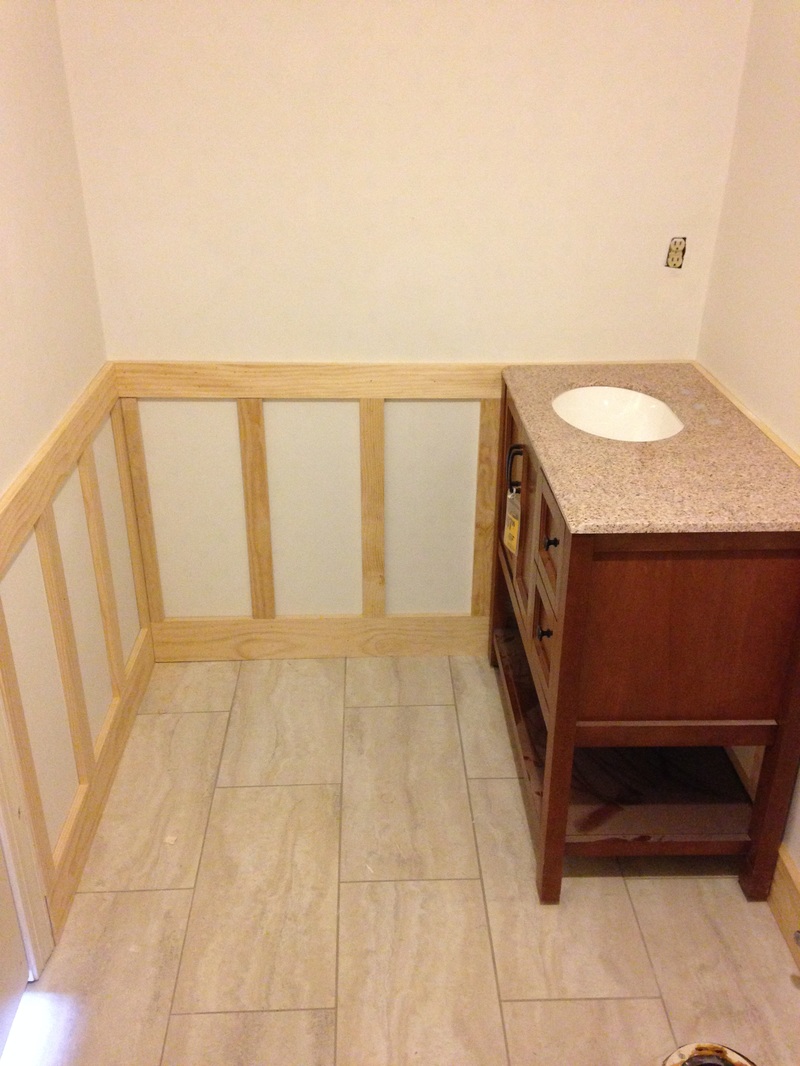 Then it was time to pick out a paint color. I suppose I didn't really care about the color, as long as it was light and bright (the bathroom has no windows, and it's attached to the dark blue room). Brian had a gallon of light blue semi-gloss laying around, so we went ahead and tried it out. 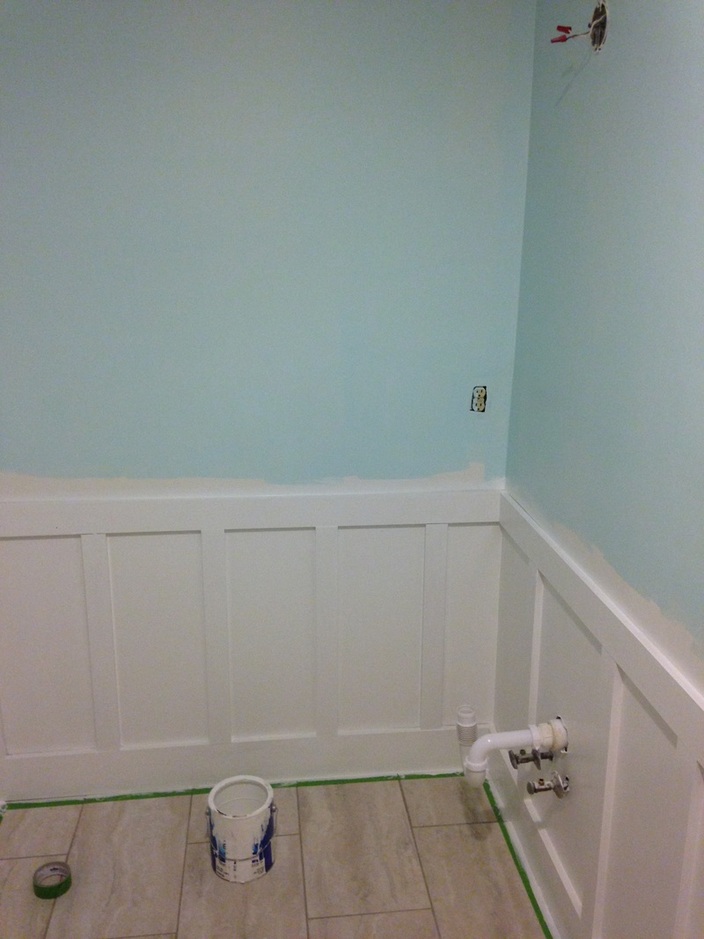 Needless to say, it got painted over the next day with some Sherwin Williams Sea Salt. 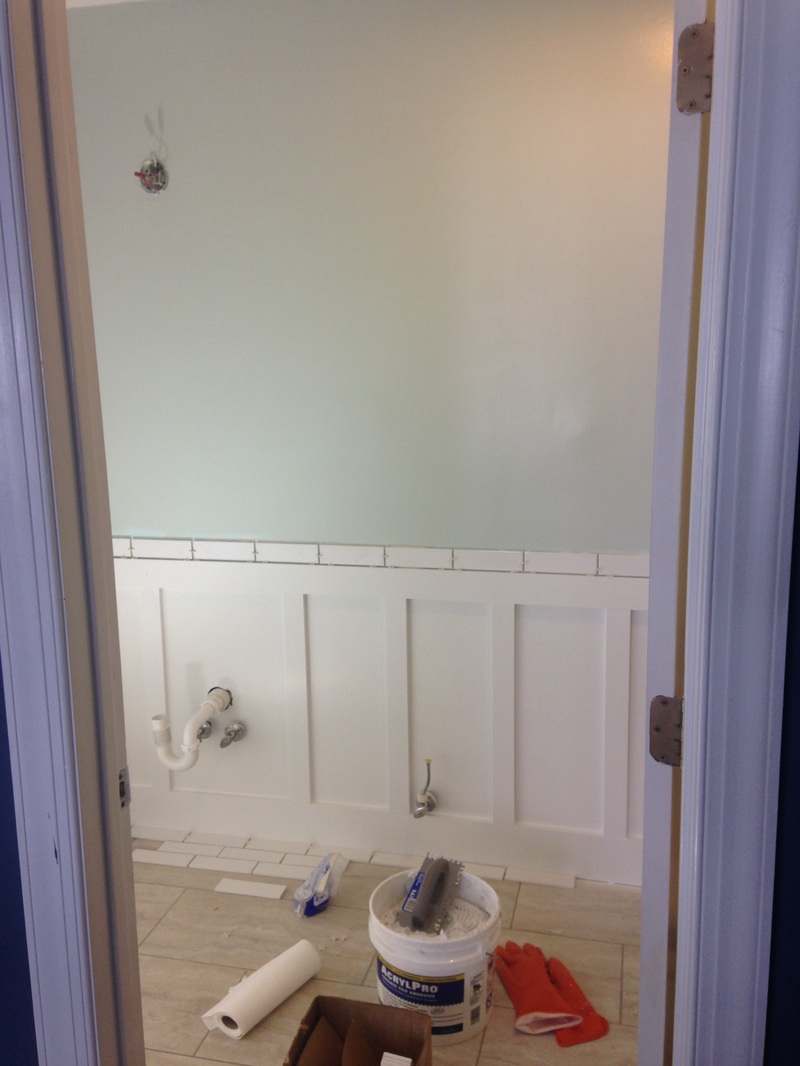 You can see in the above photograph that we are also testing out that tile backsplash I enjoyed so much from the inspiration photo. While my budget doesn't allow me to spend $10 a square foot on mosaic tile, it did allow me to buy 14 square feet of elongated subway tile (a whopping $15 total). Apparently I bought about twice as much as I needed because after installing we still had almost a full case left over! 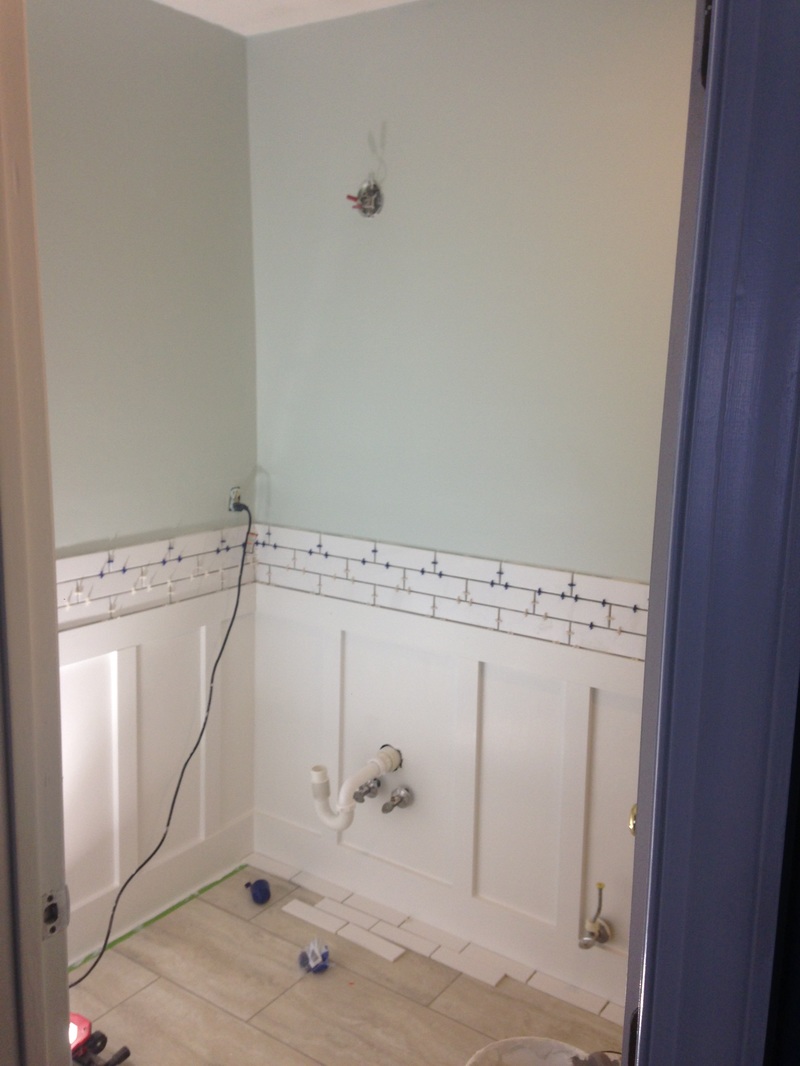 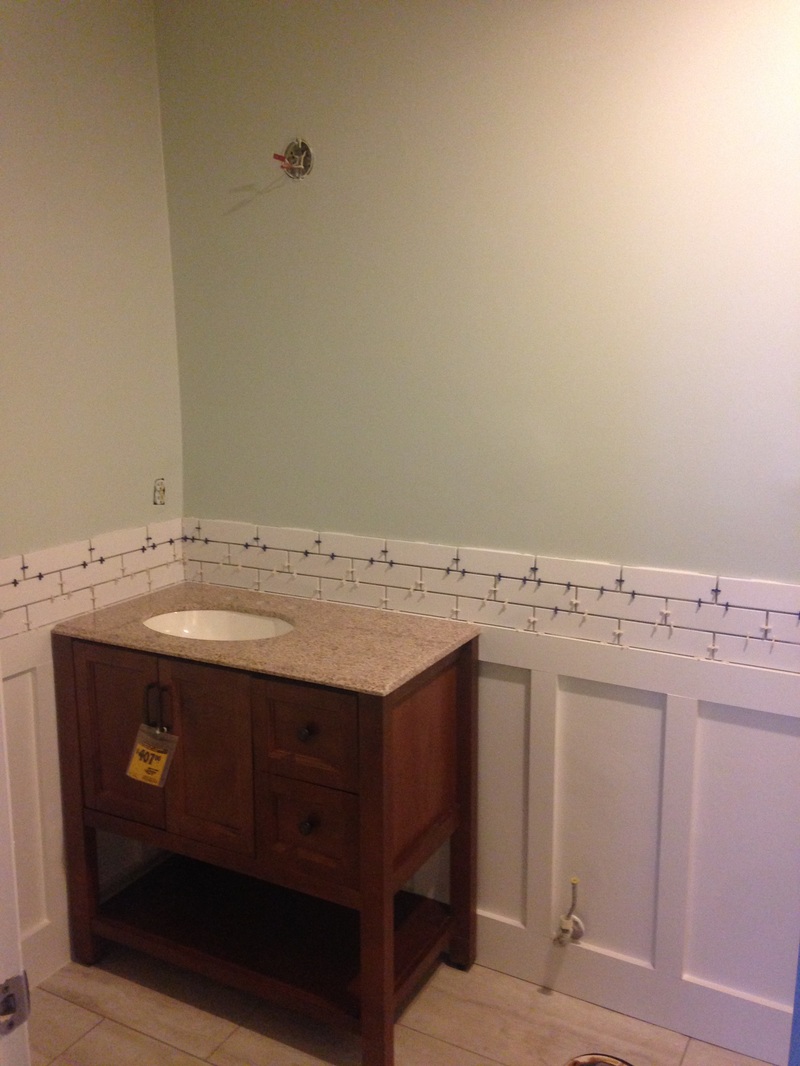 Don't worry, my frugal friends! I didn't spend $407 on that vanity! Between the one I bought in-store and the exact same one I found on Craig's List (both now in the guest bathrooms), I spent a whopping $400 on the two of them. Nice. 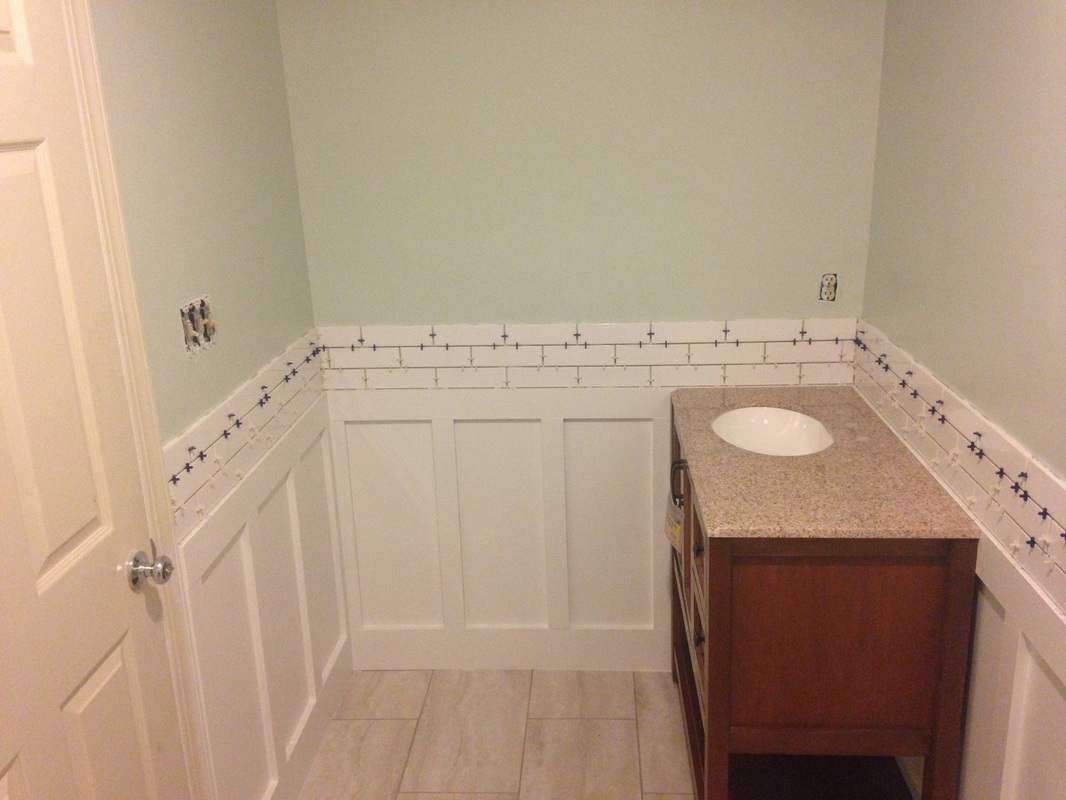 Now all that is left is to:
0 Comments
So apparently I never wrote a post about how we framed up the master bathroom. Well, to recap, this summer we ripped down the ceiling in the kitchen when we tore down the kitchen wall. When we removed the ceiling, it exposed the plumbing to the master bathroom. Not like this mattered one way or the other, except that I wanted to gut the bathroom - so this was the time to do it. Pressure was on because we really, really wanted to finish the kitchen, but that could not be complete until the master bath was replumbed. 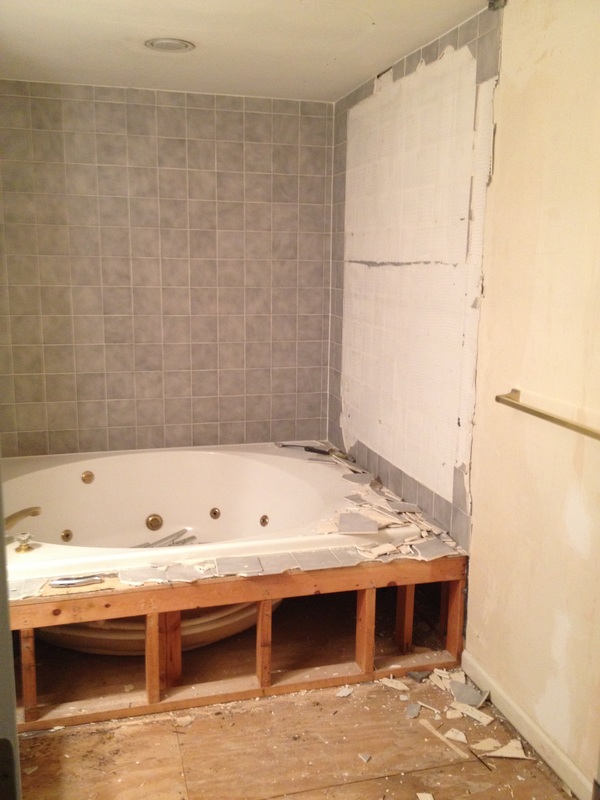 First on the list was to remove the old garden tub. Thanks to my awesome students, that was easily accomplished. Check! Next, we had to figure out some sort of layout. I went back and forth on this for a while, but finally decided to move the toilet across from where it was originally (and now behind the door), install a double vanity, have a smaller stand-up shower, and a relatively large closet (where the tub used to be). 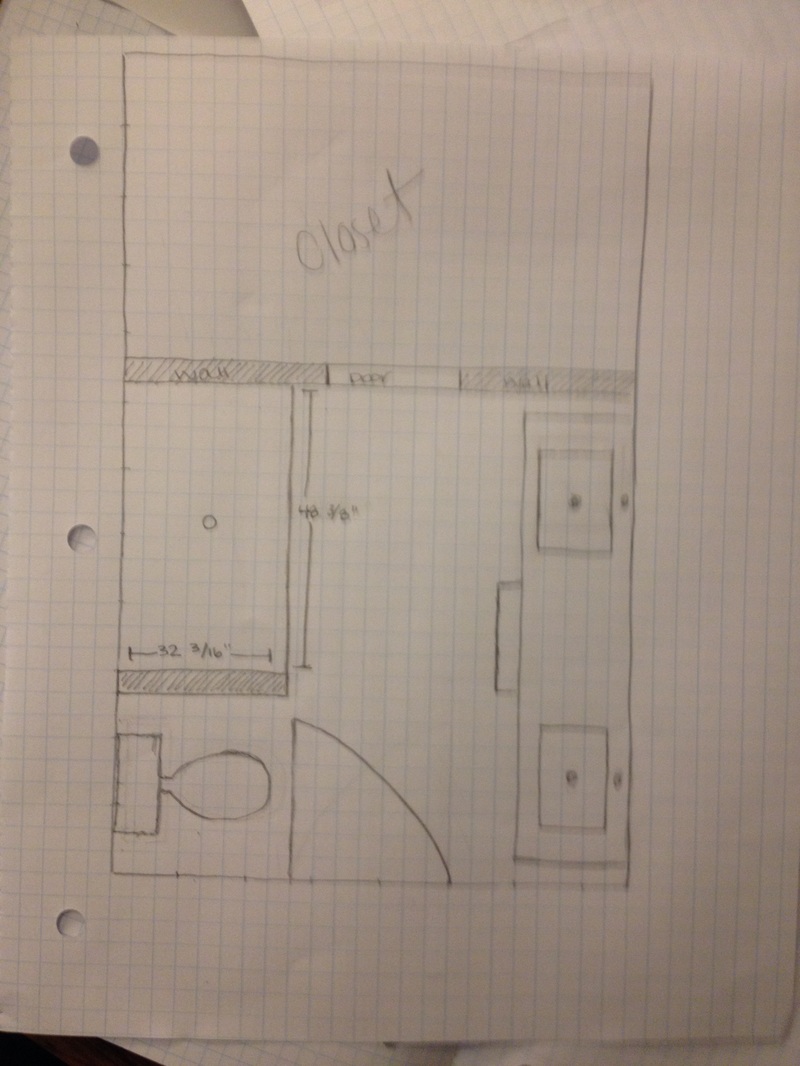 My dad was really the one who convinced me to go with a double vanity. He said, poignantly, it was better for resale. On a plus side, it could actually work in this space. The downside - the toilet is behind the door when it opens. Hopefully, however, no one is opening the door on you when you are using the golden throne! Since we gutted the bath, it was time to put it all back together. We now had my makeshift frame, so Brian and I put Terry to work to help us get the framing done. I was skeptical about putting the closet in the bathroom, however I'm really happy we decided to because it helped support the ceiling in the space. For real - framing up that wall alone raised the ceiling by about 2 inches! Yikes! 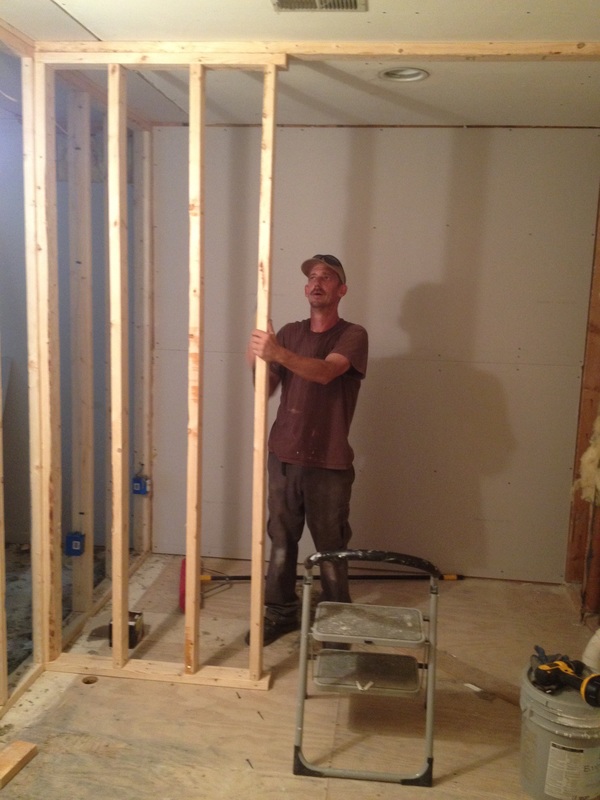 We were originally going to go with a pocket door (I bought the kit and framed the walls accordingly), however after some chats with my pops and his insistence on the walls being perfectly level (or else it is the worst experience in the world), I've decided that a barn door might work better. 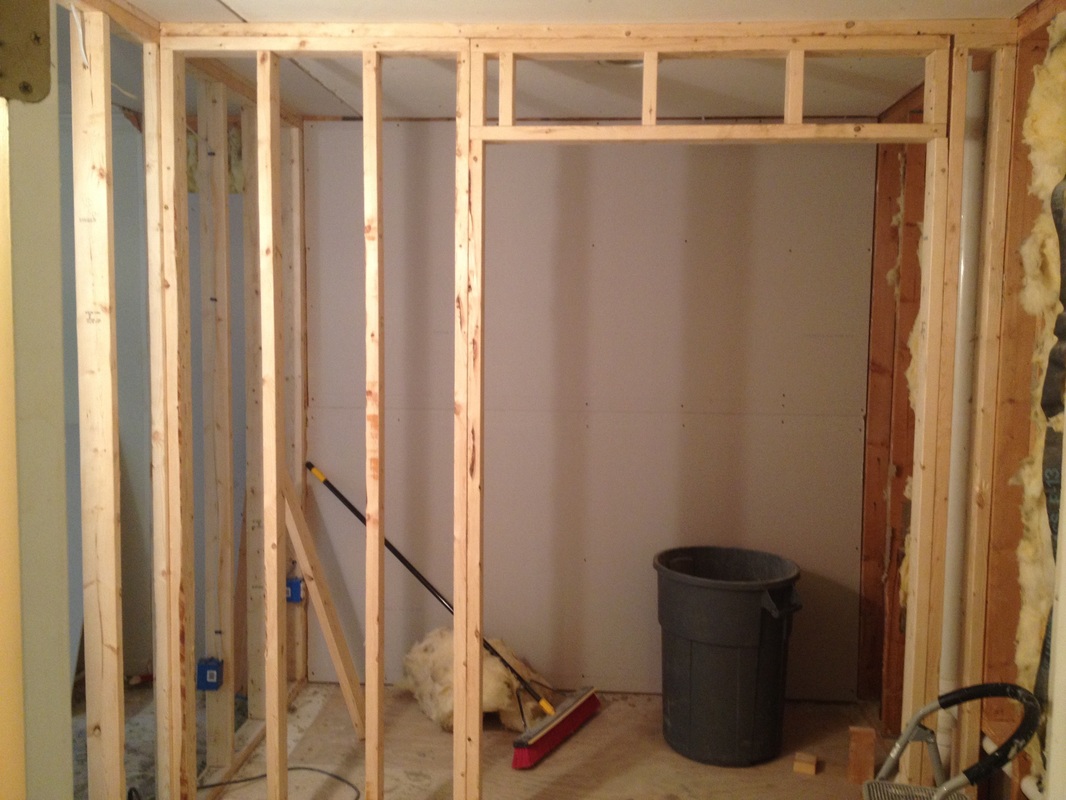 The bathroom stayed like this for about 2 months until the shower pan came in the mail. Tim-the-plumber then came in and replumbed the entire space. He moved the toilet from one side of the room to the other, and plumbed the right wall for my double sinks. (Tim also "forced" me to make my DIY double vanity so that he could get the measurements right.) Once he was satisfied that nothing would leak, Brian and I continued framing in the shower. 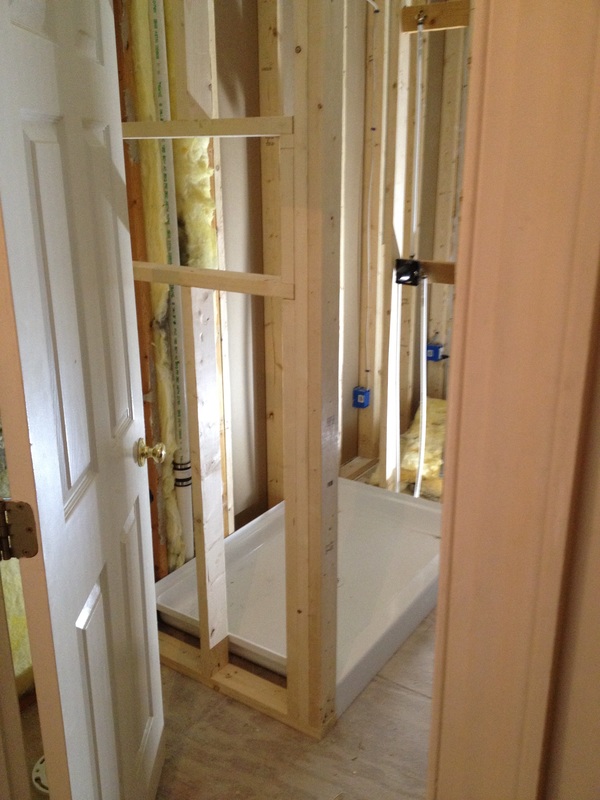 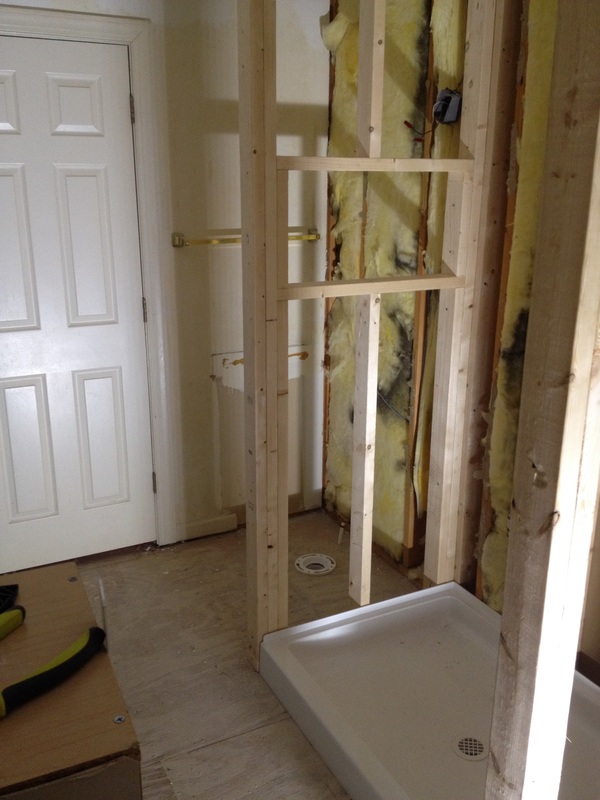 Below is a view from the toilet area, looking at my almost finished DIY double-vanities. 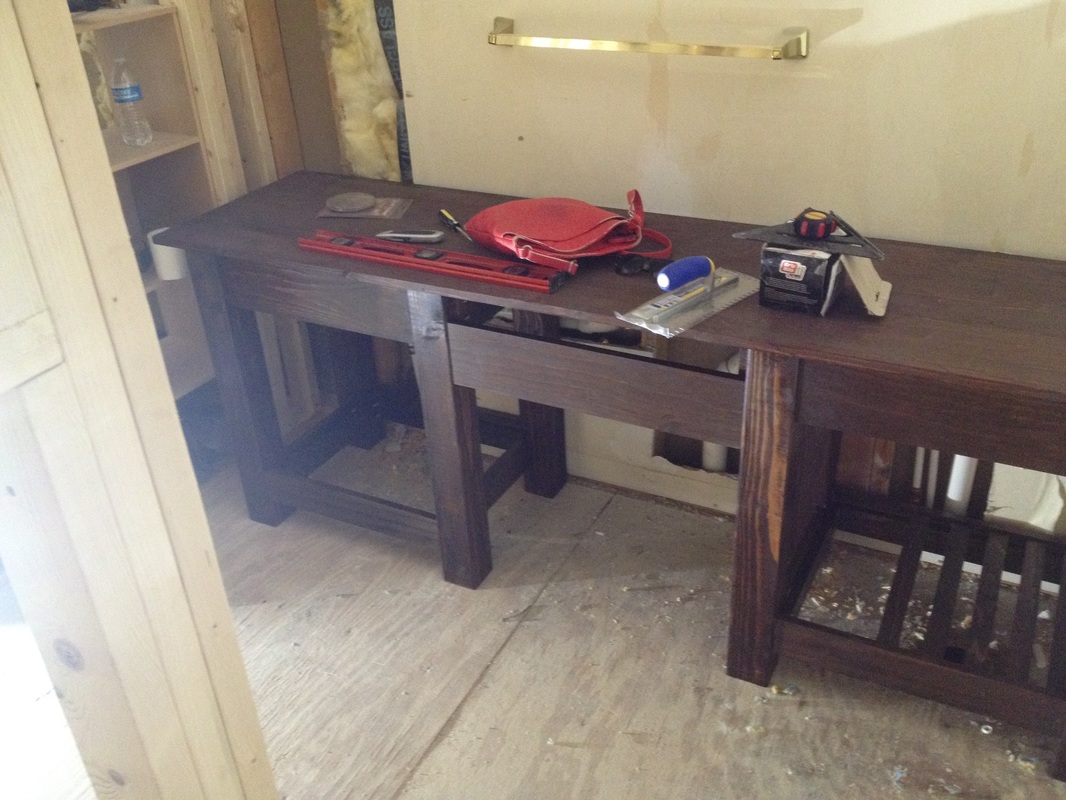 My only regret in the entire bathroom experience is that we stupidly didn't lay luan down before framing up the walls. Oh well. You live and you learn!
I'll keep this post short and sweet and let the pictures do the talking! 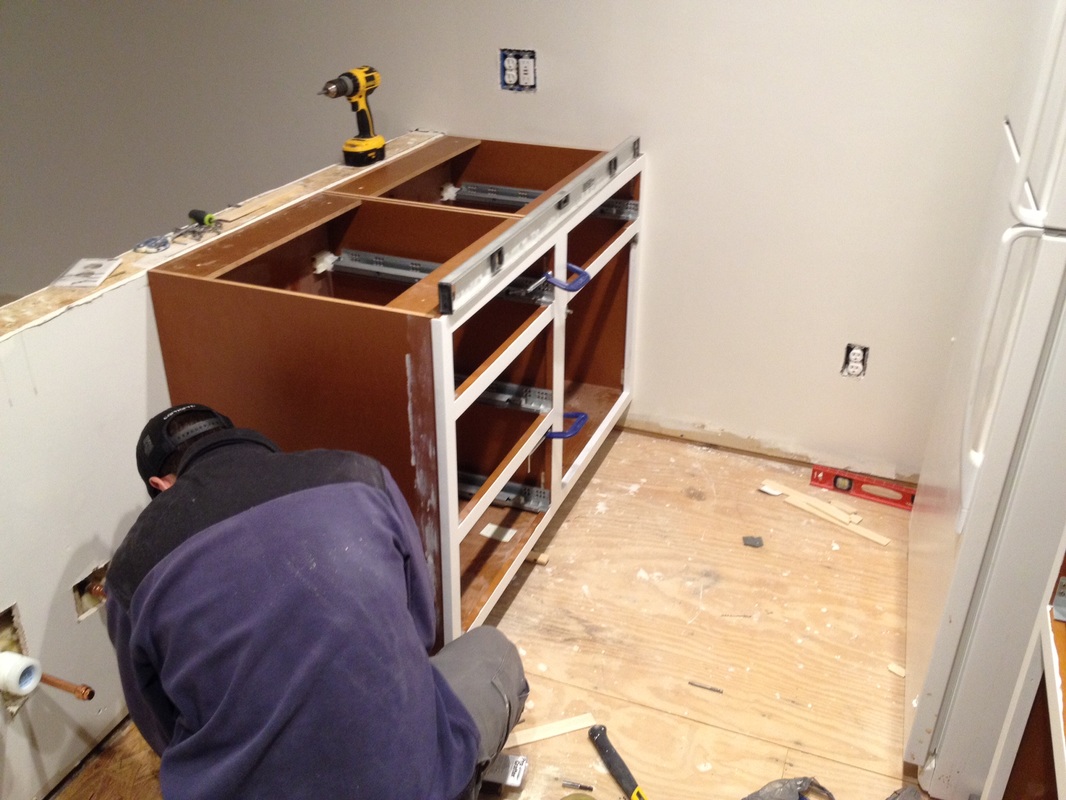 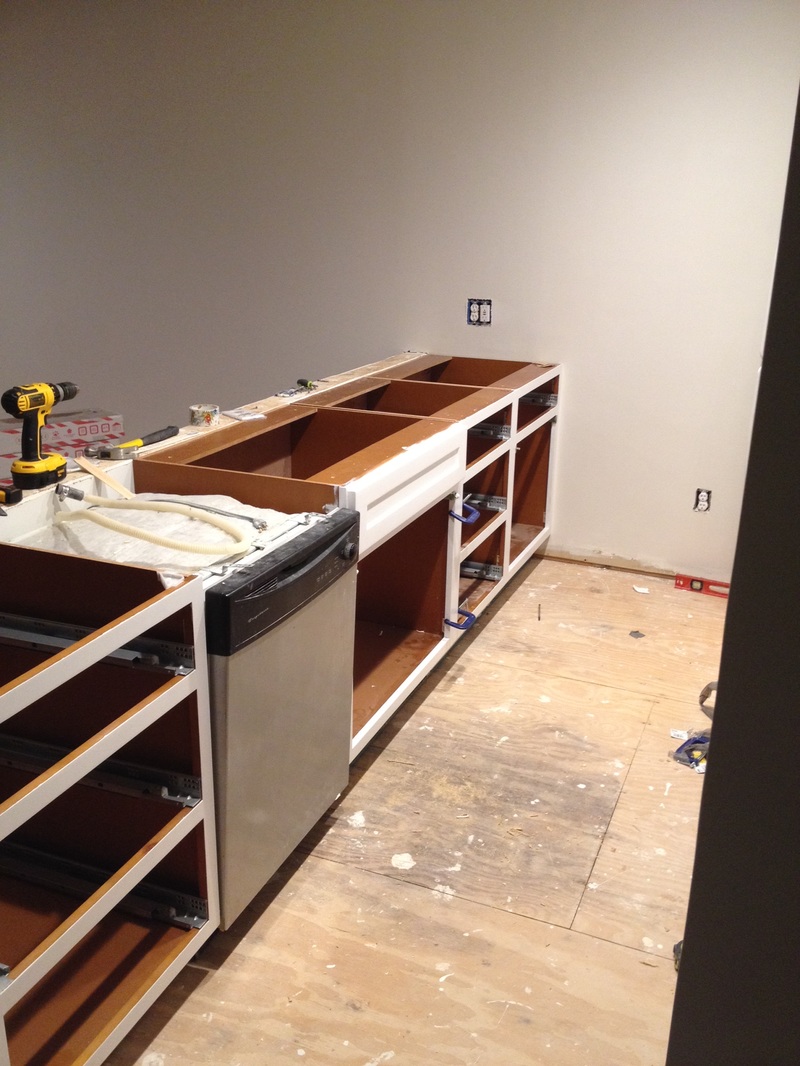 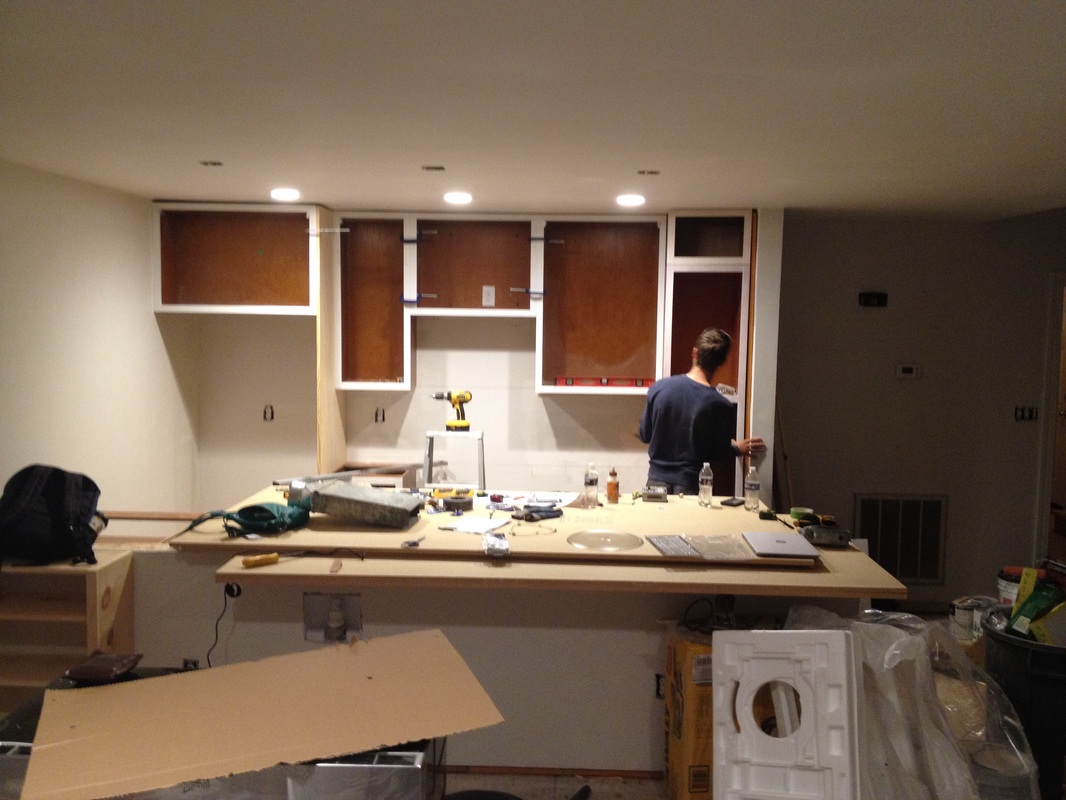 Now, with the fridge and microwave installed... 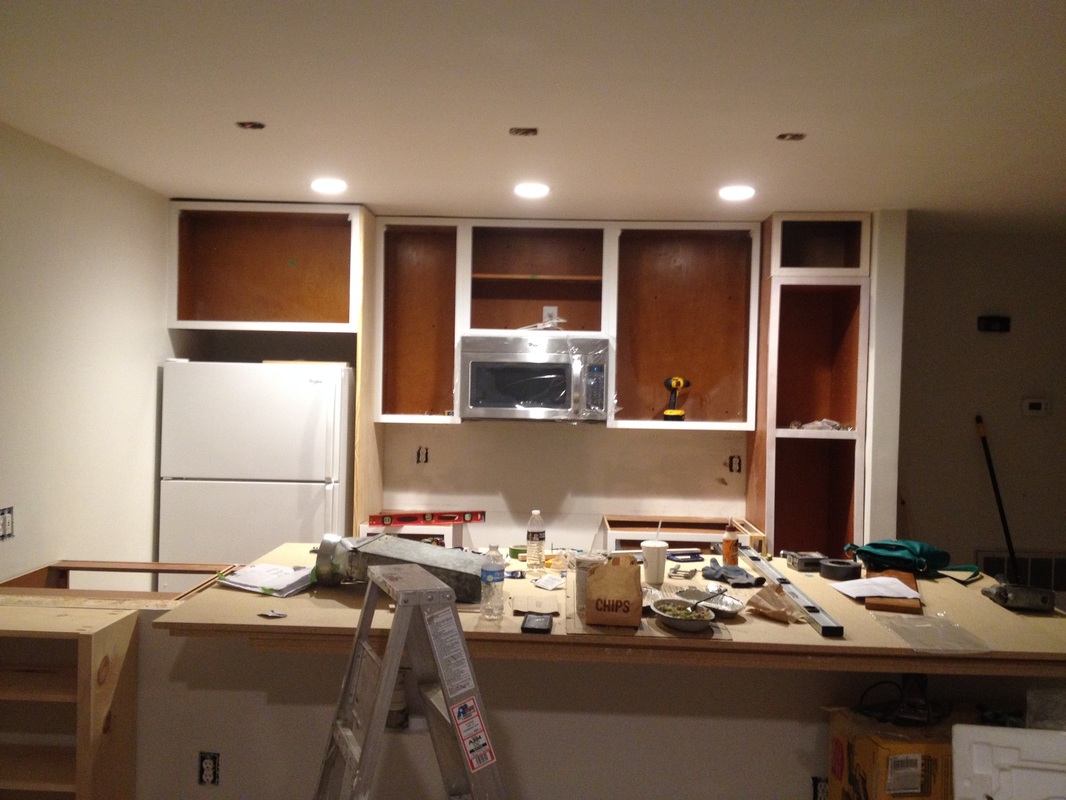 And now for a view of the entire room! 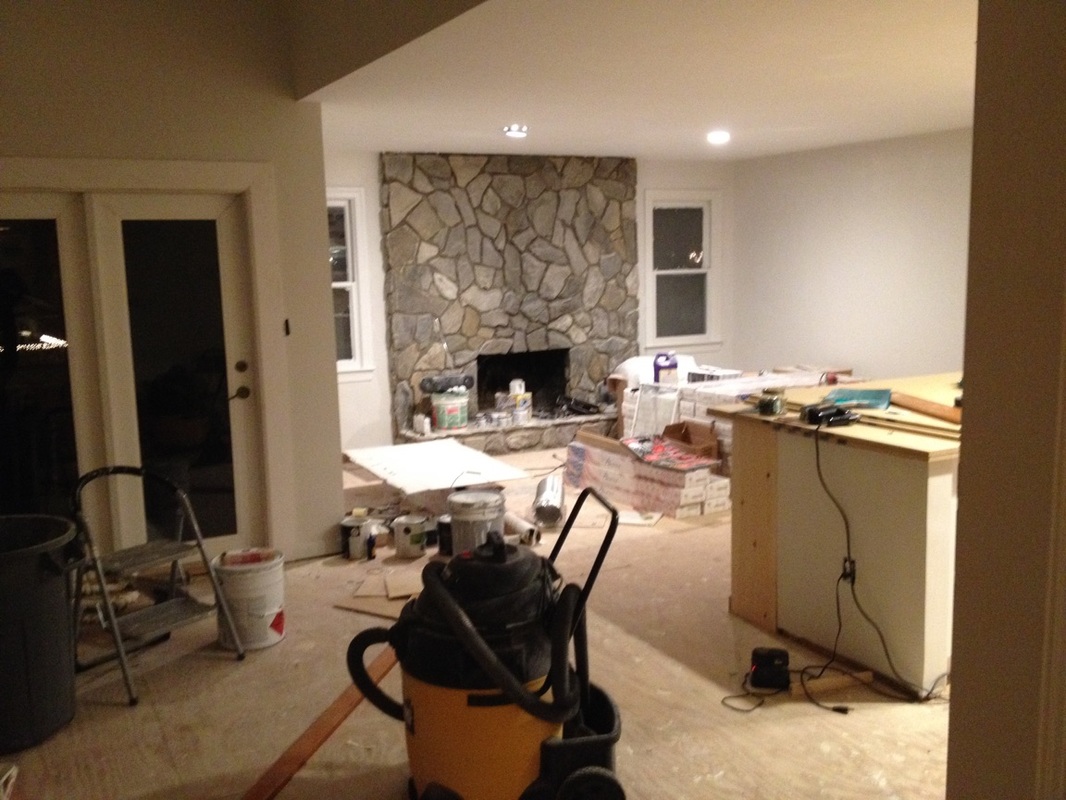 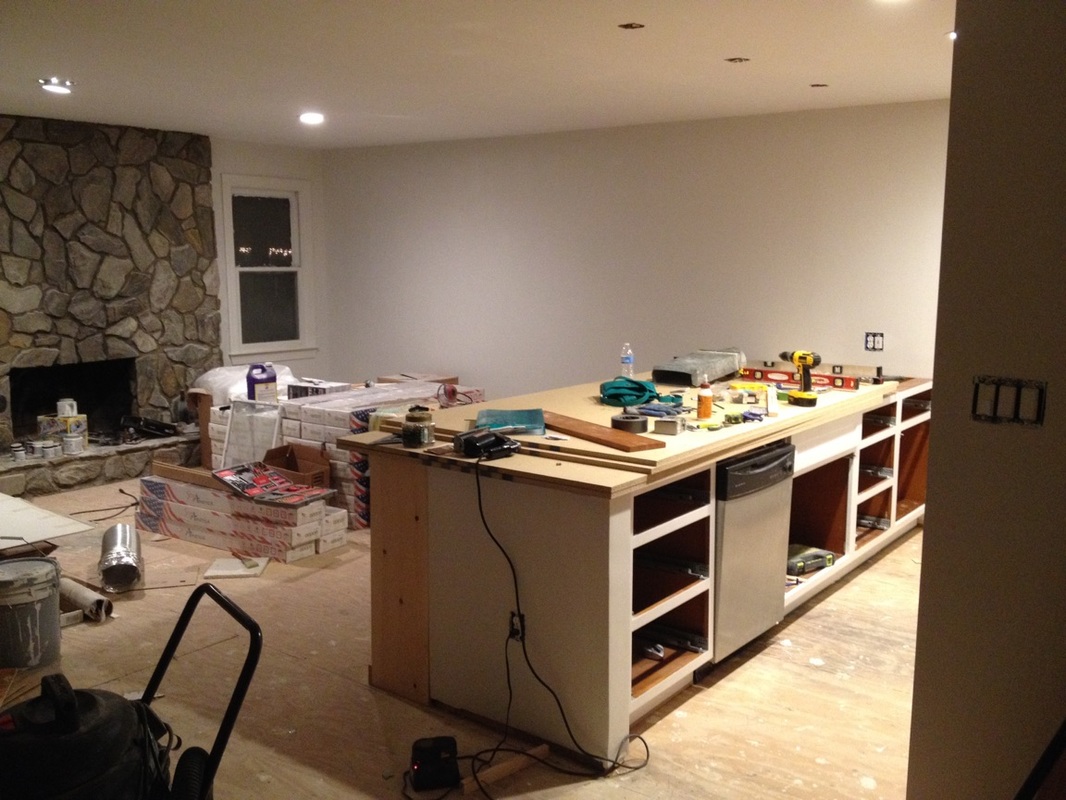 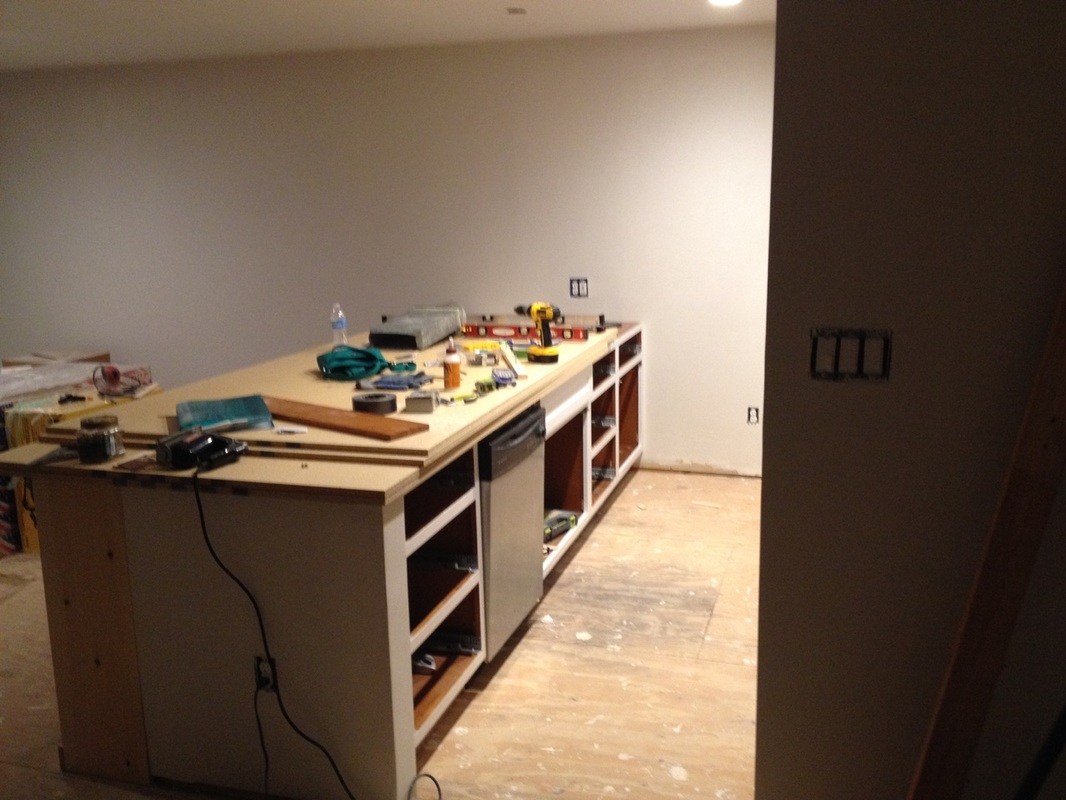 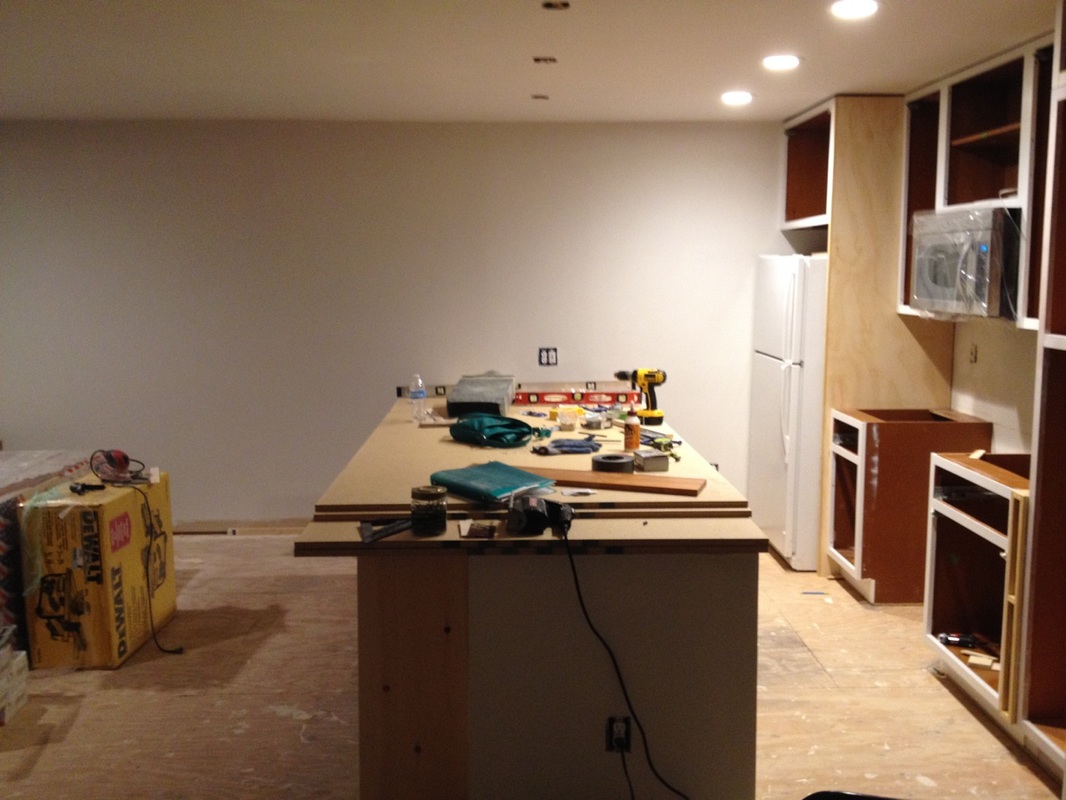 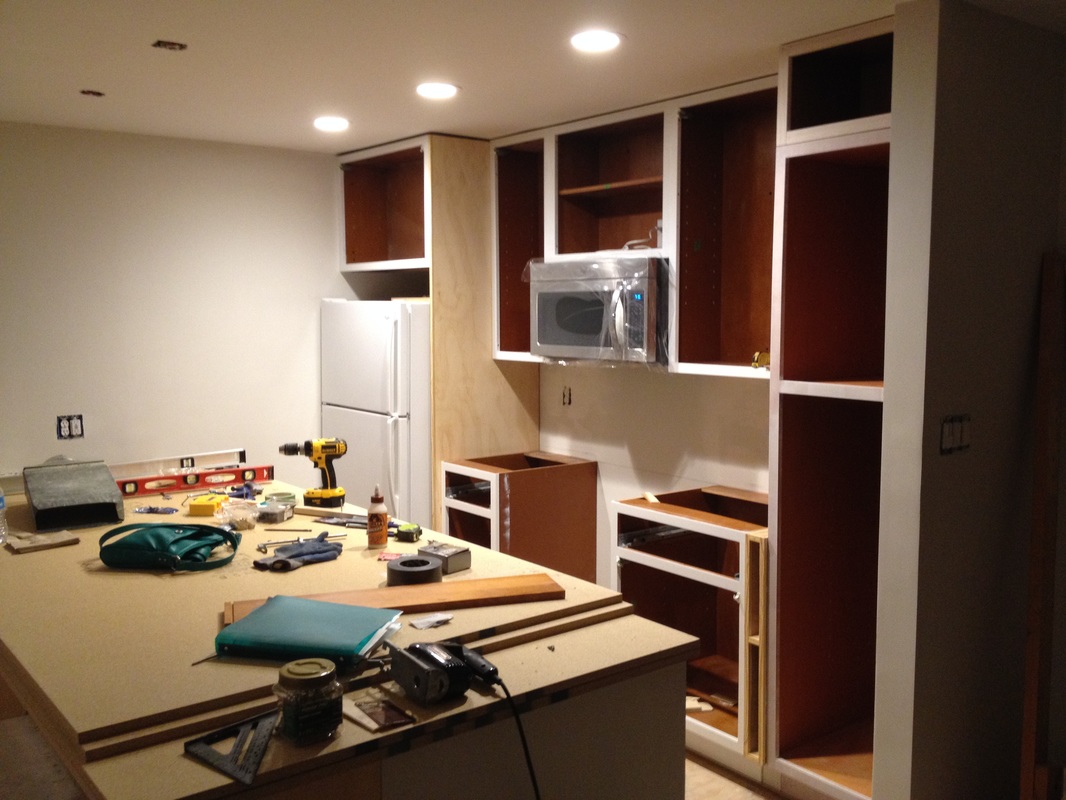 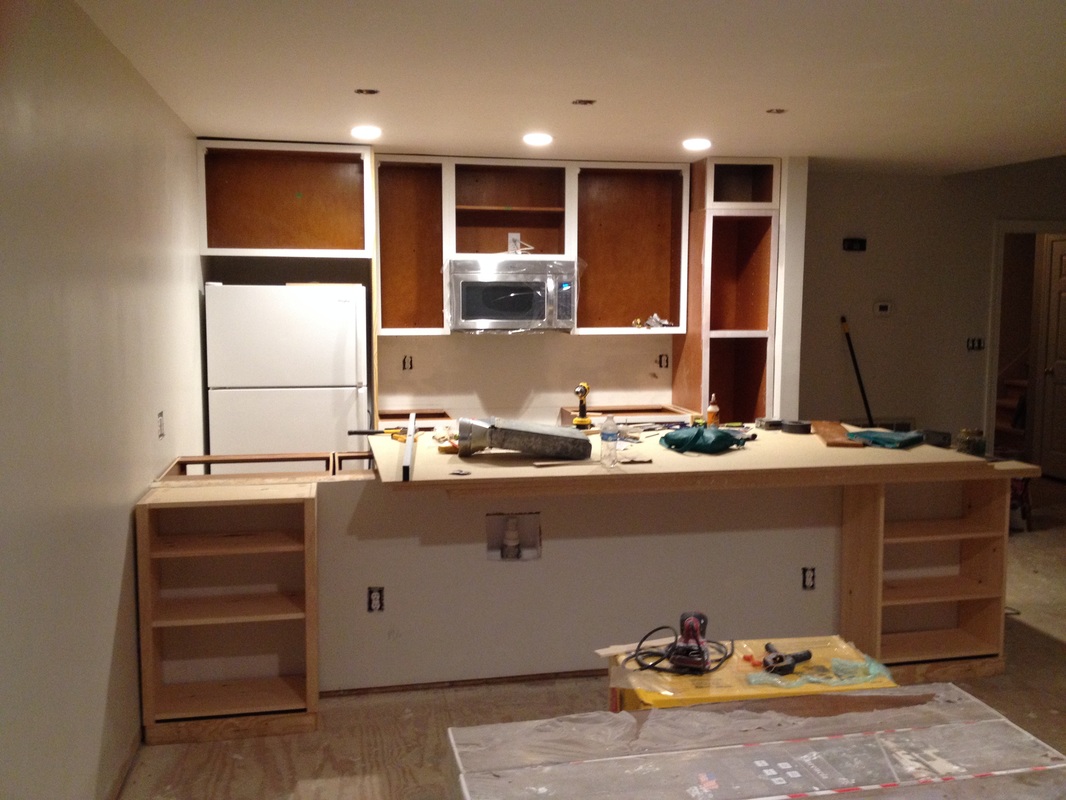 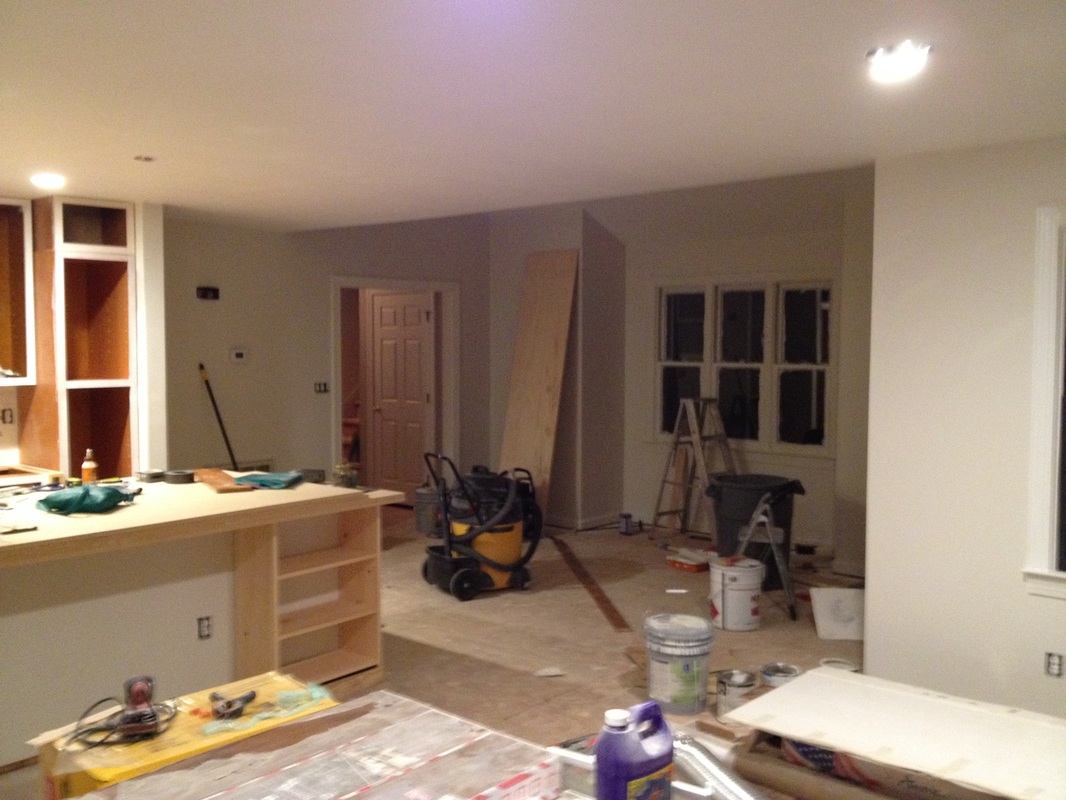 Well, this has taken a while. The cabinets have been sitting in my first floor bedroom for about a month and a half now. Whoops! Although we probably could have done this a little faster, I'm glad we have taken our time to do this right. 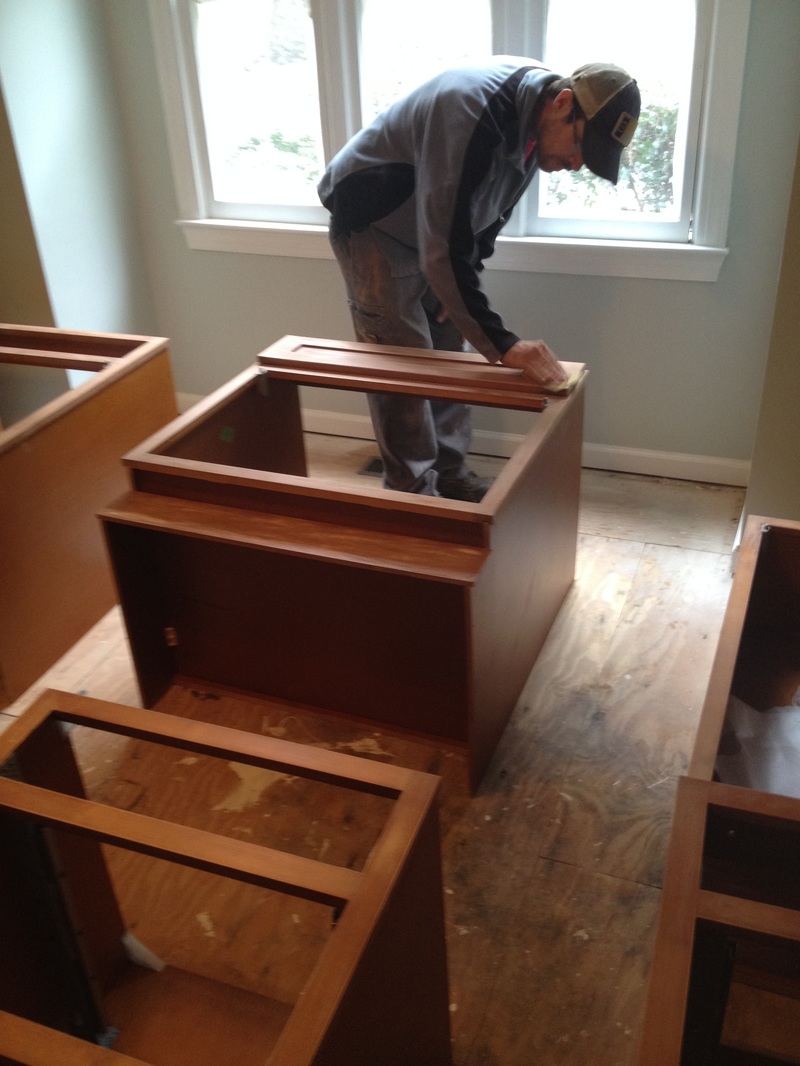 We started by sanding the base cabinets really well. I think we may have over-sanded, however better safe than sorry. We basically took the finish off and went down to the natural wood. Almost. 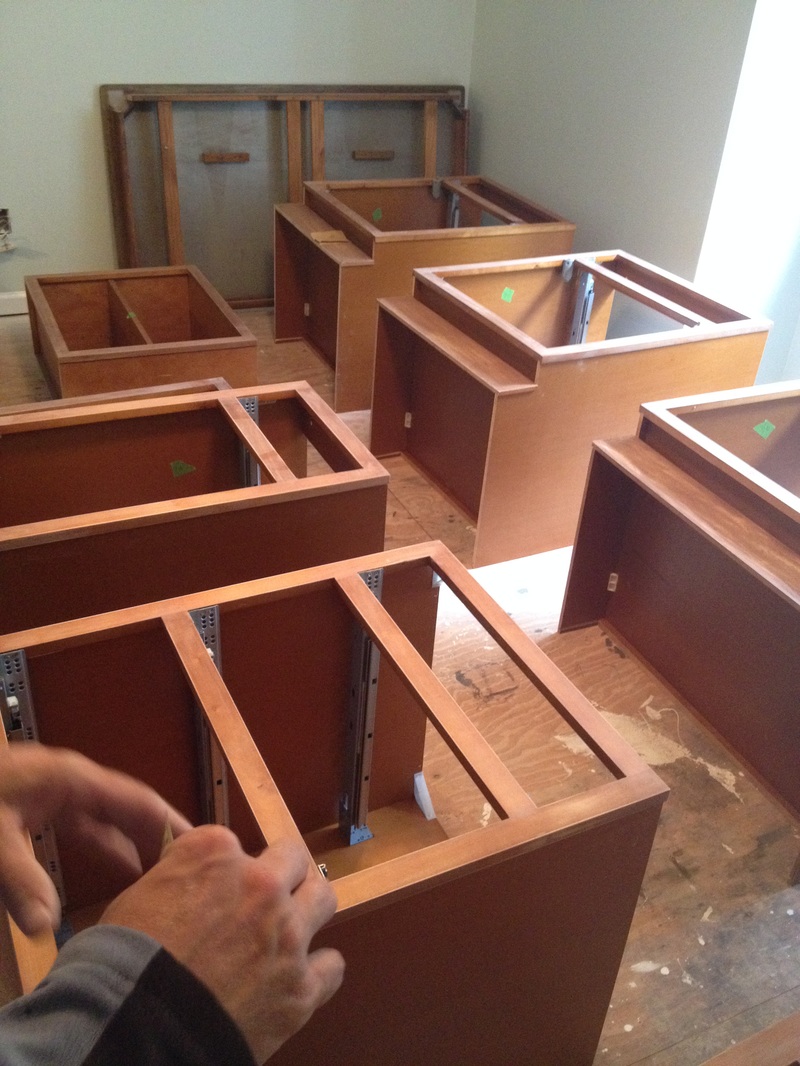 After sanding, I vacuumed the cabinets really well and then ran a tac cloth over them. This just ensures that all of the little dust particles that can ruin your project are picked up and out of the way! Next, I primed the cabinets twice with Zinsser Oil Primer. Oil primer is a must when painting cabinets! DO NOT SKIP THIS STEP! We weren't particularly careful with the sides of the cabinets, as each of these will not show. 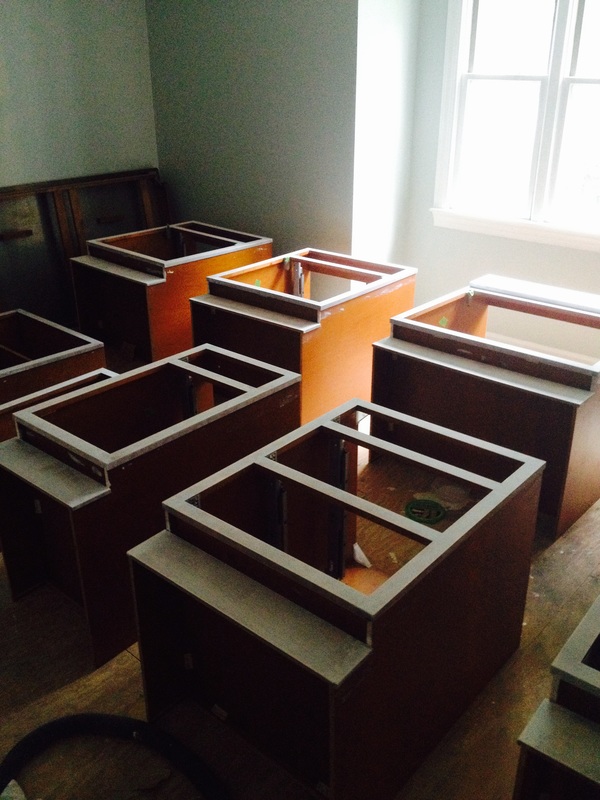 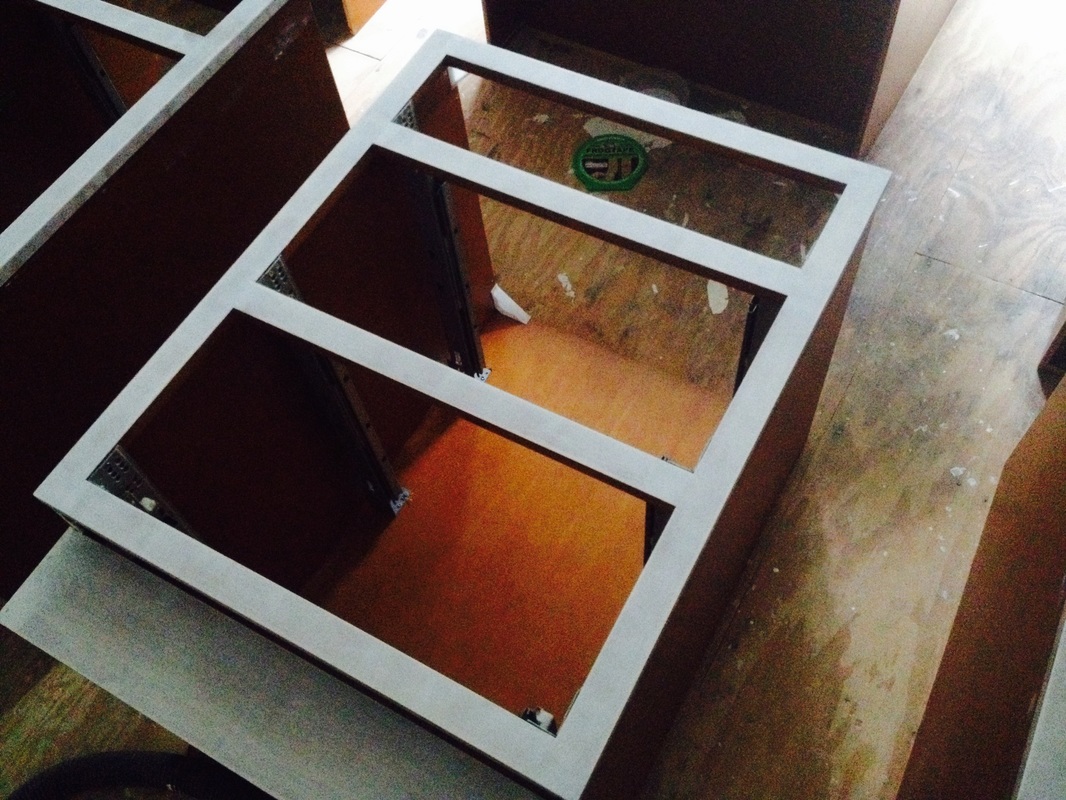 Again, I sanded and ran a tack cloth over all of the bases before applying Benjamin Moore's Advance in Chantilly Lace. I choose this particular type of paint after doing tons of research online. The paint is latex, but acts like an oil, giving it self-leveling properties that help eliminate brush strokes and roller marks. The bright white color and beautiful! I can't wait to see them up! 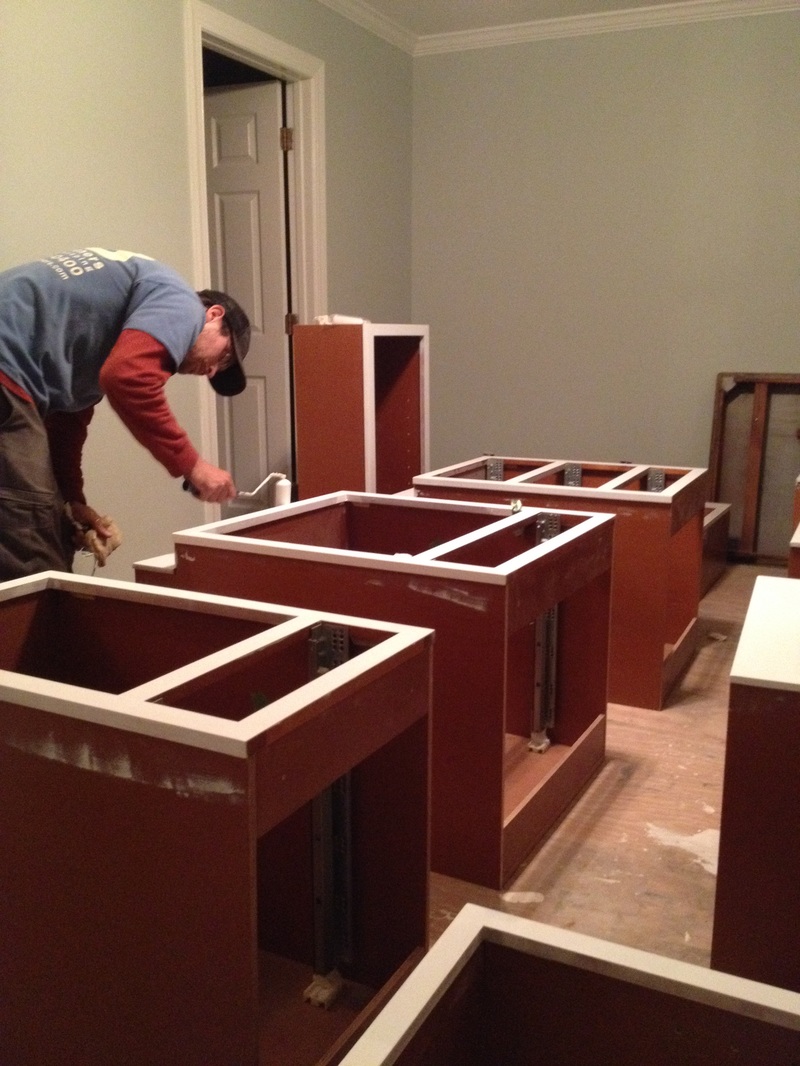 We recently did a dry fit of the cabinets in the kitchen. Here's a sneak peak (including what the cabinets look like primed vs. with the final coat on them. EEK! 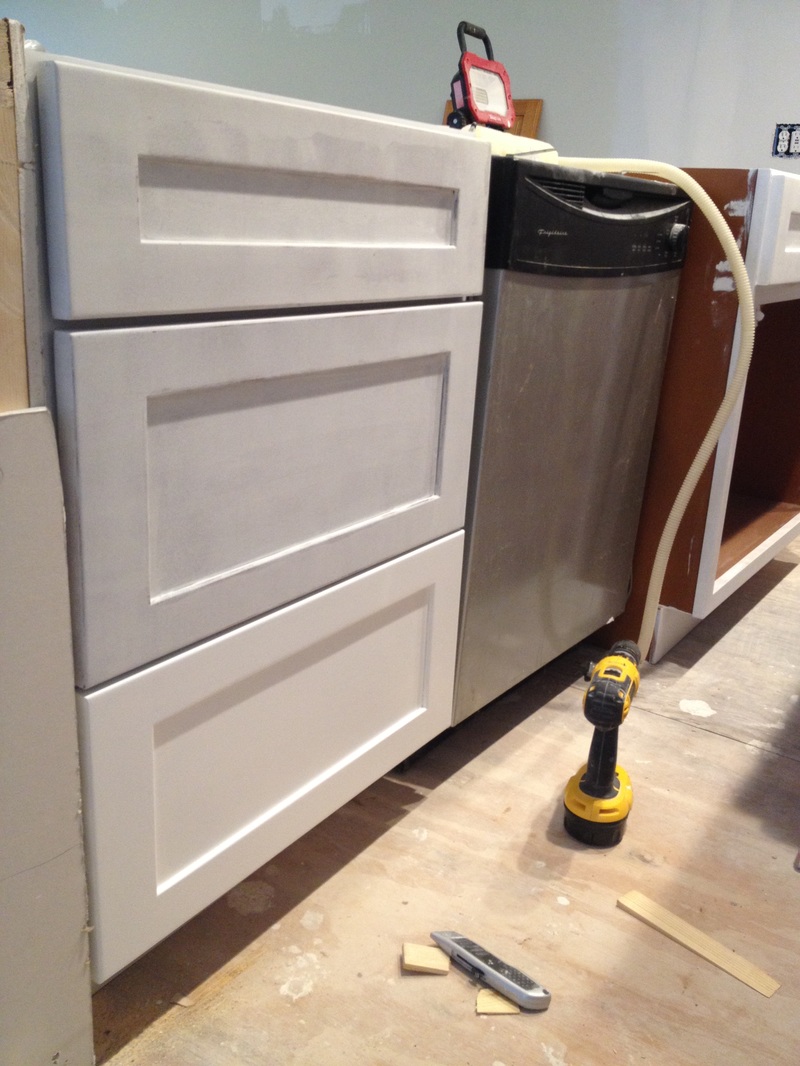 Saturday marked the day that I realized I can tolerate painting a room for 10 hours with oil primer. If you have never experienced oil primer before, just stand at a gas station and pour gas all over the ground. The fumes are roughly the same. I also learned that I HATE whoever the bank hired to paint the walls of my place. Apparently, my entire condo was covered in wallpaper, which the painters removed, but instead of removing the excess wallpaper glue, they just painted over it. They painted over the wallpaper glue. Insert expletives here. This has caused some major problems with painting the room. You don't notice it at first (because that is what flat paint is supposed to hide), but stand at the wall and really look at it, and you will see the paint chipping and little pieces of paper peeling away. This isn't just in little areas - oh, no - it is everywhere in the living room. EVERYWHERE. Insert expletives again. 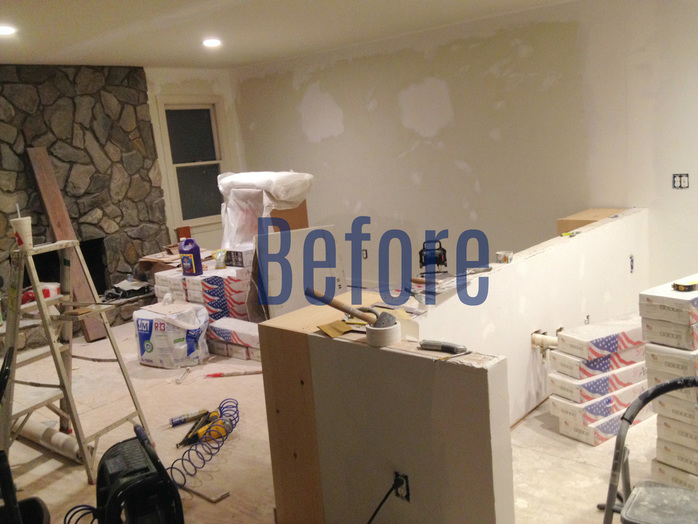 To deal with this issue, we scrapped and mudded over the areas that we could initially see, and I sanded the walls thoroughly before priming them with oil primer. By using oil primer, the hope is that whatever sections we missed (which were a lot) will be sealed to the wall and stay in place without flaking off again. Let's hope this works. While painting, the areas that I did miss came off in chunks. The paper simply pealed away and got caught up in my roller, being displaced on another part of the wall. This drove me absolutely insane and made painting so difficult. This was especially bad in the vaulted areas of the dining room that I could not reach to sand. Even through it all, the end result is so unexciting that it is exciting. Woof. 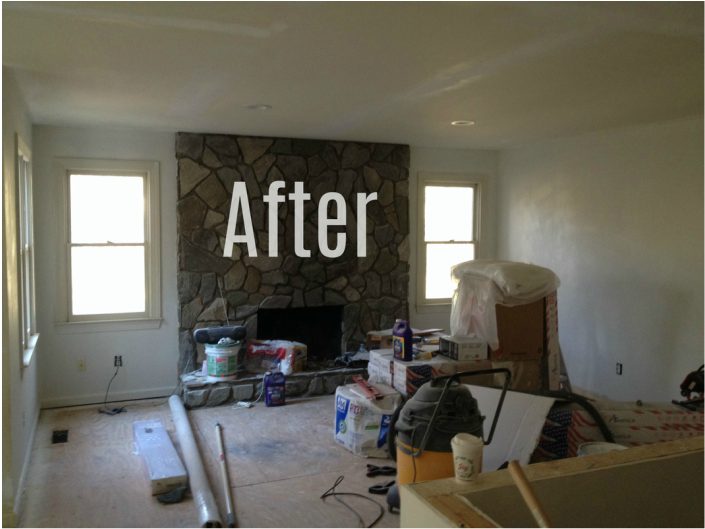 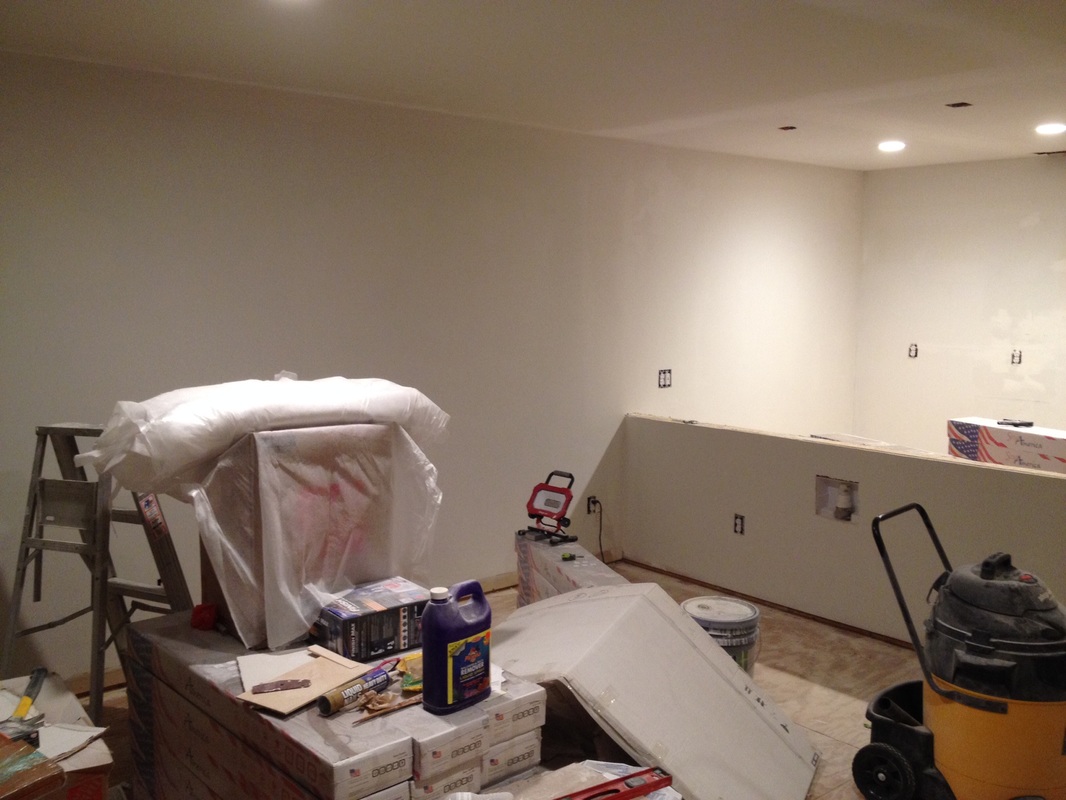 ... and with the ceiling painted (1 coat so far). 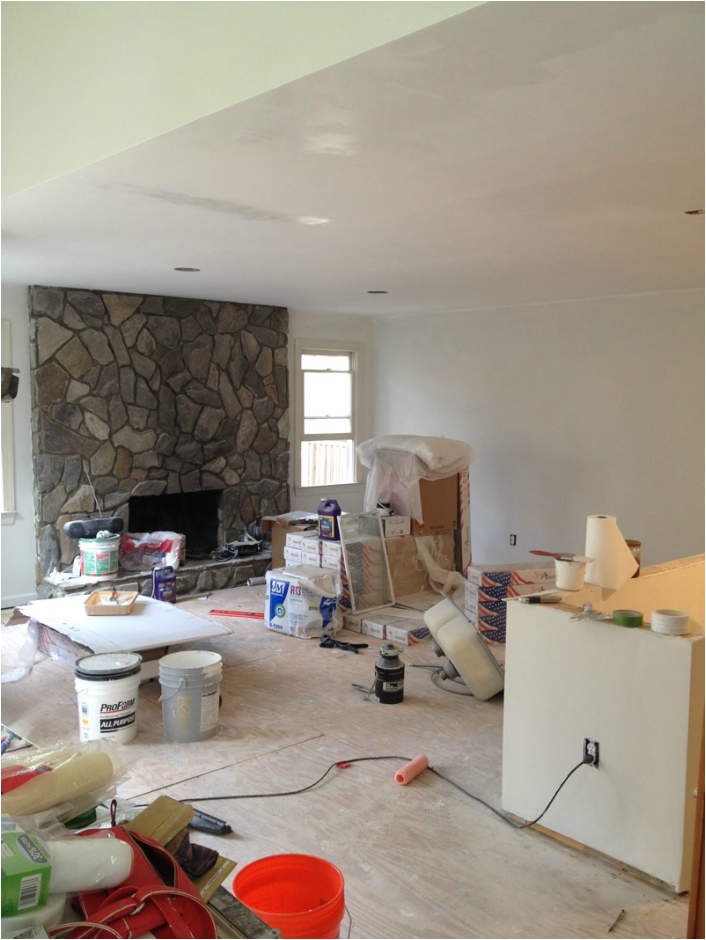 Happy Veteran's Day to all of our military service members! Thank you for your sacrifice and all of the work you do to keep our country safe! Here's a nod to my brother Brian, a Navy veteran, on his graduation from boot camp back in 2006:  Well, as a school teacher, I also received Veteran's Day off, so I put my time to good use building things for my kitchen. First on the list was the small box for above the too-short-pantry. 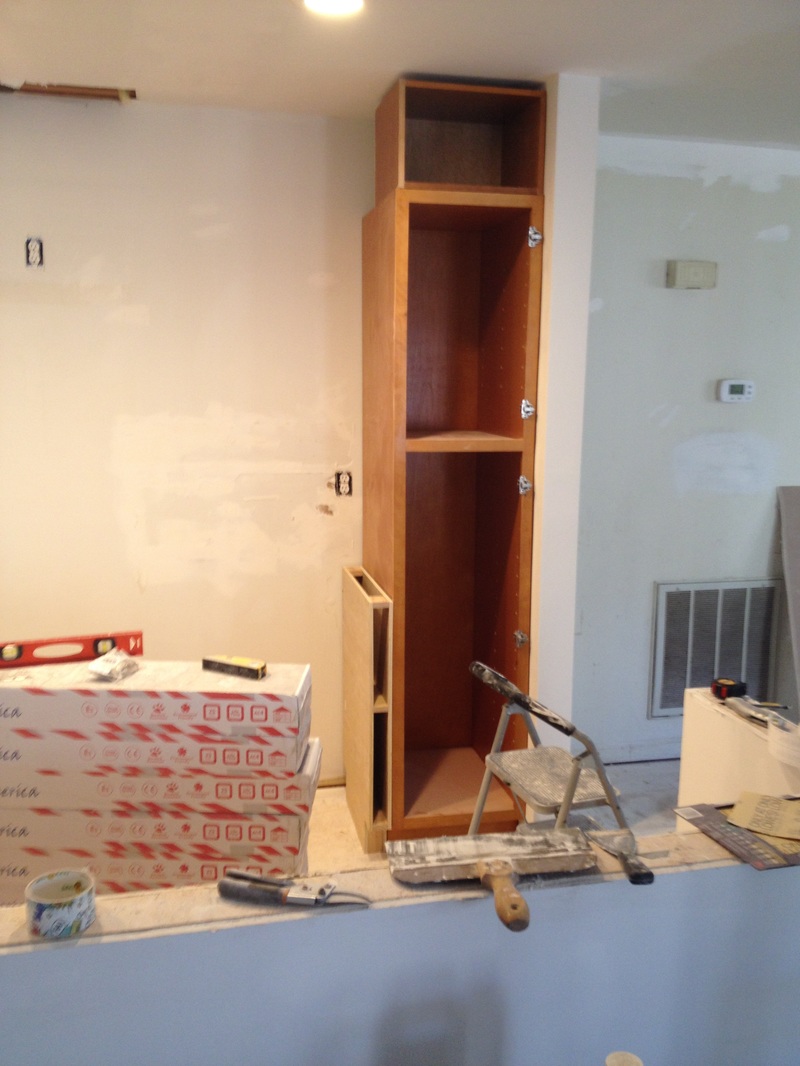 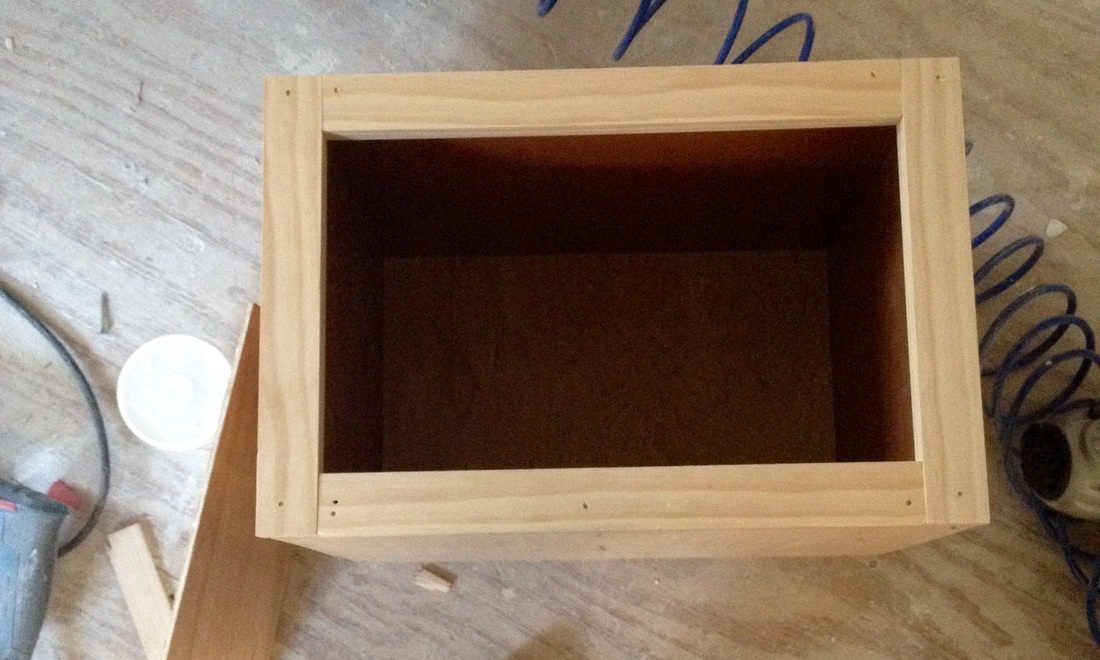 Next, I decided to build some bookshelves for underneath the countertop, to be placed at either end of my 11.5-foot long peninsula. This will create an enclosed overhang area for a breakfast bar which will be able to hold anywhere from 3-4 stools. The bookshelves are 12.25" deep and 24" wide. When building, I first measured for one shelf in the middle of the bookshelf...  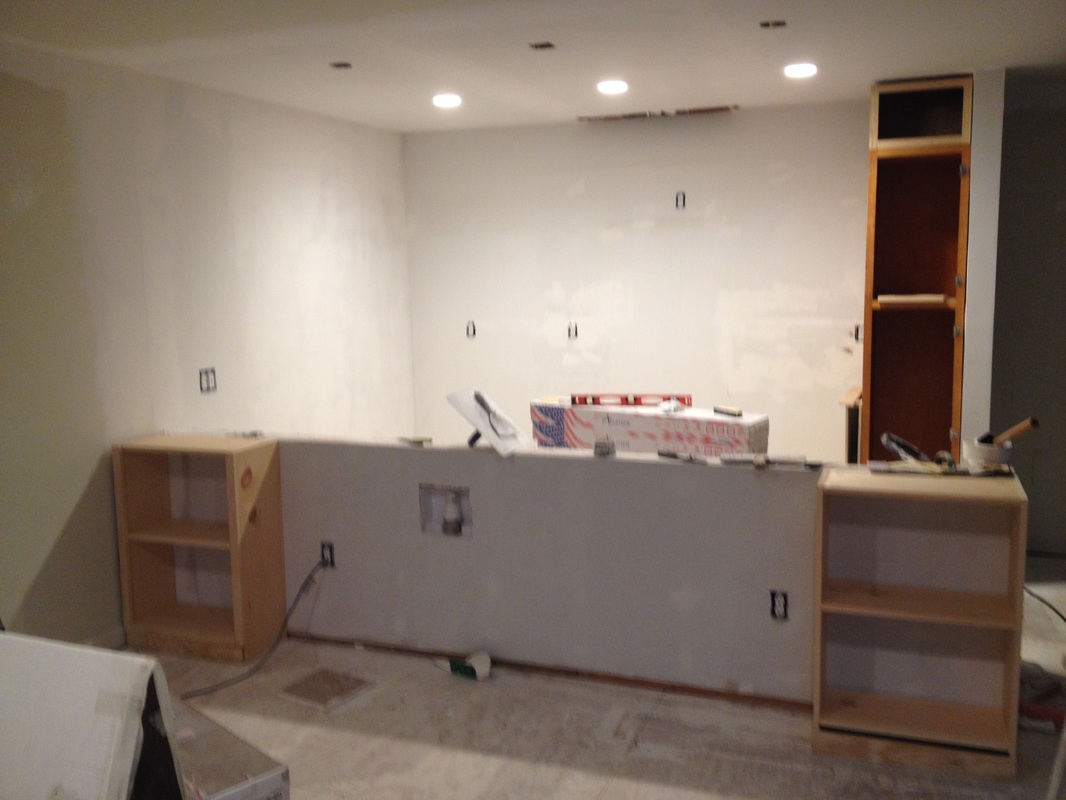 ...but after seeing how large the opening was, it looked more like an Ikea piece of furniture than a custom under-counter built in. I took the middle piece out, re-positioned it, and added an extra shelf near the top. I'm still not completely satisfied, but I think it will look fine when complete. 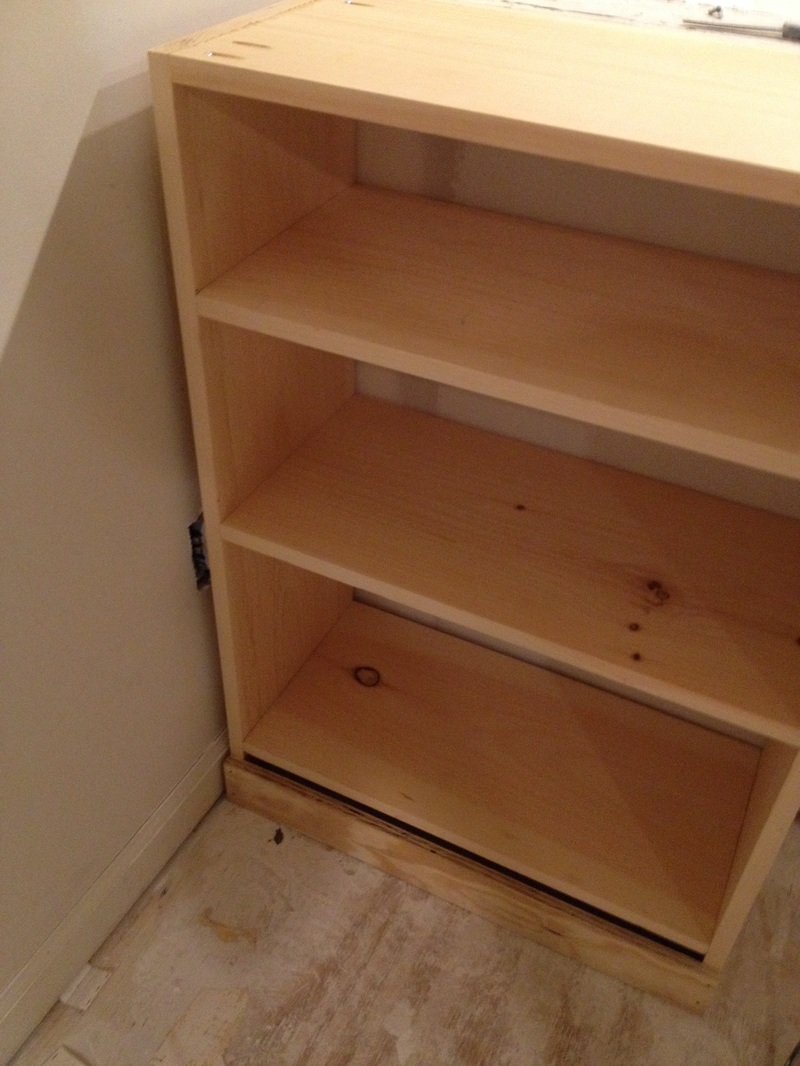 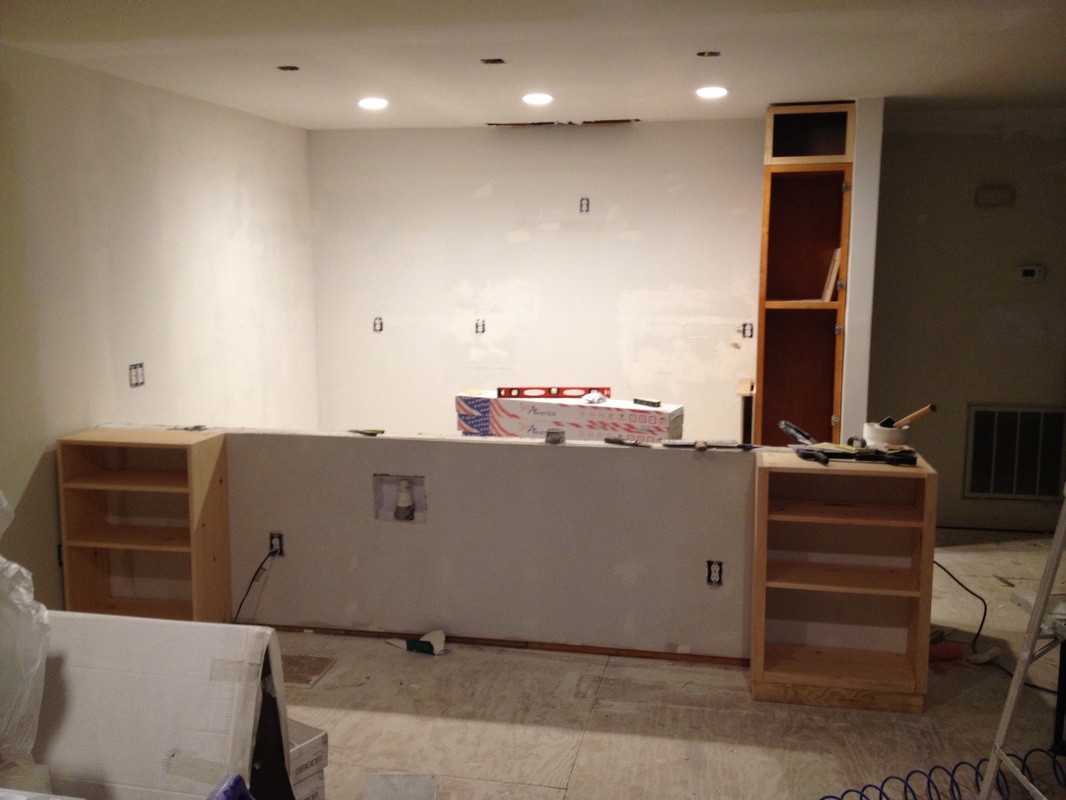 On top of building a workbench, router table, and three cabinet doors this weekend, I also built a 3" filler cabinet for cookie sheets and cutting boards. One of my Craig's List base cabinets is, you guessed it, three inches too small, but a typical filler piece just seemed like wasted space. We'll see how well it works, but in the meantime, I'm pretty happy about how it has turned out! 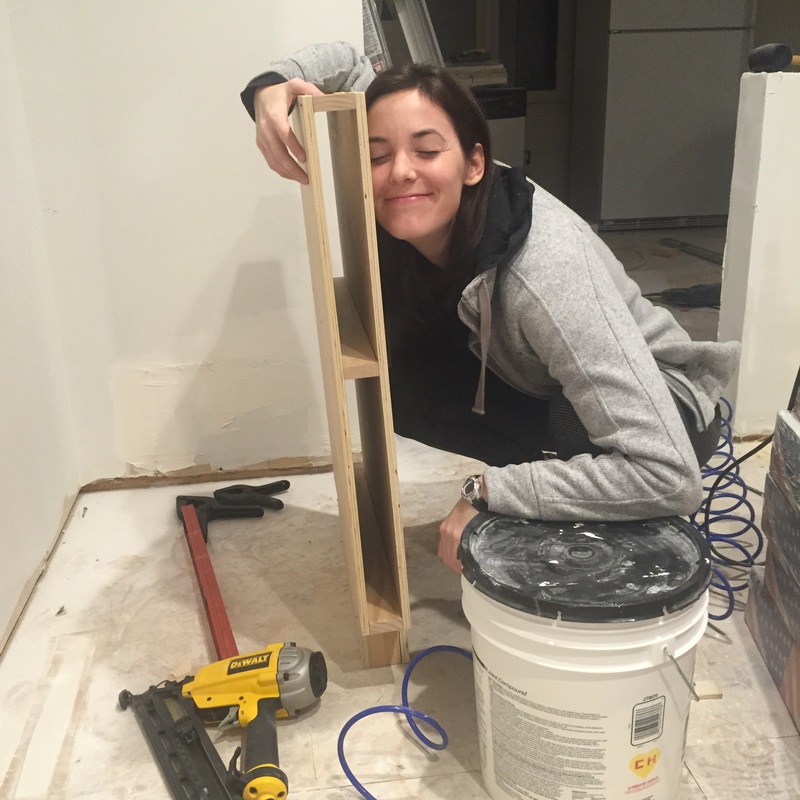 This weekend was full of kitchen projects, including building matching cabinet doors for my kitchen pantry. As you already know, my kitchen cabinets were purchased off of my favorite internet site - Craig's List. Unfortunately, when you buy things off of Craig's List, sometimes you have to take what you can get. I was able to furnish my entire kitchen with the shaker style cabinets that I needed except for the pantry. I figured since the box was the same color wood as the other cabinets, I could always find a shaker cabinet face at a later date. In reality, I've been searching for these shaker faces for a while and haven't been able to find any that matched my specific cabinet front. Four months after purchasing my cabinets, I have decided to make my own cabinet fronts. As stated in a previous post, one of my coworkers lent me her husband's router for this specific project. After creating a router table for the project, Brian and I got to work playing around with the router and seeing what bits would work best for my cabinets. 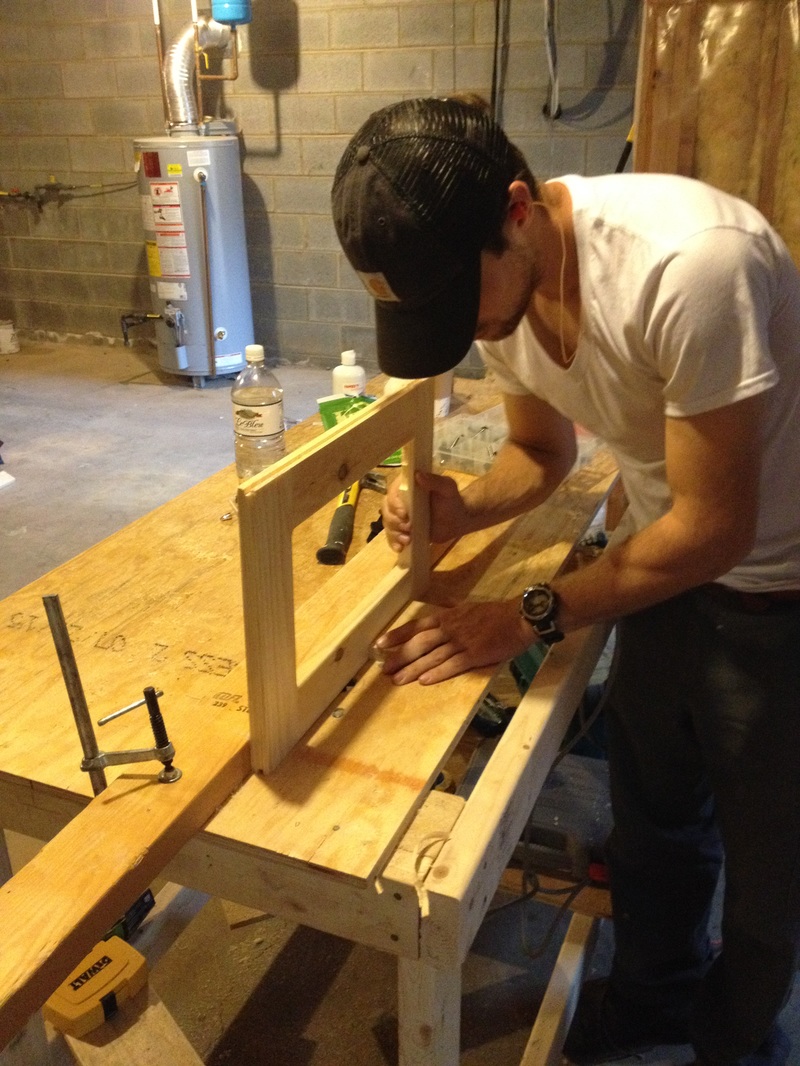 We used 1X3" pine boards and quarter-inch luan for the project. These are slightly smaller than the original cabinet faces, but they were close enough to the real thing that we rolled with it. We measured the boards and cut them to size, using the old pantry doors as our guide to make sure that everything was the same size. Next, we routed out the inside of the boards, creating a 1/4" groove for the luan to fit into. 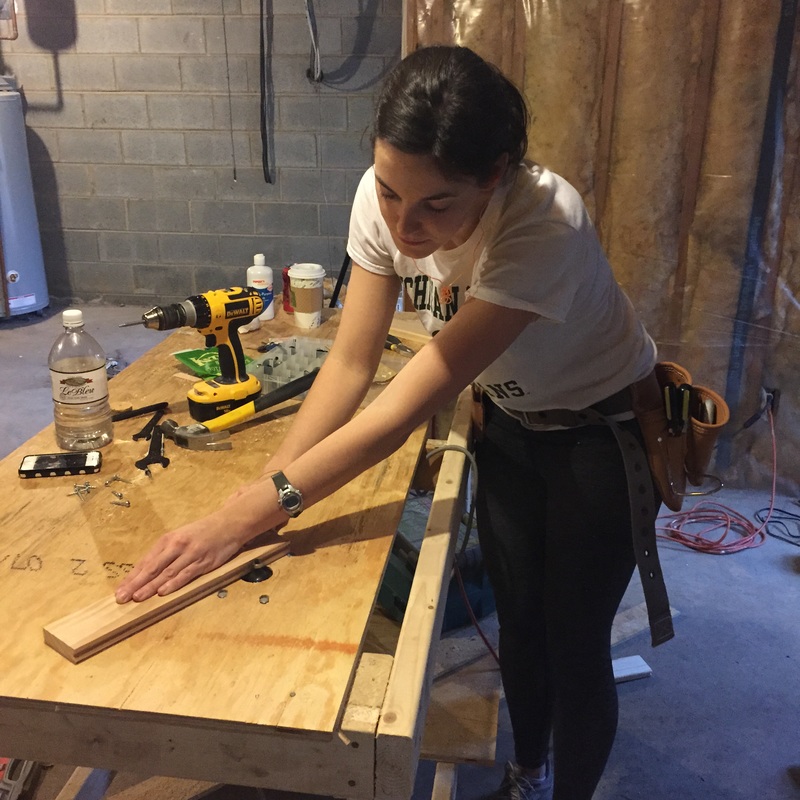 After creating the grove, we added a "decorative" rounded edge to the front of the inside edge of the cabinet. My cabinets are shaker style, but they are slightly rounded and not perfectly square. By adding the rounded edge, we made them look more like the original (which was the goal). 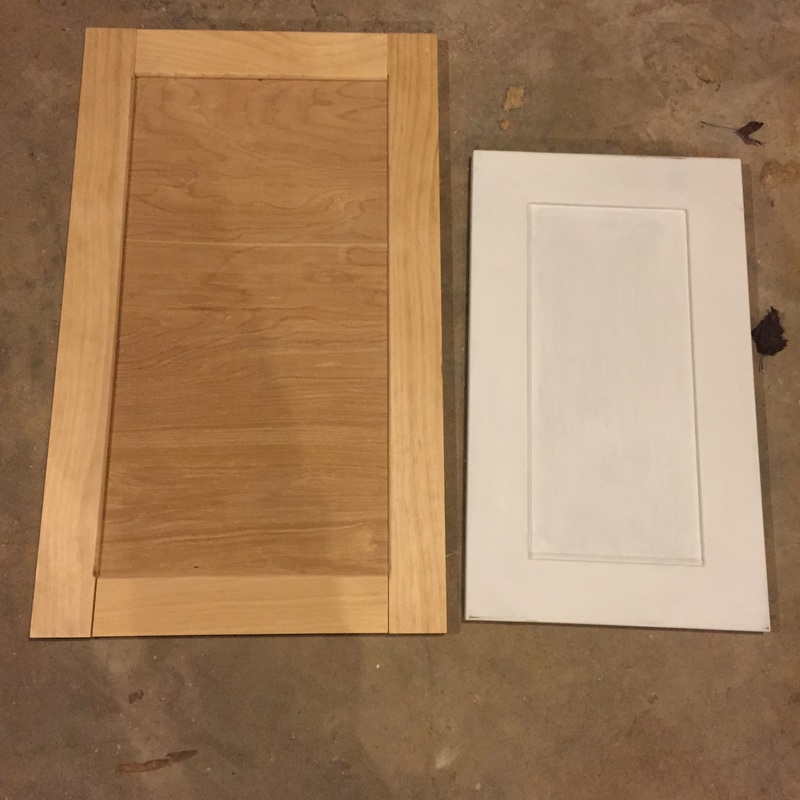 The above picture is our "dry fit" of the cabinet face compared to the real thing. Looks pretty good to me! We attached the front together using my Kreg Jig and Gorilla Wood Glue. This was surprisingly a LOT of work, but the results are great. Below are all three finished doors! Fabulous! 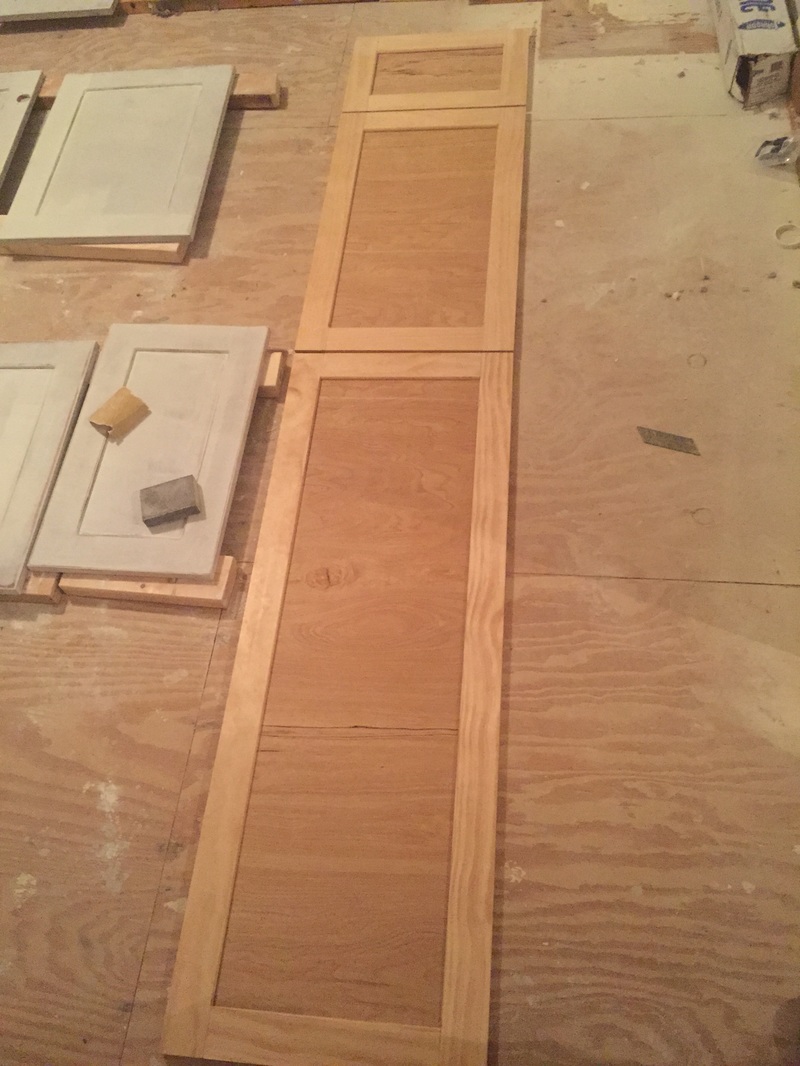 I have decided that routers are about the coolest tool you can have in your workroom, and a must if you are planning on building any sort of woodworking project. This past week, one of my wonderful coworkers lent me her husband's router so that I could build matching cabinet faces for my Craig's List pantry. Having never used a router before or have any idea how one works, I watched this YouTube video to get started. I took two important bits of info away from the video. First, I needed to play around with the router to see what works and what doesn't. Second, I needed a router table in order to make some important cuts for my cabinet. The Problem: The router isn't even mine, let alone having to purchase a $100 router table?! Heck no! Instead, I took an idea from the video and created my own router table from my brand new workbench. First, we found an area on the table where a 1.5" hole wouldn't be a huge issue (the back corner). Next, Brian drilled a circular hole using a 1.5" drill bit in the area we wanted. Since the router is attached to the table from the underside, we also needed to drill four additional holes for quarter-inch bolts, which attach to the router (keeping it in place). We made sure to countersink the bolts so they wouldn't get in the way when we ran our wood pieces over them. The entire project cost $2 (for the nuts and bolts) - much nicer than the $100 mentioned in the video!! 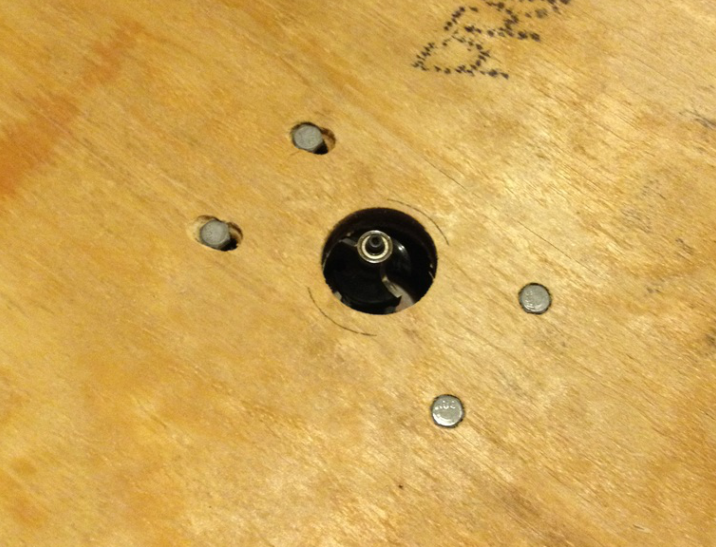 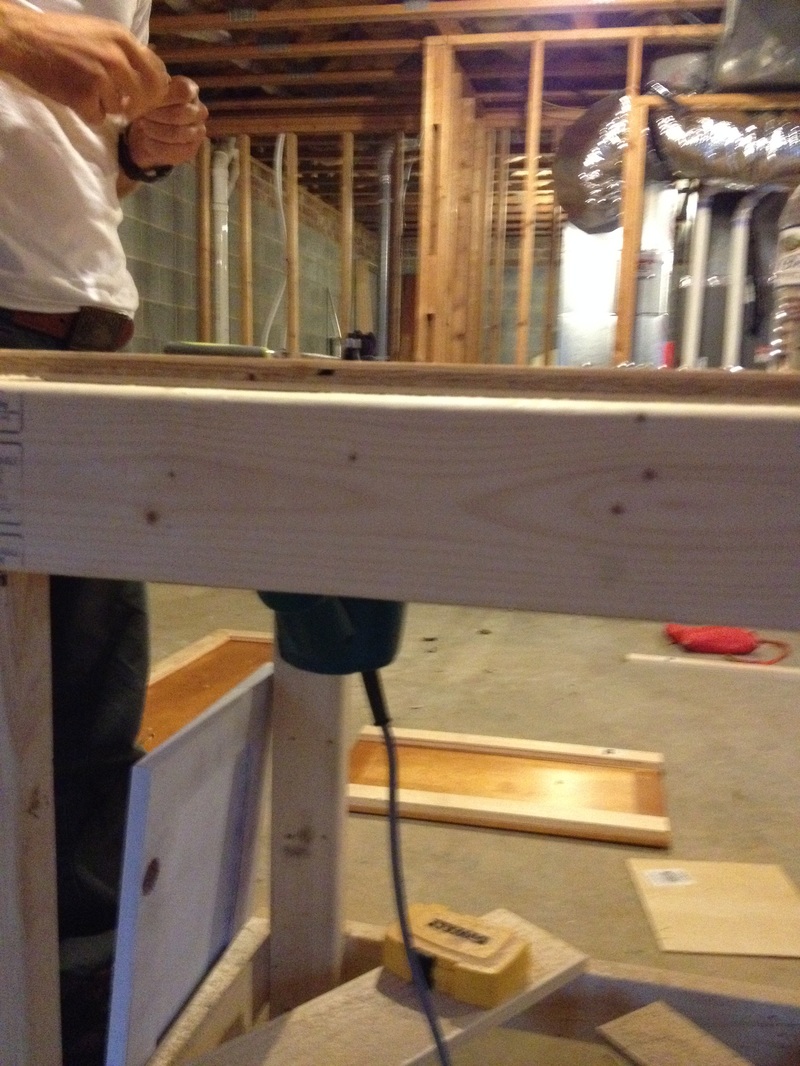 As for the "fence" mentioned in the video, I found a scrap 2X4 and simply clamped it to the table where we needed it. I chose not to drill a hole through it so we could run the shop vac, but it worked fine without it! 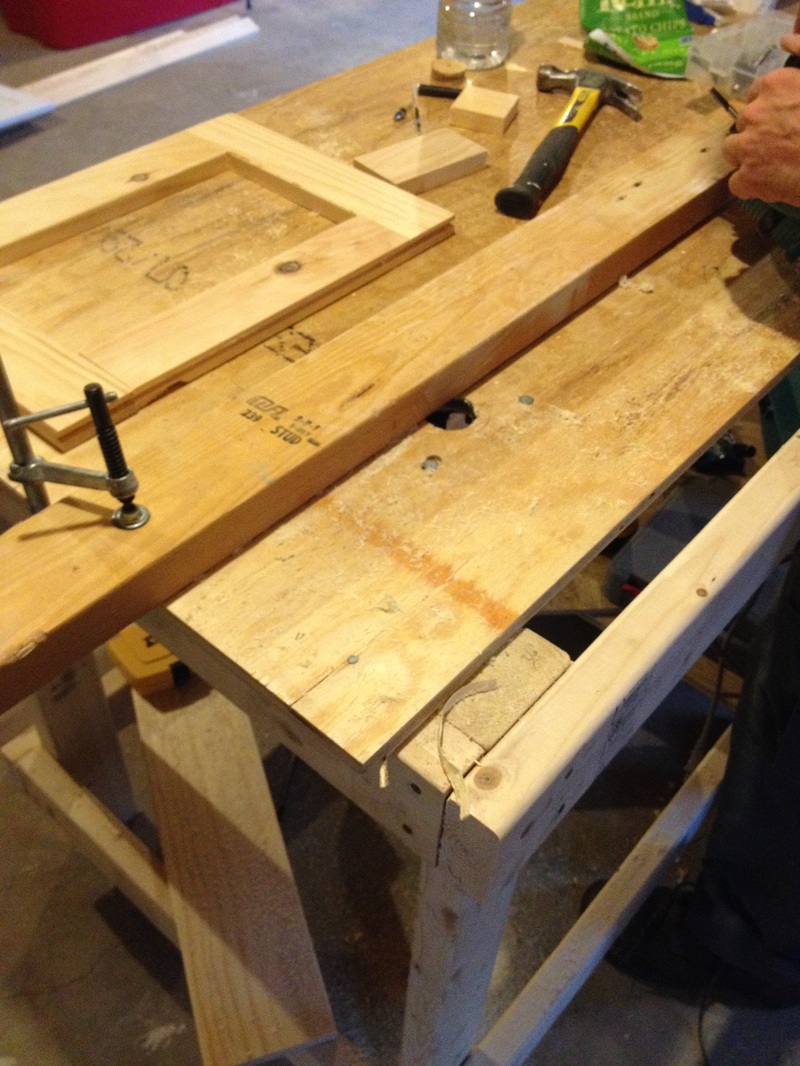 I've decided that working on the floor has gotten a little annoying, so I made my bi-weekly trip to my second home (The Depot) and picked up some 2X4's and a piece of plywood to create a very basic workbench. I did a quick google search and found a DIY workbench made out of 2X4s, and it seemed simple enough (and it was). The original picture (see below) had a workbench 32" tall and only 4 feet wide, which I increased to 36" tall and 5 feet wide. 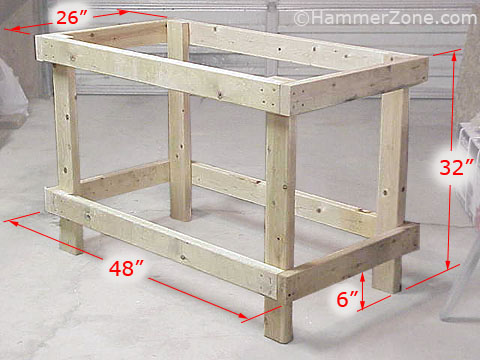 The cut list and supplies:
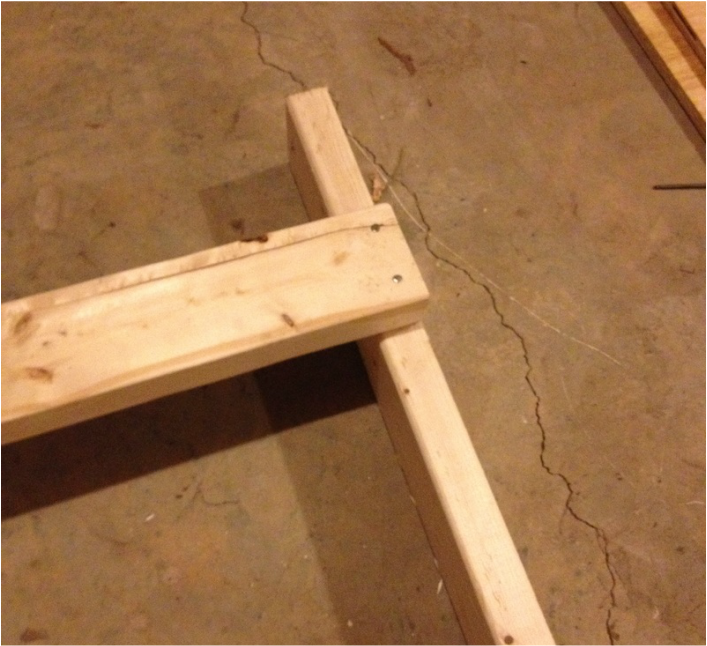
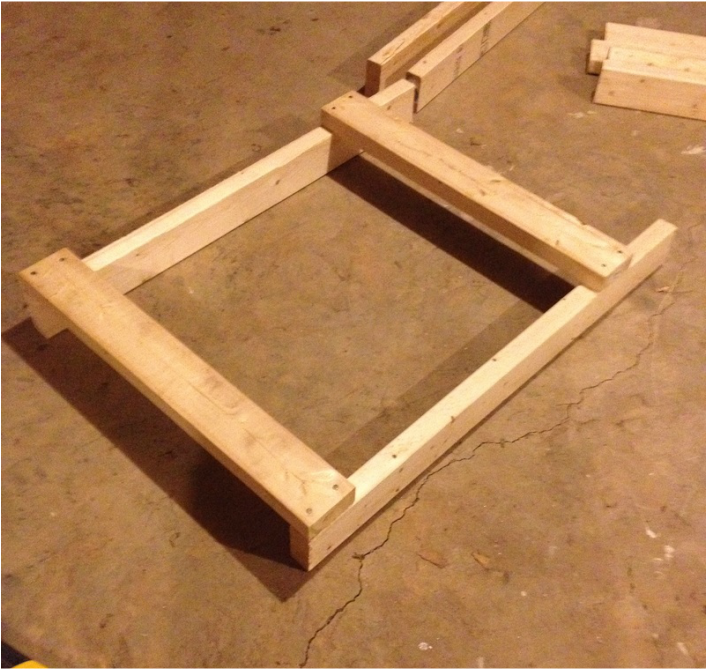 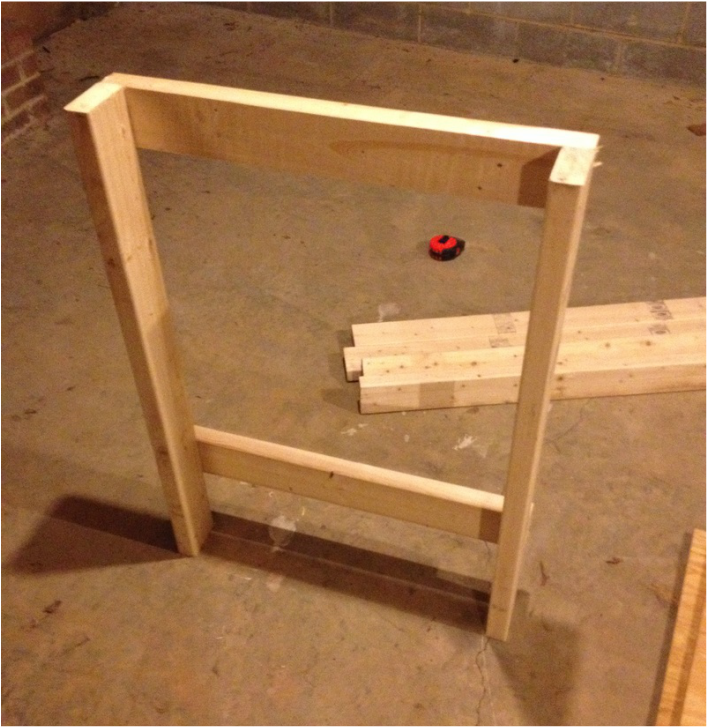
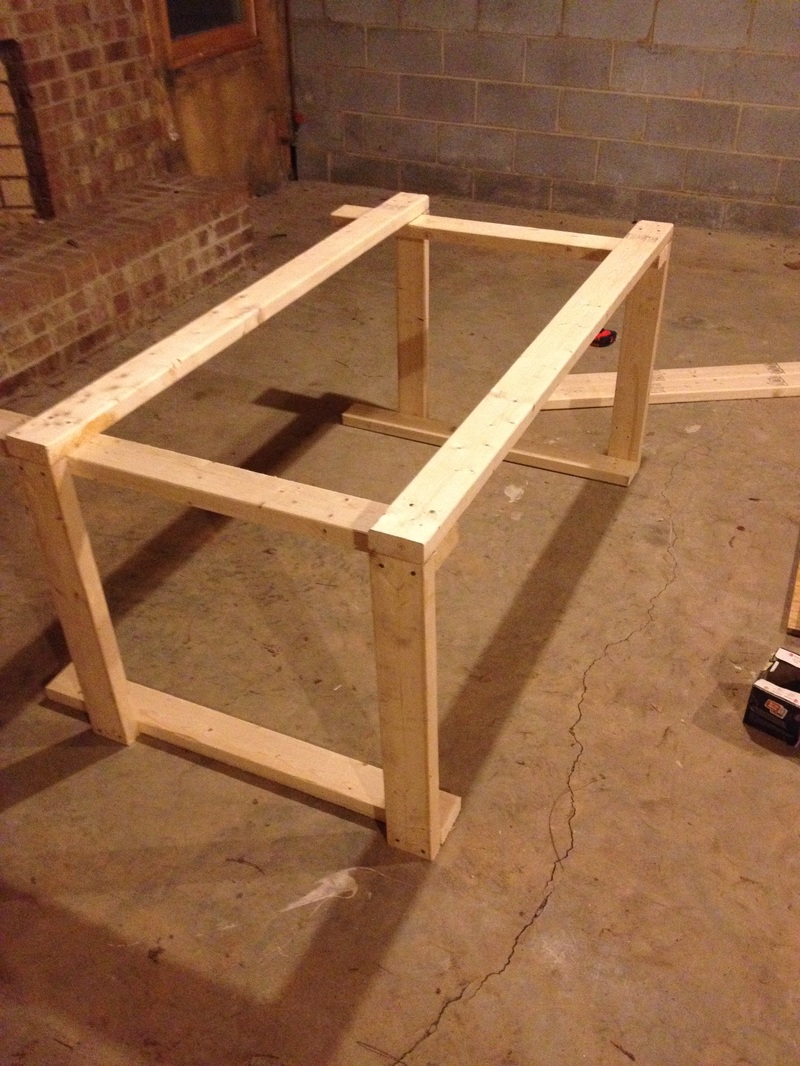
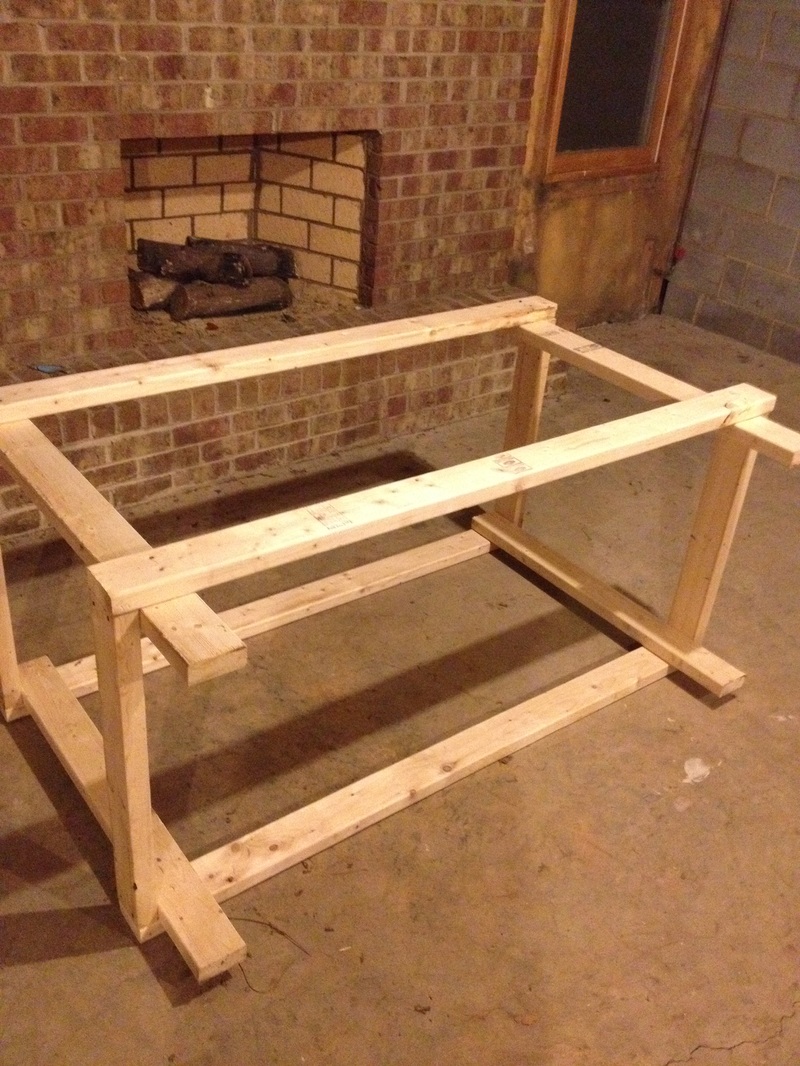
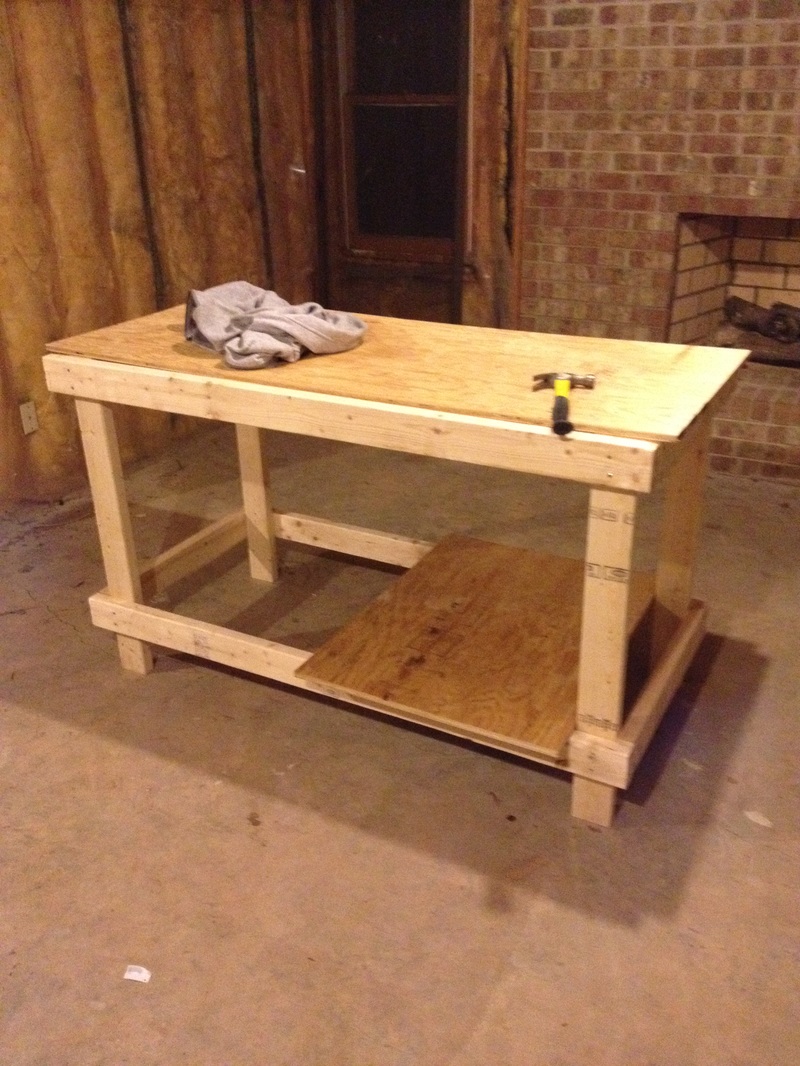 I would also suggest cutting another piece of plywood (or even scrap wood 2x4's) to create a bottom shelf for more storage. I haven't done this quite yet but will at some point! For now, I'm lovin' my new bench!
|

about meHi! I'm Lauren! I'm a twenty-something teacher and homeowner in North Carolina. I love math, decorating, and getting down and dirty learning new things about home renovation and repair. Categories
All
Archives
December 2018
|
 RSS Feed
