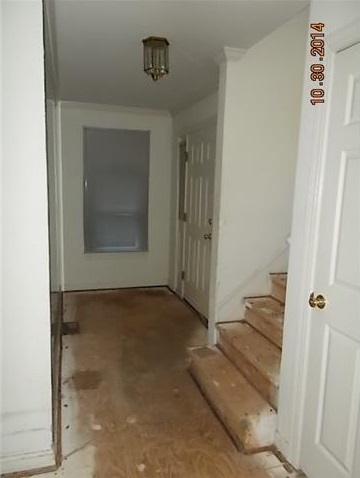
 Brian capturing some "Pure Michigan" Brian capturing some "Pure Michigan" Well, I'm back! After a long vacation from the blogging world (I've had to move out of my apartment, take a final for one of my summer Master's courses, drive to Michigan, and maybe take a breath for a second, drive back to North Carolina, oh and still renovate a house), I am finally back with a few updates. First, I bought some fixtures and learned how to install a light! Brian took the liberty to show me how to connect the electrical, and then went on to install my new ceiling fan. You can purchase my hallway lights and ceiling fans from the Home Depot.  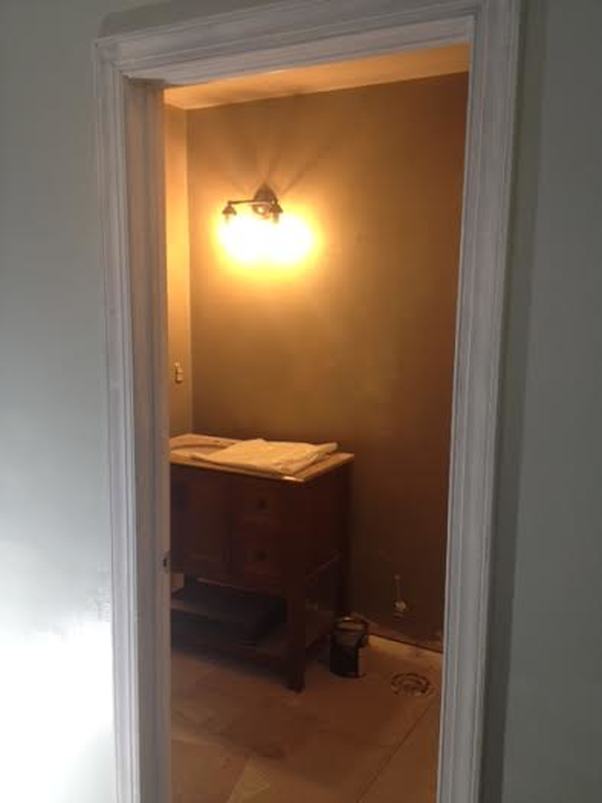 Downstairs bathroom - Sherwin Williams "Pewter something..." The painting is almost complete for the five areas that can actually be painted at the moment (downstairs bedroom and bath, upstairs bedroom and bath, and the hallway). The trim still needs to be done, so just overlook that for now. 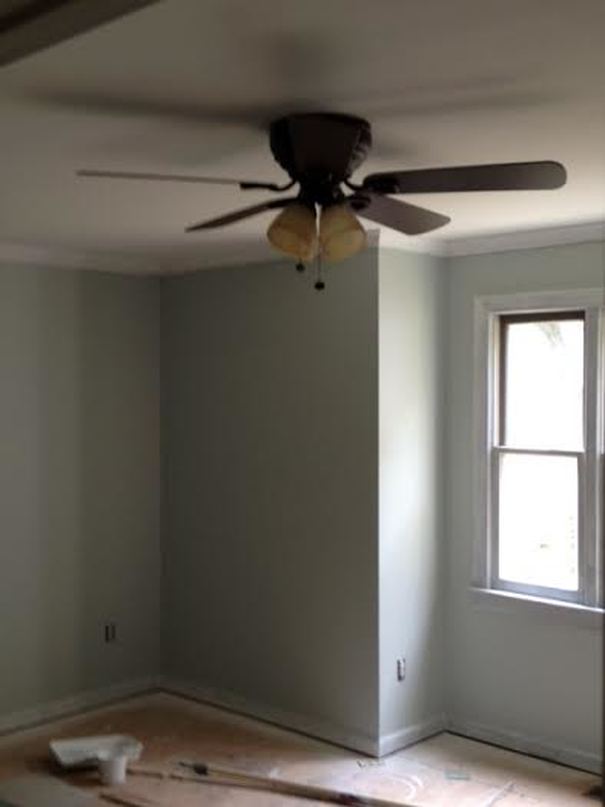 Downstairs bedroom - Sherwin Williams "Sea Salt" (notice my new fan!)  Upstairs bedroom - Sherwin Williams "Distance" 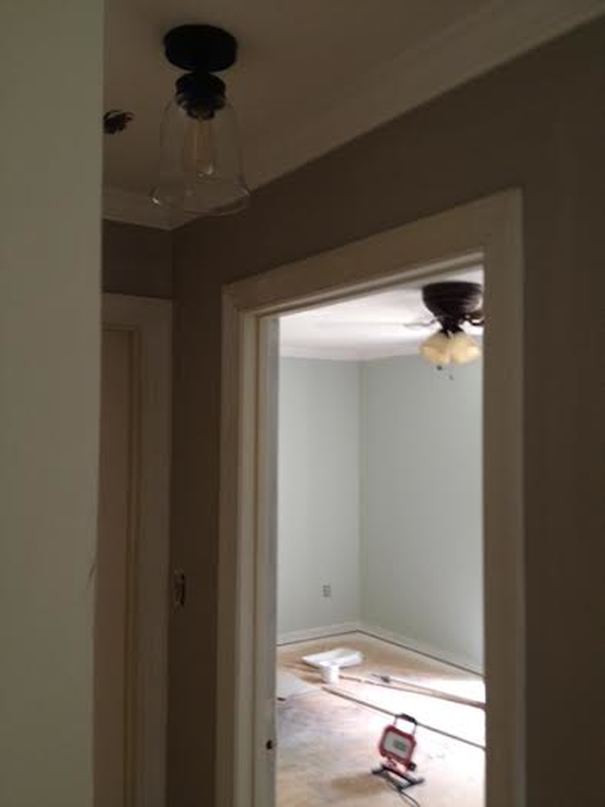 Downstairs Hallway - Sherwin Williams "Anew Grey" Also, the Thursday before I left for Michigan, my house was really feeling like an actual job site. My students volunteered themselves to destroy my master bathroom (they finished removing the cement board from the walls, sawed out the bathtub, and chopped down more of the closet), Terry-the-painter spackled his heart out, and the plumber, electrician, and handyman all came by to work on miscellaneous stuff. 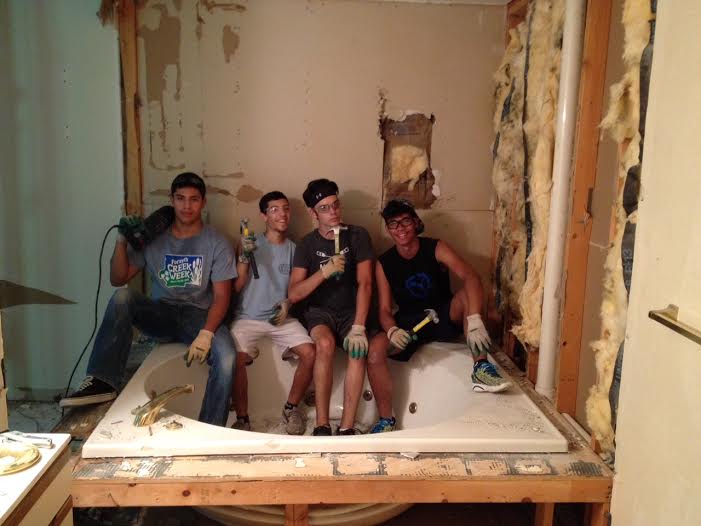 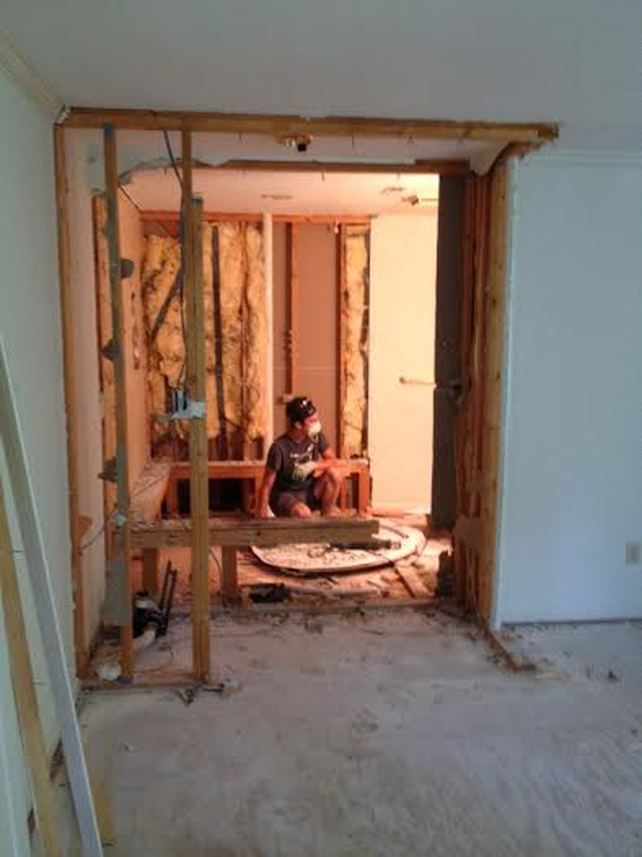 Goodbye master closet... and bath! 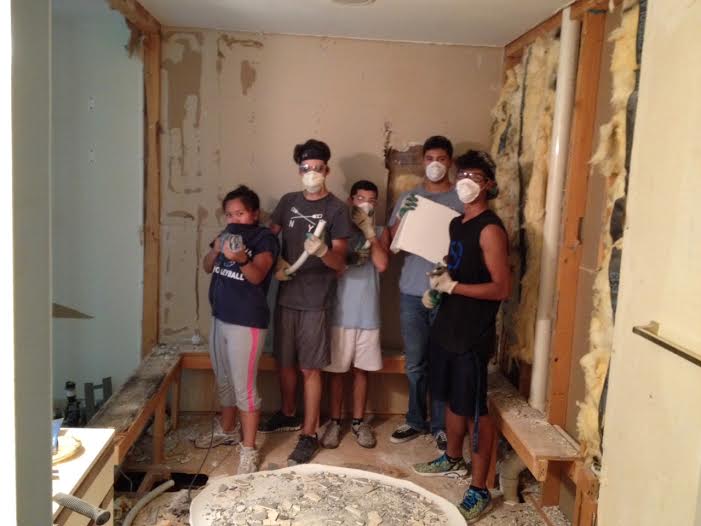 And, a little sneak-peak of my first floor bathroom and the tile I just installed (yes, all me!!). 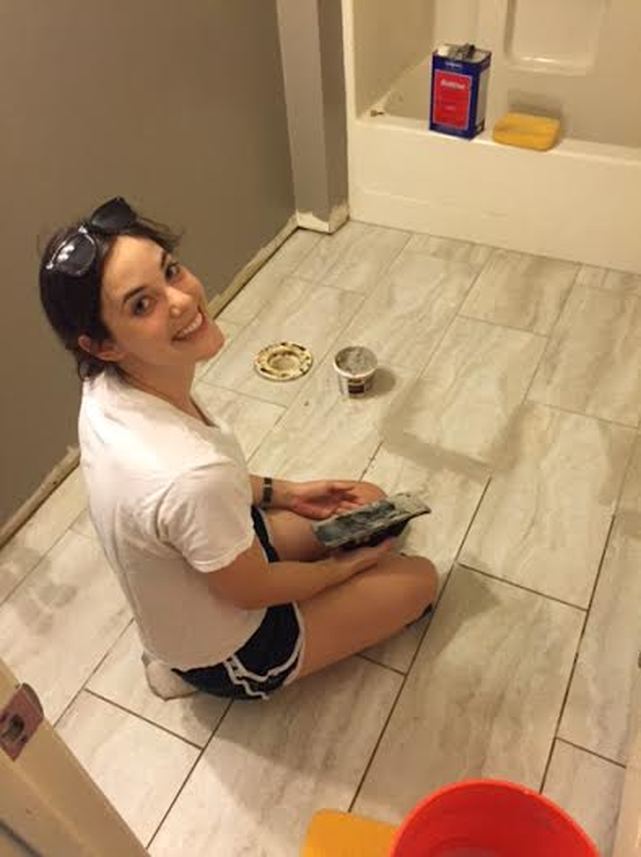
0 Comments
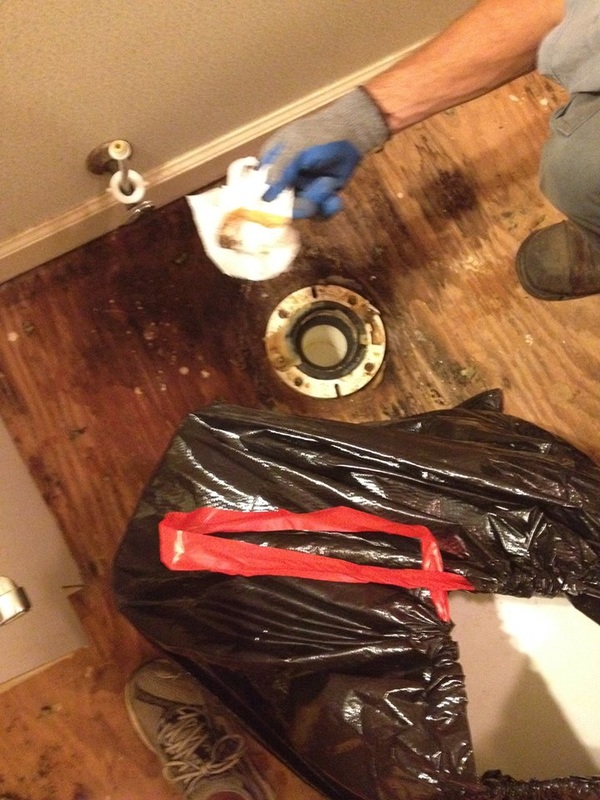
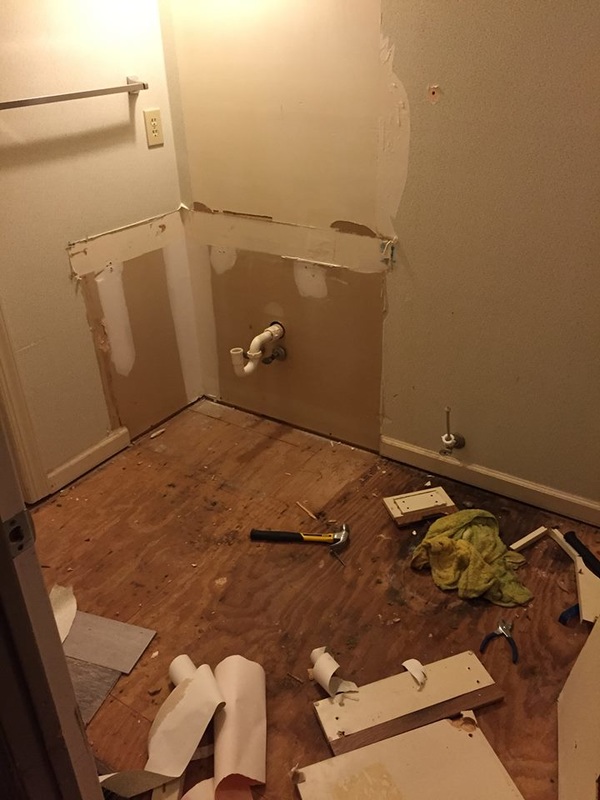
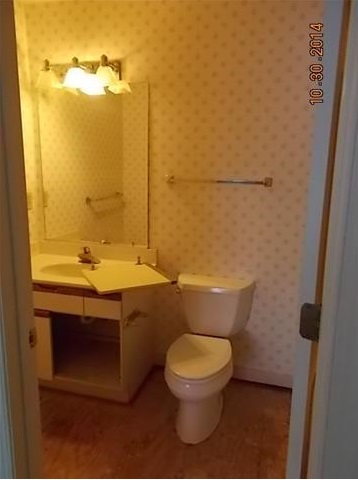
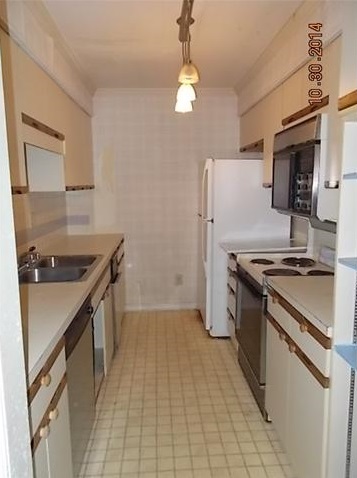
Well, just go ahead and throw away whatever I said yesterday about leaving the master as it is. I had the plumber come in today and take a look at the pipe in my kitchen wall (which, btw, is great news as he says it will take him all of one hour to get it done), and since he was there, I had him meander upstairs and take a look at the master bath. The first thing he said was "Wow," which was followed by "This would make a great closet." Sold. This man knows exactly what I was originally thinking. 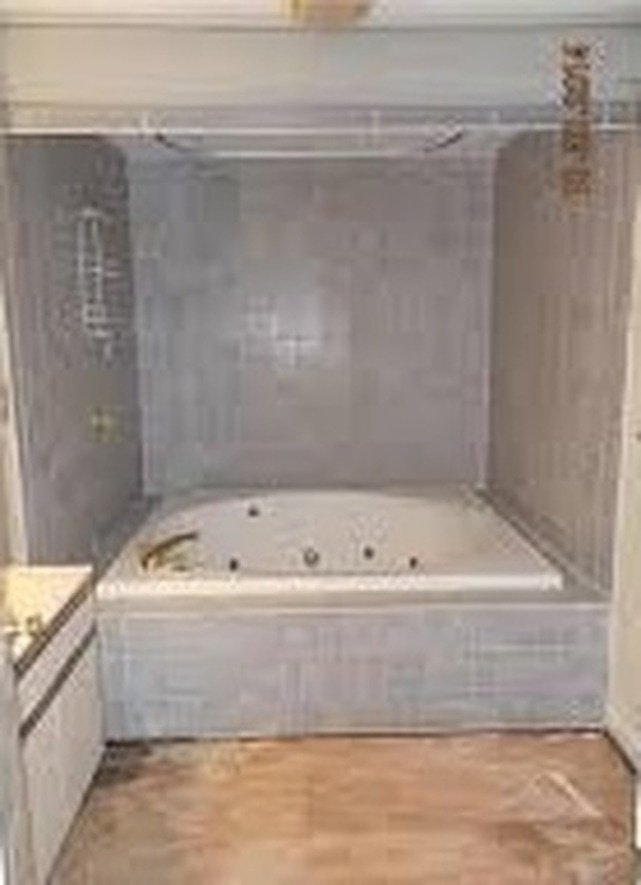 Master Bathroom Before Let me just get this off my chest. By updating the master bath, I am going to spend a lot more money than I would like. There. I said it. And if you know anything about me, you know I hate spending money. But at the end of the day, I want to be able to sell this place, and I'm afraid with the layout of the master bedroom (which has a closet protruding out where the bed should face the fireplace), and with the giant tub, buyers would be scared away. By demoing the bath, yes - I will be making the master bath much smaller (roughly half its current size), however I will be giving the master bedroom a more functional layout while giving the bathroom a much needed update. Which all leads me to today. So, like I said previously, the plumber pointed out exactly what I had originally thought all along. He also said exactly what I already knew - making changes to the master bath now will be cheaper than eventually making those changes later. With no ceiling in the kitchen, he can manipulate the pipes as much as he wants without anything in his way (i.e. money saved). This was pretty much all I needed to hear in order for me to reverse the decision I made yesterday and go to town on the tile in the master bath today. And boy did I (and maybe the tile went to town on me too).  Tile 1: Lauren 0 Our lovely and beautiful valedictorian Marianne came over today and helped me tear down the tile as well. She and I beasted through the tile in no time, and then ventured on to that master closet I hate so much. Not only is it small, it is in the way of my beautiful vision of a master bedroom. First, we took down the molding, and then Marianne busted through the drywall (and maybe threw in a Karate chop/kick) until the closet was down to the studs. Whew! I can see a better version already! 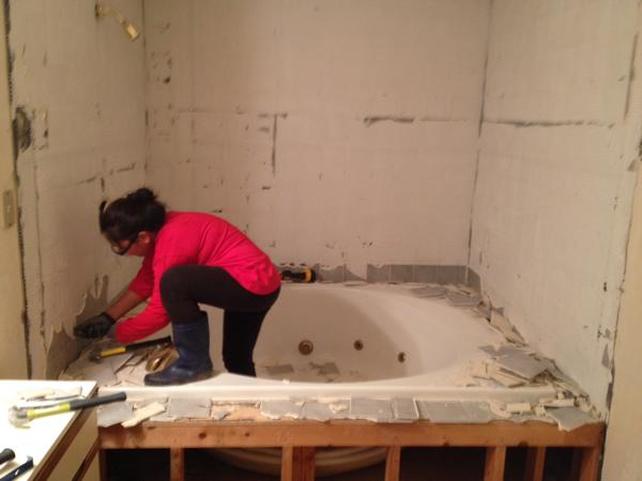 Marianne kicking butt! 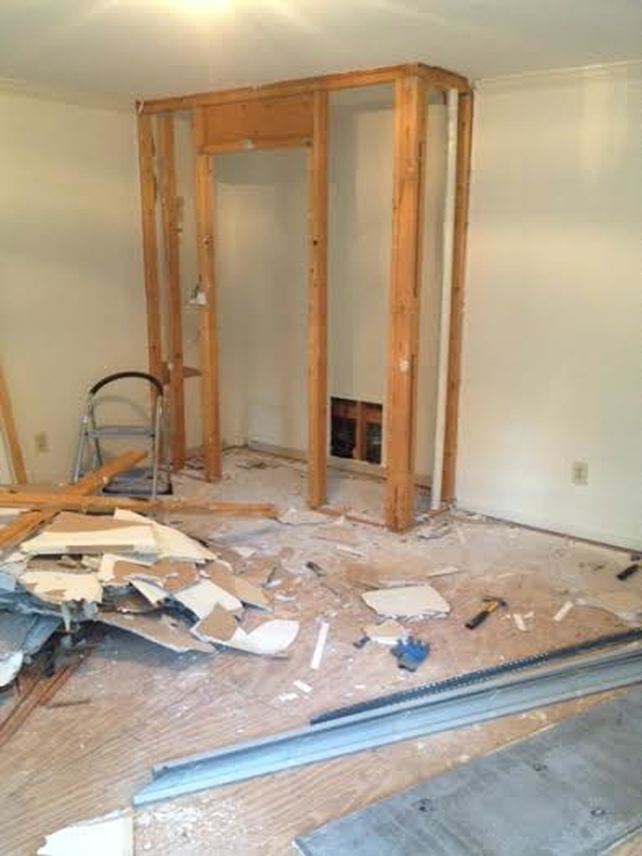 Goodbye terrible master closet! 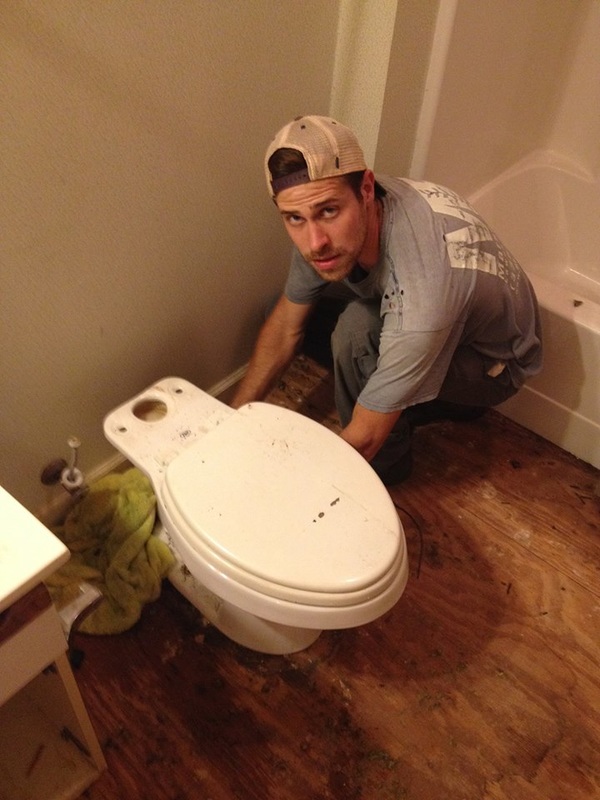 "Stop taking pictures and help!" The first floor bathroom is gross. Plain and simple. The subfloor is partially rotted, the vanity comes up to my mid-thigh (and is melamine), and the light above the mirror has charred the ceiling. My goal for this bathroom is to have it gutted and refinished within the next two weeks. So far, Brian has removed the toilet, fixed the subfloor, and knocked out the vanity (with the help of Stuart). We are on a roll! The toilet was pretty disgusting, and it needed to go away. Being the first time I have ever removed a toilet, it was a pretty leaky process. (See what I did there?) We drained the toilet and Brian unhooked the plumbing, but little did we know there was still a little bit of water in the top of the tank - which then ended up all over my floor. Whoops. Once the toilet was removed, we trashed it and filled the sewer line with an old towel. The vanity was much more fun to remove. Stuart came over for the first time to check out the place, and we handed him a hammer and told him to get to work. He and Brian tried very hard to take it apart in one piece, but decided quickly to just demo it. They first removed the top (which is being donated to ReStore), removed the mirror, and then went to town on the vanity.
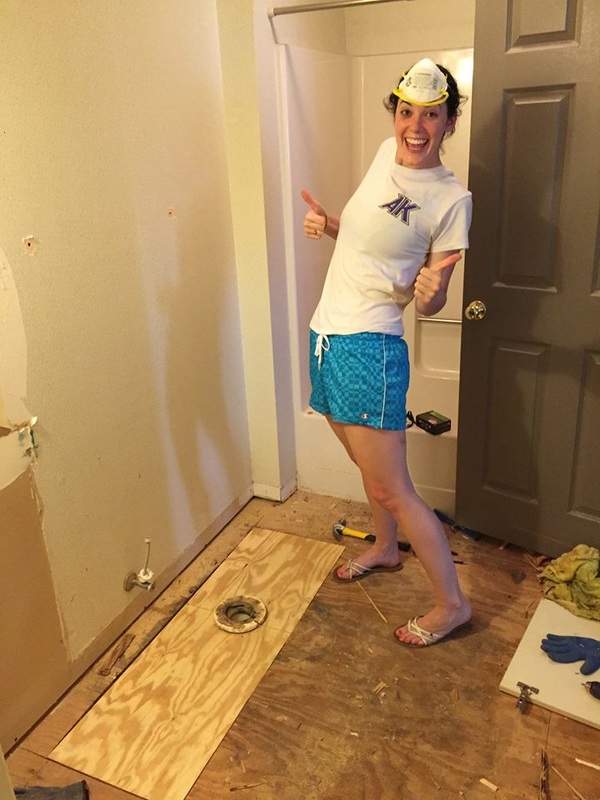
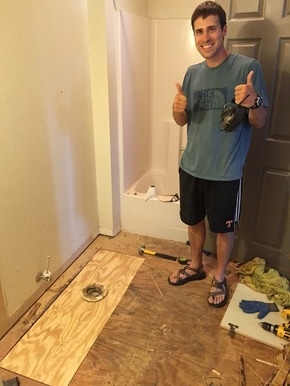
I am still unsure of exactly what I want this bathroom to look like, but at least have my vanity picked out. I found my vanity on Craig's List for $150 and bought the exact same one at the Home Depot on clearance for $300 (going in the guest bath upstairs). I am most hung up on the floor tile. I have brought home so many different types of tile and honestly have no idea what kind I should use. As for the wall color, I am thinking some sort of light green (I want it to feel light and beach-y). Thoughts? 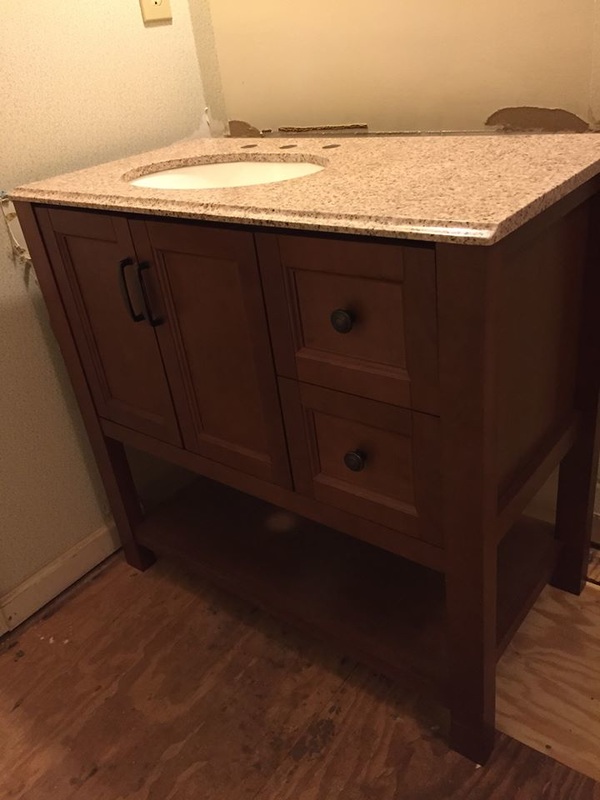 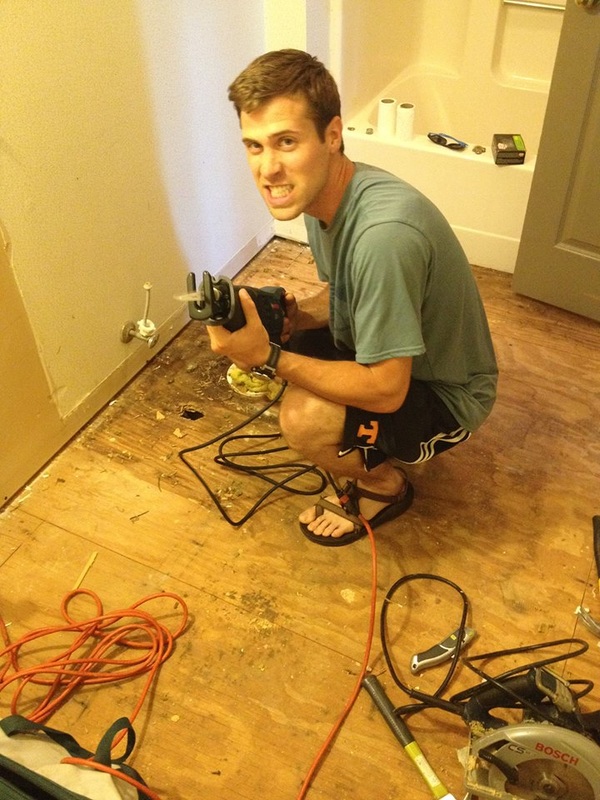 Backstory: A little old man lived in my big, not-so-old house, and slept in the little first floor bedroom and bathed in the little first floor bath. Did I mention that this little old man had carpet in his little first floor bath? Having lived with three brothers my entire childhood (and shared a bath with one of them), I can tell you that men have a hard time hitting their target (the toilet) I'd say about 50% of the time. Mix that with flooring that sucks up moisture and a leaky toilet, you get a very gross little first floor bath and a rotten subfloor (mostly due to the leaky toilet). New Story: Brian and I spent the weekend trying to replace the rotted subfloor surrounding the toilet in preparation to lay tile in my little first floor bath. And by Brian and I, I really mean just Brian. Moving on. I should preface this post with the fact that we really had no idea what we are doing and just kind of winged it. In the end, happy dances went on! Our first plan of action was to remove the entire sheet of plywood were the rot was, however after realizing that the tongue and groove plywood was much more difficult to remove as a whole sheet, we scrapped that idea and cut a section about 16 inches by 4 feet. This section was located around the toilet flange. As we learned this weekend, the toilet flange is not removable (it is glued into the plumbing below the toilet), and it sits on top of the plywood subfloor. This is what made the project relatively difficult. We debated for a while to cut the flange off and then attach a new one once the new subfloor was laid, but ultimately Brian cut the plywood out from around the flange, leaving it in tact. 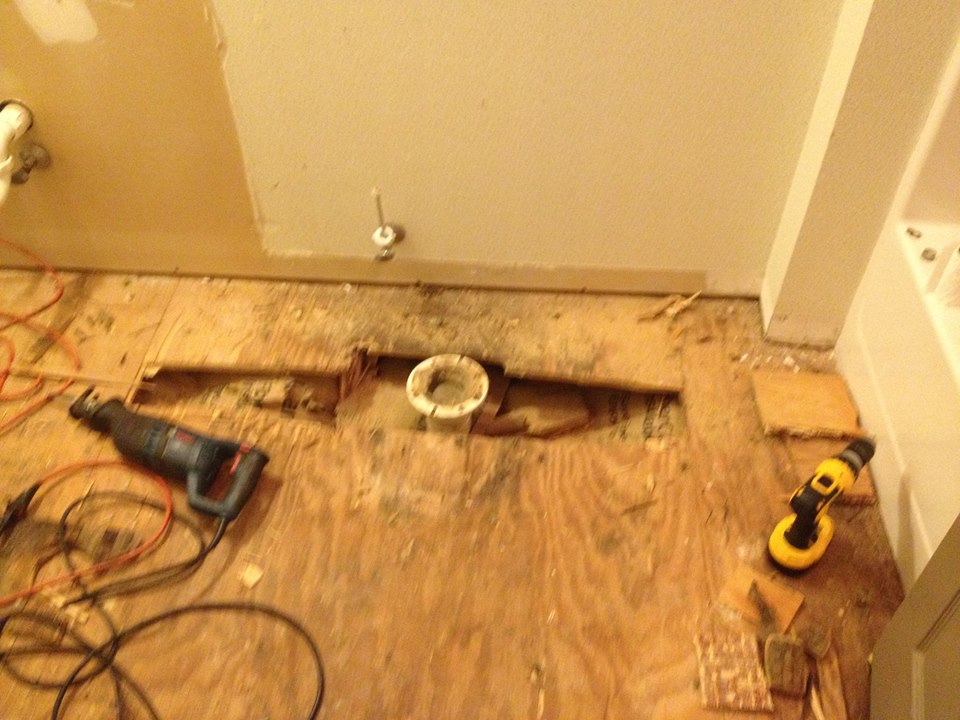 Flange sticking out of the plywood. 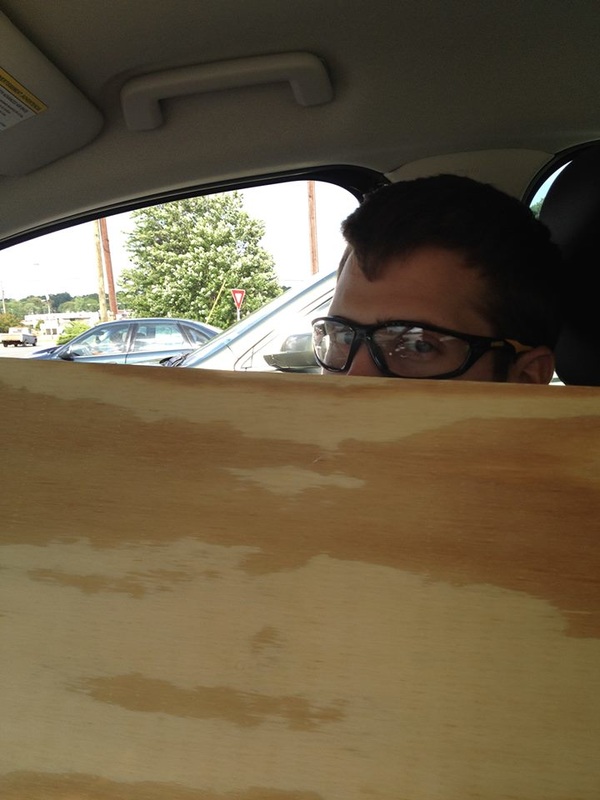 When you drive a hybrid and not a pickup to Lowe's.  We made a trip to Lowe's to stock up on materials, and ended up finding a scrap piece of 3/4" plywood for $8, as well as a few tile samples for the floor. This is where I started going to work - measuring. See, you really can use math in real life! I measured out the center of the flange, and then used the rotted piece of plywood Brian saved from around the flange to draw a circle (for the flange to fit through) in the plywood. Brian then cut the 4 ft plywood in half through the center of the circle, and I cut the space for the flange to fit! We surrounded the flange with the now two pieces of plywood, and then nailed them down. Voila! It fit! HAPPY DANCE!
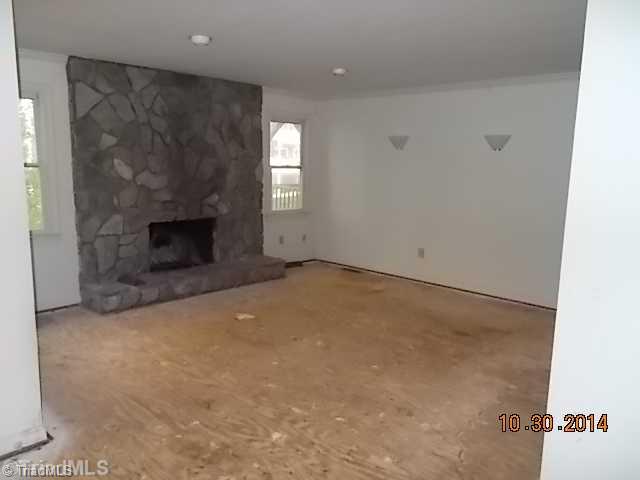
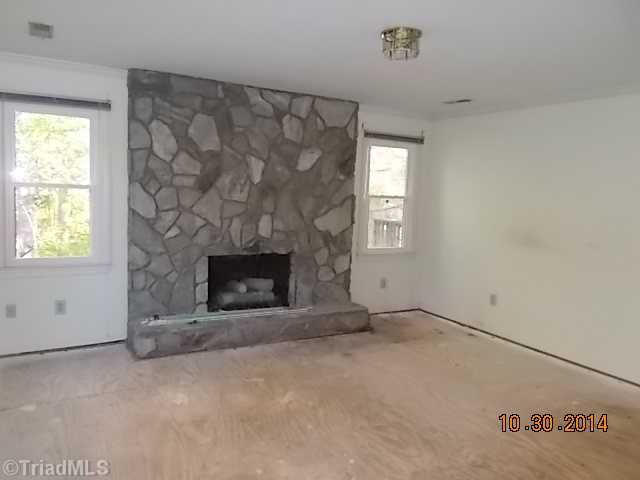
Last Thursday, I finally purchased my very first house in North Carolina. So very exciting! After what seemed like a thousand little hiccups in the buying process, everything worked out in my favor and I now own a 1700 square foot, three-story townhouse. The house is HUGE (especially in comparison to my current apartment), has three bedrooms, three full bathrooms, three fireplaces (even one in the master bedroom), and a completely unfinished walk-out basement. What the house doesn't have are floors. Or a kitchen from the last two decades. Or paint. Or a front door that opens easily. Or bathroom vanities that come up past my mid-thigh. Or a lot of things.... all of which make this house exactly what I like because I can mold it into exactly what I want. Of course, apparently what I want are the expensive things from the Home Depot (cough, $5/square foot hardwood floors), which, if you haven't figured out yet, I realistically cannot afford. If you can believe this or not, teachers are still broke in the state of North Carolina. All of this leads me to my new blog - Twenty-Something's Design. The blog is for friends and family who want to follow me on my house renovation journey, laugh at all of my mistakes along the way, and smile at the (hopefully) amazing transformation of my home (on a dime). With lots of tips from my mom and contractor dad, help from friends and students (yes, I said students are helping me), and maybe even a few visits from my brothers (hint - hint), I have a feeling this summer is going to be a lot of fun. I hope you stick around for the ride. :)
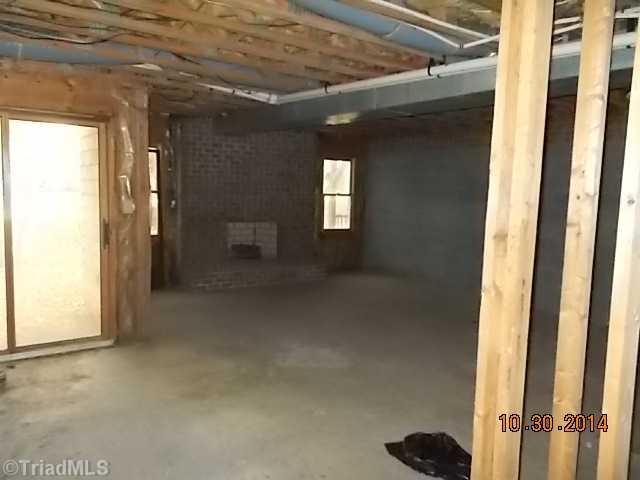 Unfinished Basement |

about meHi! I'm Lauren! I'm a twenty-something teacher and homeowner in North Carolina. I love math, decorating, and getting down and dirty learning new things about home renovation and repair. Categories
All
Archives
December 2018
|


 RSS Feed
